A Virginia Artist – Creating Award Winning Art In Oil and Watercolor
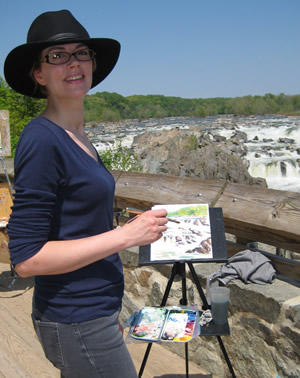 CHRISTINE LASHLEY — ARTIST’S STATEMENT: As a contemporary impressionist painter, I am constantly drawn to light. Nature’s unique colors, harmonies and contrasts offer a visual feast that I love to capture in artwork. I gather most of my ideas by painting outdoors. On location there is no time to second-guess choices, so the resulting brush strokes convey a sense of immediacy and vitality. My studio paintings are a chance to work larger, while retaining the freshness of painting “plein-air”. Planning first, with sketches and reference, lets me paint freely in the final artwork. Favorite subjects are portraits, still life and landscapes.
ARTIST’S BIO: Christine Lashley studied as a teen in Paris at the Parsons Art Institute and the Sorbonne, continuing on to earn her Bachelor of Fine Arts at Washington University in St. Louis. She worked for several years in the fashion industry in Europe, then as a muralist and graphic designer, but turned her interest to fine art soon thereafter. Christine’s paintings have been shown nationally and internationally. With numerous works in private and corporate collections, her work has also been featured in publications such as:American Artist Magazine, The Washington Post, and Elan Magazine. A North Light Publications book: Creative Freedom, will feature two of her oils in a step-by-step demonstration.
Christine currently lives in the Washington DC area with her husband and two children, and has been an art instructor for over 10 years. She is a juried, signature member of several art groups including: the Potomac Valley Watercolorists (where she served as President), The Baltimore Watercolor Society, and the Washington Society of Landscape Painters, and a juried member of OPA (Oil Painters of America).
Visit Christine’s Website Here
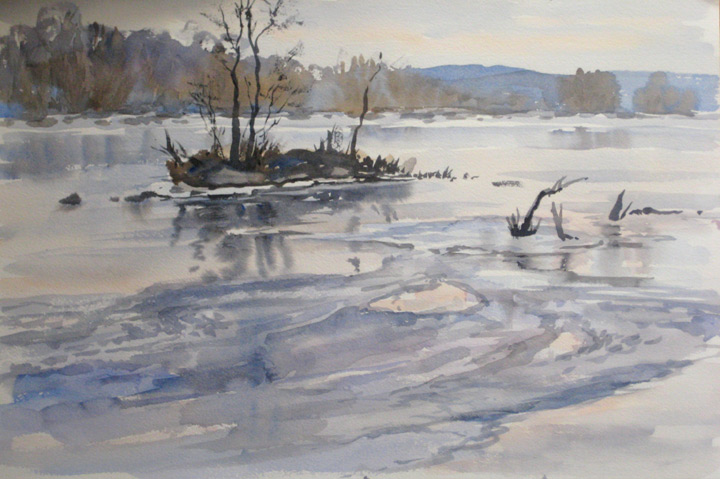
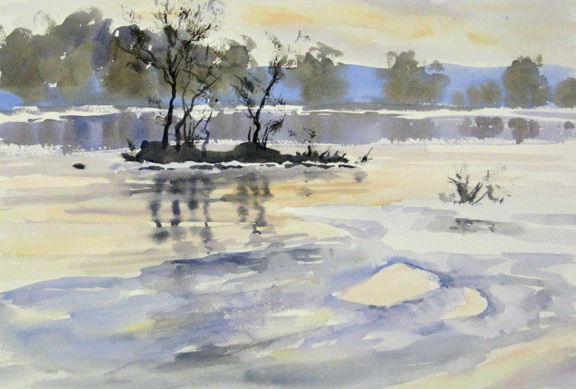
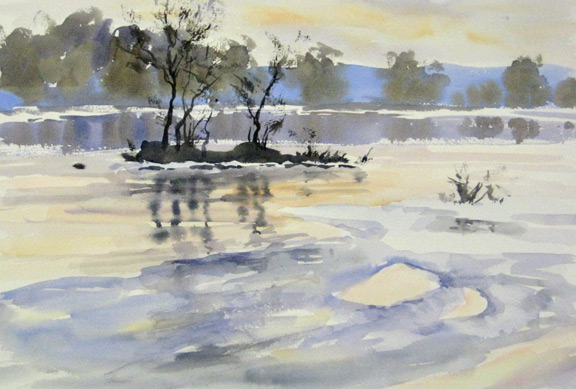
Winter Ice, Potomac River
(Click Images Below for Larger Views)
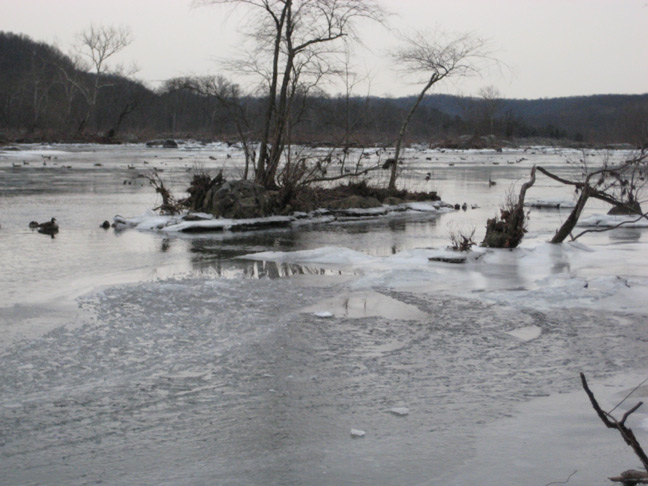
The painting was not done on location, but from the photo in the studio. It’s too hard to paint watercolor on location in winter, as the water will freeze in your water bucket and the palette. However, I did paint a small oil at this location (when I also took the photo), so I’m sure the information I gathered by painting on location helped my watercolor look true to the scene. The photo is a bit drab, and in person I saw all those lovely subtle colors: salmon pink and lavender blue/gray.
I used a number 11 Da Vinci Maestro Kolinsky sable round to paint this on Fabriano 100% cotton, 140lb. cold press paper, 12 x 18″ watercolor block.
Reference Photo
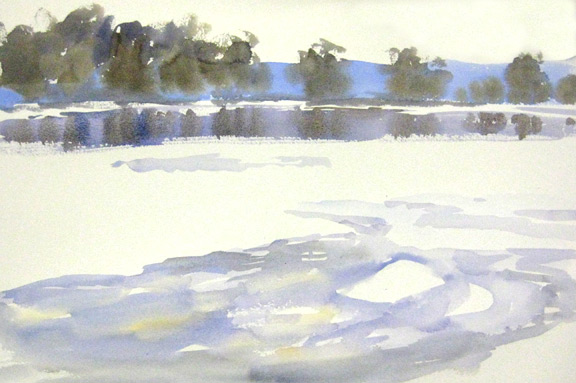
Steps 1 – 4
1 No pre-drawing with a pencil… just go right to your watercolors!
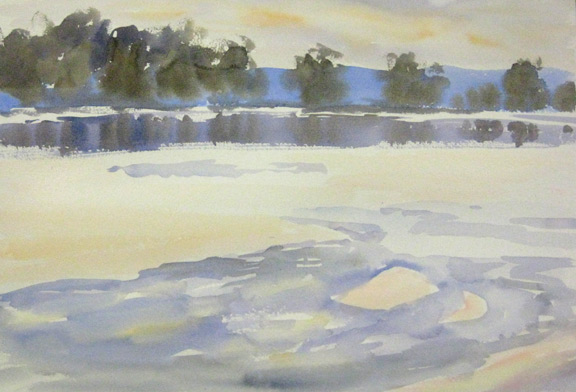
2 A light wash creates the far mountains using Cobalt Blue and a tiny bit of Burnt Umber. More Burnt Umber mixed with a tiny bit of blue was added (while wet) for the feathery tree snags on the far shore. Add some purple to the mix for the shore trees to the left. If you are feeling brave, while wet, add some Sepia for a suggestion of trunks. The watercolor should bloom somewhat for the trees to create the illusion of billowy, soft winter trees overlapping the far blue mountains.
3 Create a swipe of wet wash below the far trees with Cobalt and, Purple and Burnt Umber for the reflection. Charge in, while wet, some stripes of brown and blue – going down – to make the trees look reflected in the water.
4 Light washes of blues, purples and grey create the ice in the foreground. Dab out with a paper towel to create a ‘crunchy’ texture. (Advanced students can try to create patches of warm in the ice with a subtle hint of New Gamboge mixed with Permanent Rose, while wet.) Let dry and add more washes for texture and color.
Steps 5-6
5 Use a pale wash of New Gamboge and Perm. Rose for the sky (add in a dash of blue-grey while wet). These colors should be applied in patchy strokes, overlap, and mingle while wet, to merge and make a dappled sky. Use the same warm mix for where the water reflects the sky.
6 Start to define the rocky snag/island with a blue/purple wash for the snow patch.
Steps 7-8
7 Add more to the island, when step 6 is dry, with mixes of darks: Sepia, Ultram. Blue and Burnt Umber. Create the trees on the island with a mix of Sepia and Ultram. Blue. Use drybrush for the tiny branches
8 Dampen the peach color of the water, with clear water, under the island. While wet create reflections with Sepia and Burnt Umber. Add some swipes across the reflections with a damp brush moving in a horizontal line.
Last Stage
9 Darken some of the ice with texture (drybrush, dashes and dots) and glazes of color.
Just wish to say your article is as astounding. The clarity for
your submit is just spectacular and i could think you are knowledgeable in this subject.
Fine together with your permission allow me to grab
your RSS feed to stay up to date with impending post. Thank you a million and please continue
the enjoyable work.
So glad you enjoyed the post/lesson. Thanks for your nice comment, keep on painting!
Christine, thanks for this article. I’m learning a lot just by reading.