About Jason Morgan
 My love of animals has been there for as long as I can remember, along with my desire to draw and paint, so looking back it now seems inevitable that I would become a Professional wildlife artist
I strive to paint wildlife as accurately as I can, so where possible I like to see the animals in their natural environment, and this has, of course, lead to some very exciting journeys and experiences.
It’s these exhilarating and very personal experiences that I believe help me so much in my portrayal of wildlife in it’s natural environment.
It’s the hidden things that you can truly only experience by being there in person.
Jason’s Websites:
https://www.onlineartdemos.co.uk
https://www.jasonmorgan.co.uk/
Learn How To Paint Tiger Eyes With This Free Oil Painting Tutorial
Step 1 – Drawing and First Layers
[adinserter block=”29″]
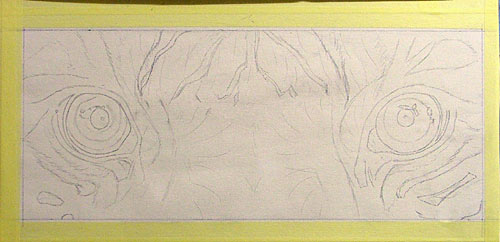
This painting is quite large – over 22 inches wide, but rather than get daunted with the size , we must remember to apply the same principle that we would on a smaller painting, breaking it down into easy stages.
Above you can see my pencil drawing on my already primed canvas.
Step 2
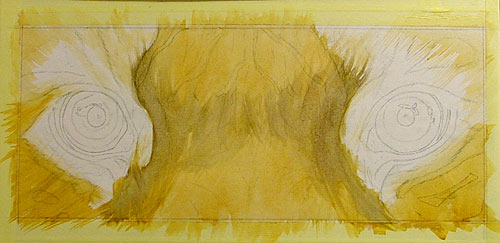
I then apply some initial colour to the canvas, using plenty of painting medium (Liquin) and raw and burnt sienna oil paints.
Step 3
Above you can see how I have continued to block in the base colours, giving the suggestion of where the main stripes will probably be. The painting is beginning to look a little more achievable now most of the canvas has been covered with paint.
This stage is allowed to dry overnight.
Step 4
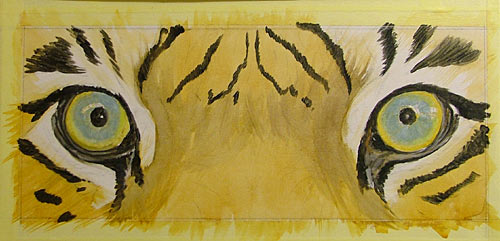
Now I have a base to work over the paints look more opaque this time around. Same technique, a little liquin added to burnt Sienna, Raw Sienna, darkened with Burnt Umber where needed for the fur. It’s important to remember that some of this stage might be seen in the finished painting so all the brush strokes should be in the direction of fur growth.
Step 5
As more layers are added under painting details (our blueprint) can become lost, here I am just strengthening the stripes so I can see them more easily.
Step 6
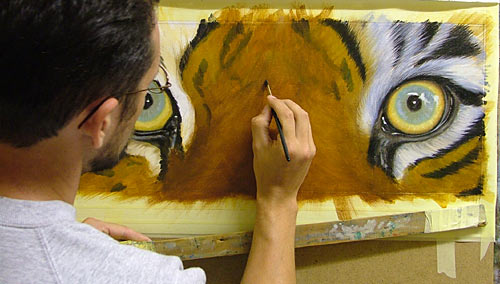
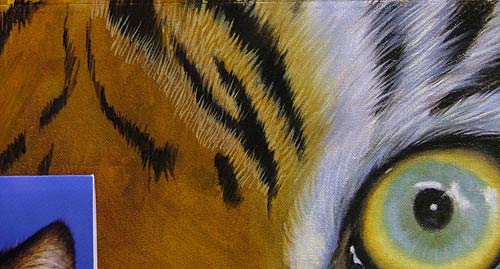
With the under painting finished I move on to adding the first layers of fur texture. Using a flat brush on it’s edge I begin to make marks which suggest fur / hair. The important things here are – Paint in the direction of fur growth, and start with the under fur then overlap the fur growing on top of it. So in this instance I am working from the top, to the bottom.
Step 7
[adinserter block=”29″]
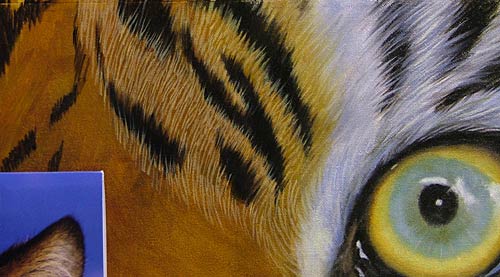
The image shows how I am continuing to work down the canvas, black goes over yellow fur, then yellow goes over black, effectively overlapping and giving depth.
Step 8
Here you can see the finished, first layer of fur texture. You need to study your reference image to get all the fur painting in the correct direction but the results are worth it.
Step 9
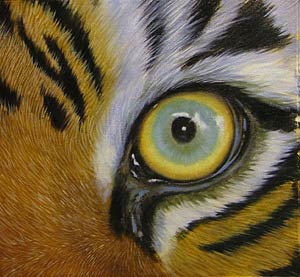
This image looks like a big jump forward, but what I have done to create the effect of fur depth is quite simple. With the previous layer dry, I applied a very thin coat of Liquin to the entire painting surface – this created a slippery, easy to paint surface. I then immediately applied a thin coat of dark brown (Burnt Umber + a little Ultramarine Blue) over the fur areas. This effectively made the last layer the dark under fur. I then waited for that layer to dry before painting fur texture over the top again (as previous page) this created another layer of fur and therefore more depth.
Step 10
The fur texture left looked great but the colour was too light so I once again applied a very thin layer of Liquin then painted on a more realistic colour, Raw Sienna, Burnt Sienna Mix.
Step 11
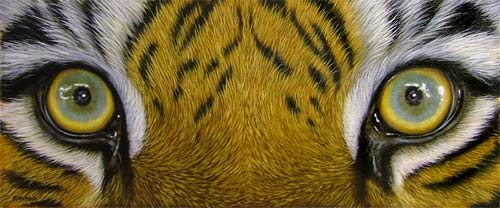
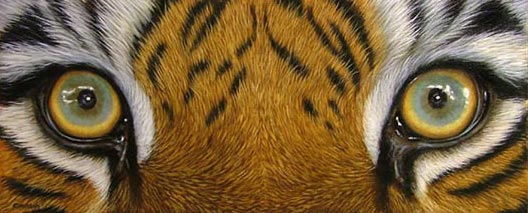
The image above shows the finished painting, here I have applied another glazing layer of paint to get a richer colour.I hope you have enjoyed the demo of this dramatic Oil Study.
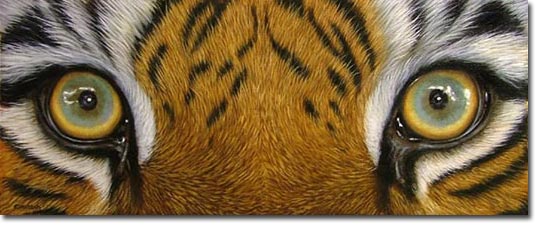


Love these tiger eyes, the eyes are the windows to the soul!
Lovely, but may I ask something what is liquin.
@Bongani- Liquin is a medium you use with oil paint when painting in layers….it dries faster
Magnificent painting. Thank you for sharing your technique.
good job
I just looked at the tiger eyes by Jason Morgan and I think they are terrific, My only problem is the fur with animals. Is there a trick to making itlook so real? You are an amazing drawer.
i just looked at the tiger eyes by jason and i think they are awesome. you have given me loads of inspiration for my art exam. cheers.