About Arnold
Arnold Lowrey has been painting for 36 years. He has regular exhibitions of his paintings in the South Wales area and has had work accepted and exhibited in the Royal Institute of Painters in Watercolour exhibition at the Mall Galleries in London. He has won several prizes for his paintings in a number of Art Exhibitions.
He is a painting demonstrator for major art material suppliers e.g. Winsor & Newton, . and Art Profile and regularly provides painting demonstrations to Art Societies throughout South Wales and Southern England.
He has demonstrated for a number of years with Winsor & Newton in Zurich, Switzerland, and has tutored workshops and painting holidays in Portugal and Texas.
Over the past eighteen years, a considerable number of artists have attended these courses, which cover watercolour, acrylics, pastels and oils. The subjects of his paintings vary from landscapes to still life, portraiture, abstracts etc. The weekly courses are currently located at Taffs Well Rugby Club, Taffs Well, Near Cardiff.
His motivation is a desire for good shapes and texture in his paintings but foremost is his desire to interpret his feelings for each subject using colour and luminosity.
Follow this link to visit Arnold’s Website
The Control of Water in Watercolour
(Click Images Below for Larger Views)
I see so many watercolours fail because artists have not come to grips with the control of water in their paintings. Many books on watercolour concentrate more on pretty pictures and the materials used, rather than tackle this subject, which is vital for success.
Most watercolours fail because too much water is used and the results are a wishy- washy mess. So, let’s come to grips with this important subject.
The question you must always ask is “Where is the water? – Is it in the brush, the palette or on the paper?”
If you have a lot water in your brush and water on the paper, the result is two lots of water combining and flooding everywhere out of control. To have full control of water, you must have a palette with a flat mixing area that does not collect unwanted water. It is also advantageous to have one with open-ended colour wells.
So here are the five most important ways of water control.
- Dry on Dry
- Wet on Dry
- Wet on Wet
- Dry on Wet
- The Half-loaded Brush
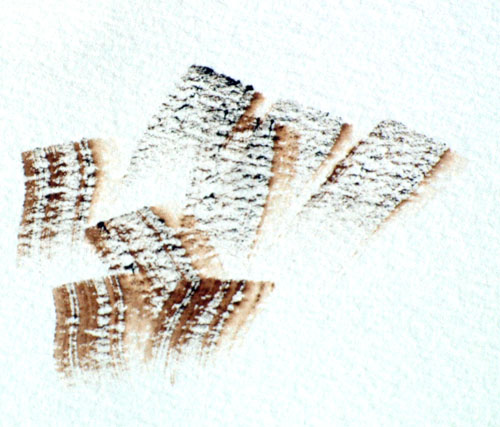
Dry on Dry
This is where the paper is dry and all the water is squeezed out of your brush, so that when you pick up paint and paint it on the paper, virtually no water is involved and the result is a scumbling mark.
(No water on the paper and virtually no water in the brush.)
Wet on Dry
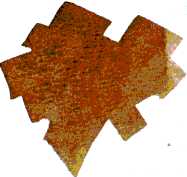
If you load you brush with wet paint and paint on dry paper, an area is produced which is soft and flowing in the middle but with hard edges.
(No water on the paper and water in the brush)
Wet on Wet
When the paper is wet and the brush is fully loaded with wet paint, the result is two lots of water on the paper. Consequently, the paper can’t handle this amount and the paint pigment flows on the surface. Tipping the paper will allow the pigment to flow around creating a lot of interesting shapes but accurate control is missing. Useful for backgrounds but you are relying on “happy accidents” to produce any meaningful shapes.

Dry into Wet
If you paint an area of paper using “wet on dry” above and then squeeze all the water out of your brush, you are able to lift the paint off the paper.
This is because you are using a “thirsty brush” i.e. there is less water in your brush than is on the paper. The water travels from the paper back into the brush leaving an area of paper dryer than that surrounding it. (This is the same effect as wringing out a sponge and soaking water out of a puddle.)
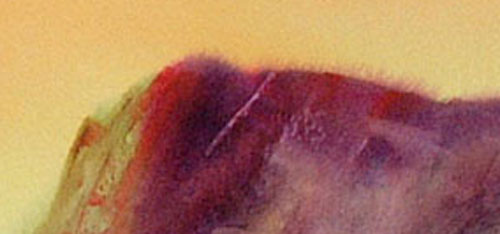
If you now repeat this, but having squeezed all the water out of your brush, you pick up some neat pigment (no water!) and paint it into the wet, you will find that you can place it accurately without it flowing all over the place. Water has, again, traveled back into your brush so that the new painted area is dryer than its surroundings.
Watch how the wet area tries to attack the dryer area and softens the edges. This is ideal for those soft-edged misty trees in the background of your landscapes or soft reflections.
To lighten the tonal value of the added colour, drag out some of the pigment from your brush onto a dry piece of paper before applying. This will ensure the brush stays “thirsty”.
(Paper wet but virtually no water in the brush)
The Half-loaded brush – Mingling
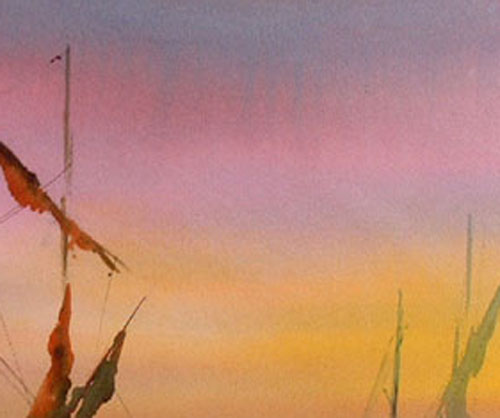
Dry into wet techniques tend to replace the existing paint with the new, so if you wish to create an area (say skies) by accurately painting into another whilst the paper is still wet, this method is the only way it can be done.
Mix your first colour with water (on a flat palette) to a suitable tonal value. Paint this first colour on the surface wet on dry.
Clean you palette and repeat this with the next colour. If necessary thin the colour with water so that tonal value is near the first colour. However, before you pick up the paint, squeeze out your brush, then pick up the wet paint with one sweep only. The brush loads from one side of your brush and is half loaded. This allows you to paint the new colour into the wet area without it flowing all over the place. You have total control. This action can be repeated as many times as you like as long as you keep the paper wet. All the different pigments mingle down to one layer and you keep the resulting luminosity.
What about “Cauliflowers” (back runs)?
These are caused by painting wet paint into half dry areas. The water in the new paint leaches into the old causing strange light shapes.
This often accidentally when water drips off your brush into a newly painted area which is “damp dry”. Do not, ever, try to paint this out while it is still wet – you only feed the cauliflower with more water and it gets worse.
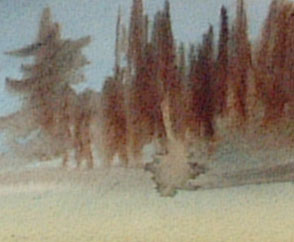
Here you can see where a drop of water accidentally was dropped into an area of half dry paint.
Glazing or Mingling?
Glazing
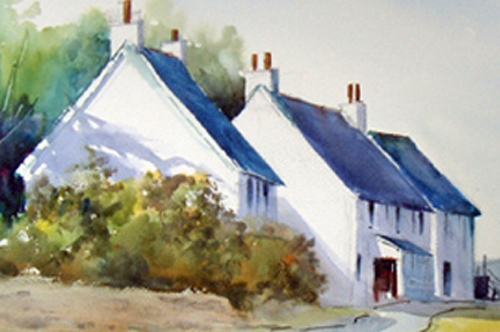
The traditional watercolour techniques, which are so often taught, create a series of glazes, (wet on dry), allowing each one to dry before the next is applied. Each new glaze stacks on top of the next, making the thickness of the overall paint greater.
This method can produce some effective results.
However, the down side is that every time you paint on a new glaze of colour you reduce the luminosity of the painting, as light, which creates the luminosity, has to travel through these layers and reflect back off the paper.
Notice that the shadow glaze has been painted over the windows. This unifies it. If the windows had been painted in afterwards they would have a “stuck on” effect.
Mingling
Mingling is achieved by using the dry into wet or half loaded brush technique shown to the right. Painting into wet areas allows the pigment to settle on one level instead of stacking one on top of the other. Luminosity is retained
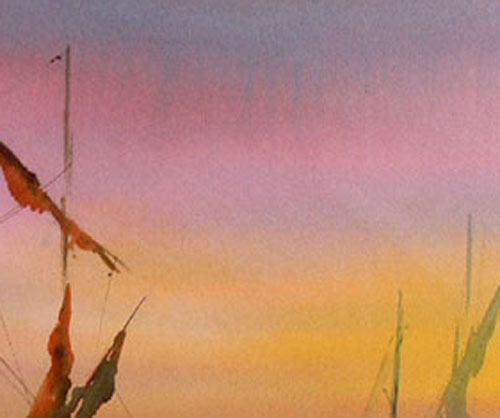
Another mingling example:
Keep the paper wet and pump in new colors with a half loaded brush.
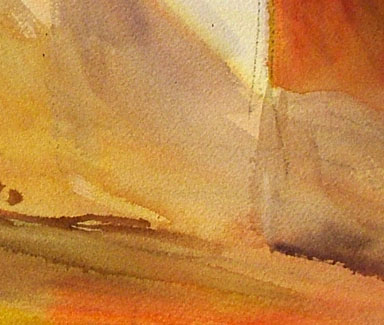
Wet on dry – the windows have sharp or rough edges

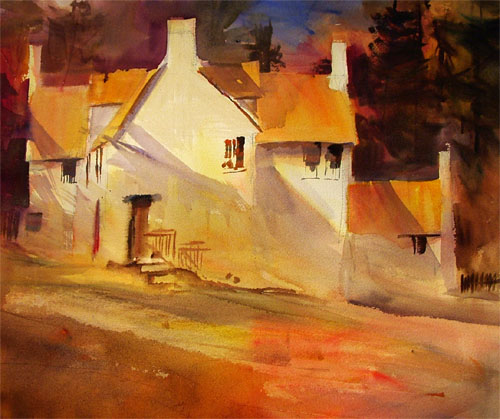
This painting uses most (although not all) of the previous techniques. Remember, if you have control of water you have control of watercolour.
Dry into wet allows the door, steps and handrail to be placed in the wet and the images to be retained with soft edges.

The Finished Painting – “Orange Wood Cottage”
Spending the time to come to grips with these techniques will move you forward with your watercolour. The above techniques are important keys to practicing your watercolour crafts and mastering them will allow you to concentrate on the importance of the art in your paintings. Composition, design, unity, value, colour, intensity, etc. which, when applied properly, will put you a step ahead of the crowd and help you to sing with your own voice!
Keep painting and good luck!
Arnold Lowrey
(A special thank-you to Phyllis Franklin (llis) who worked with me as editor for this article!)
Leave a Reply