Loose Watercolor Jellyfish Step by Step Tutorial
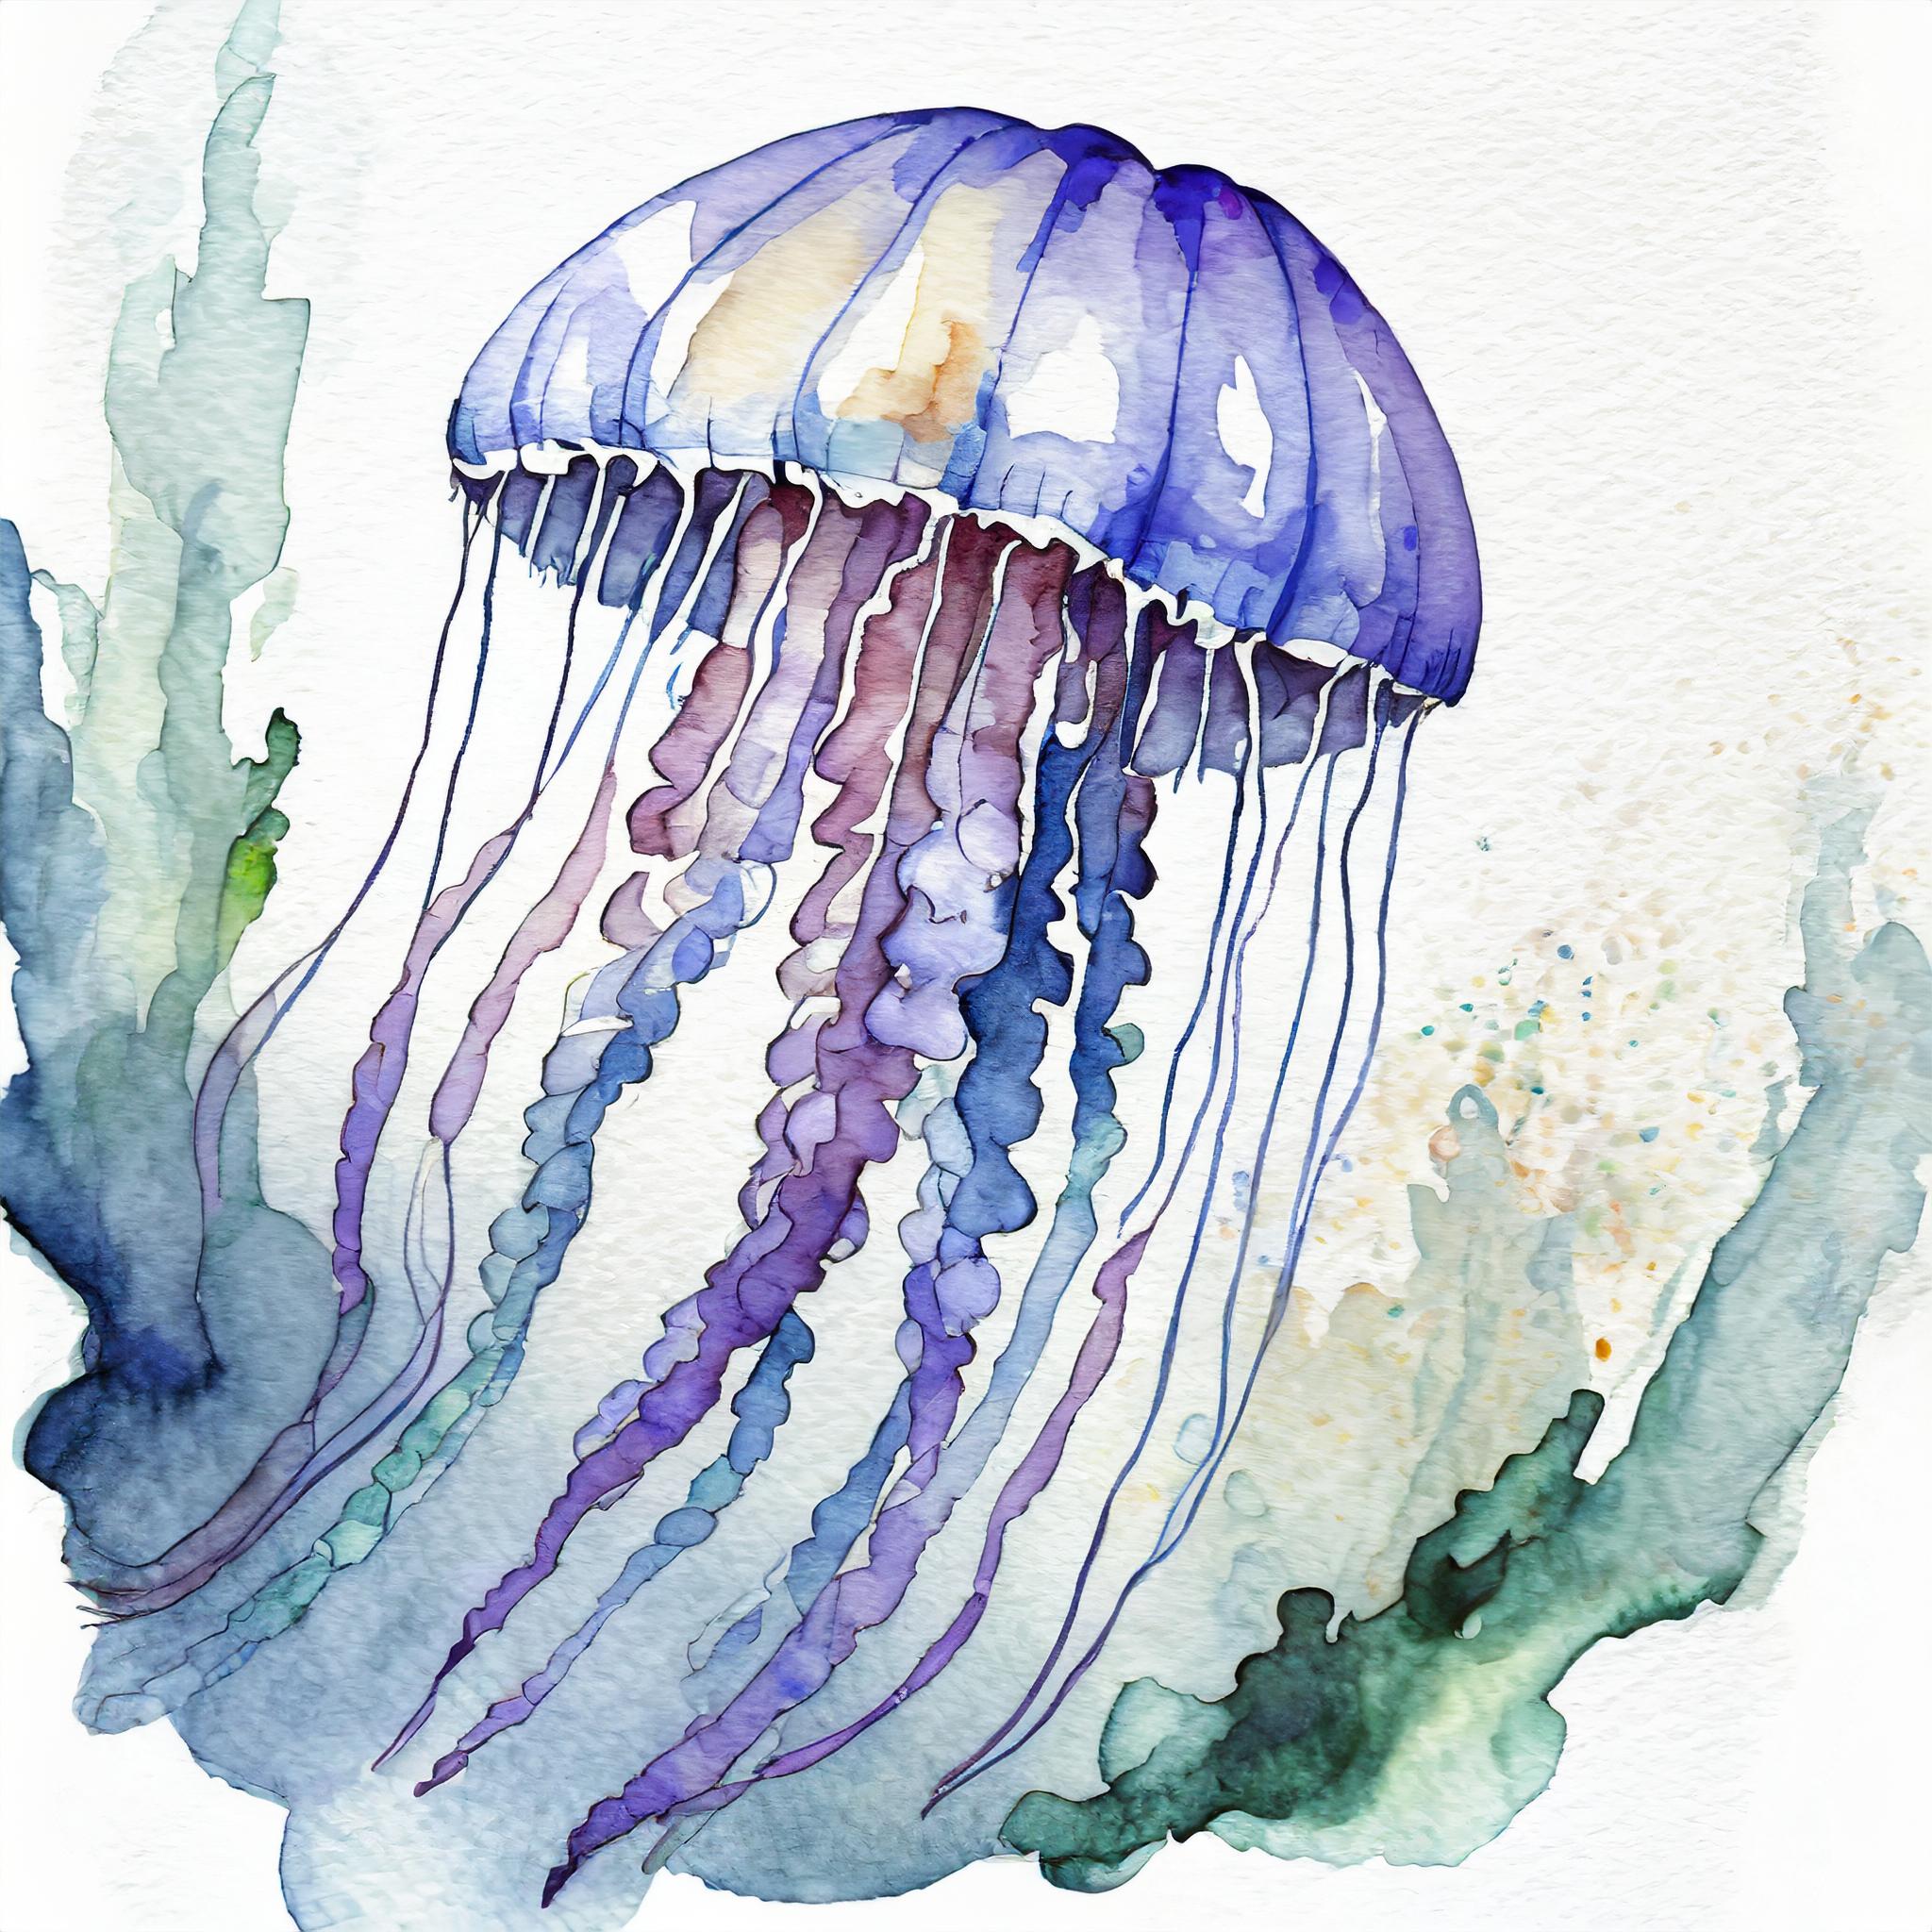
The video titled “Loose Watercolor Jellyfish Step by Step Tutorial” by the channel Nianiani is a detailed watercolor jellyfish tutorial . The instructor begins by demonstrating how to draw a jellyfish in simple shapes, emphasizing the flexibility and different viewpoints of the jellyfish. They suggest using a mushroom shape for the bell or hood, with variations for different perspectives.
Explore Watercolor Classes on Skillshare! Get One Month Free!
Skillshare offers many watercolor painting classes perfect for beginners and advanced artists alike. Learn essential techniques like creating vibrant landscapes, mastering watercolor florals, and exploring abstract art. Each course, led by experienced artists, provides practical tips and hands-on exercises. Whether you’re looking to improve your watercolor basics or experiment with new styles, Skillshare’s courses have you covered. Signup now with a free month! Affiliate Disclosure: I will receive a commission if you sign up for SkillShare with the above link and decide to become a member after your free month. Read our affiliate disclosure here.

The tutorial then progresses to adding details, mainly focusing on the tentacles and arms of the jellyfish. The instructor emphasizes the importance of fluidity and natural flow in the drawing, using zigzag lines to create a pattern for the frills. They also suggest practicing separately to visualize better and understand the folds of the arms.
The instructor recommends starting with a light outline and using a limited color palette when painting. They use Hansa yellow, Cobalt green, Prussian blue, and Bleed Proof White for highlights. The tutorial covers techniques for dampening the surface, applying color, and ensuring a natural blend. The instructor highlights the use of different color intensities to create depth and translucency.
The video also covers adding texture to the jellyfish, mainly focusing on the arms and tentacles. The instructor suggests using a mixture of colors to add definition and details. They also demonstrate how to use a liner brush for delicate lines and create a more defined look by increasing contrast and adding final adjustments.
In the concluding part of the video, the instructor adds final touches like dust specs to mimic underwater scenes. They mention that this step is optional and encourages viewers to customize their painting to their liking. The video ends with showcasing the finished painting and encouraging viewers to experiment with different colors and techniques.
Leave a Reply