About Delmus G. Phelps
Statement of purpose within the work:
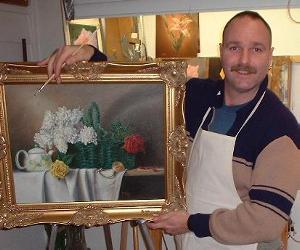
I’ve been an active painter since the mid 70’s creating works in the Realist tradition. Being inspired by the nature around me and in the things we tend to collect, I produce still life and floral oil paintings in the Classical/Contemporary Realism style on canvas and panels.
With a particular interest in sharp focus realism I produce still life works of incredible detail. My floral pieces exude a peace and serenity much needed in today’s hectic lifestyles.
Using the Flemish method of 7 layers, a 400 year old technique perfected by the Dutch Masters of the renaissance era, my paintings are meant to stand the test of time in lasting quality.
Why the Still Life?
I remember my first ‘trompe-l’oeil’ (fool the eye) painting in which my daughter, upon entering the studio exclaimed, “Why Dad, you’ve ruined the painting with that pushpin there!” Proceeding to reach up and pull it out and then realizing it was a rendering, I knew then that this was for me.
Art means many different things. I don’t claim realism is the only form or even the best form. I do realism because I like its affect to (stir emotionally). Any art that moves you, that reaches out and touches your soul is, in my opinion “good art”. If the art you view doesn’t stir you emotionally now, you’ll not want it hanging in your living room 10 years from now!
My goal, as an artist, besides providing my customer with an aesthetically pleasing picture, one that in size and color fits most decors, but also in rendering special hand made items. I like to use pieces that conjure up memories of a simpler time, when life was not so fast paced.
I also enjoy painting of flora and landscape. I capture a moment in time when the mist is burning off the water of a lake, or the dew drop is falling from the rose petal. It’s a relaxing form of work that keeps me from getting stale with the highly detailed and technical aspects of the still life.
The large floral really seem to brighten up the day too!
Delmus G. Phelps © 2010
Follow this link to visit Delmus’s Website
Highly Recommended Painting Course From Delmus Phelps!
A Real Art Lesson
Capture the joy of painting and creating things of beauty with your own gorgeous oil painting. An oil painting that you create following this step by step technique, and once learned, can be repeated over and over again so you’ll enjoy a lifetime of artistic freedom in creating many more masterpieces.
Here’s what you’ll DISCOVER within “A Real Art Lesson”
- You will learn all the technique needed to do any painting you would like.
- With over 140 pages of information and 225 photos you get a complete how-to manual.
- How you place your objects, lighting and composition.
- How to prepare the canvas step by step.
- How we transfer the drawing to the canvas.
- You will see up-close, the umber under-layer, and how it is done.
- The finished umber under-layer and all the steps to get you there!
- You will learn how to mix your paints.
- How to make the “dead layer” or Gray layer, and why.
- Closeups of brush strokes and how the paint is applied.
- All the details are taught to make your paintings stand out.
- And many more photo’s and explanations than what I can give you here.
Follow this link to learn more about this exciting course!
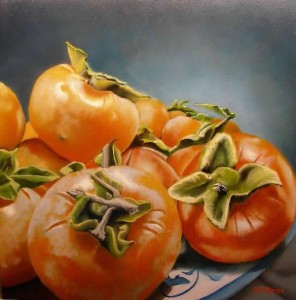
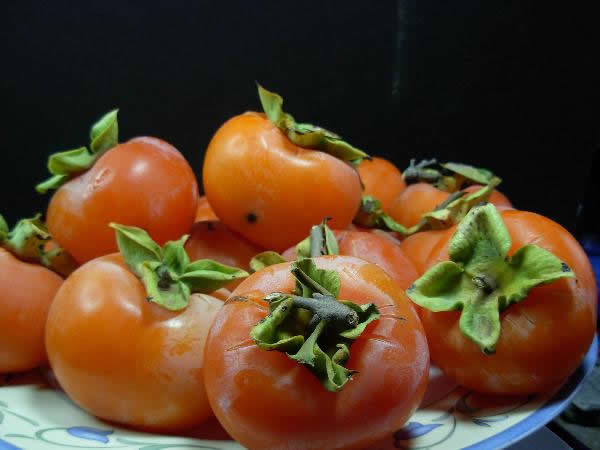
Oil Painting demonstration of persimmons on a dish
Well here we go! This oil painting demonstration is of a painting that was done over a period of 6 days using the flemish oil painting technique. I used a dryer “liquin” to speed up the process for the clients.
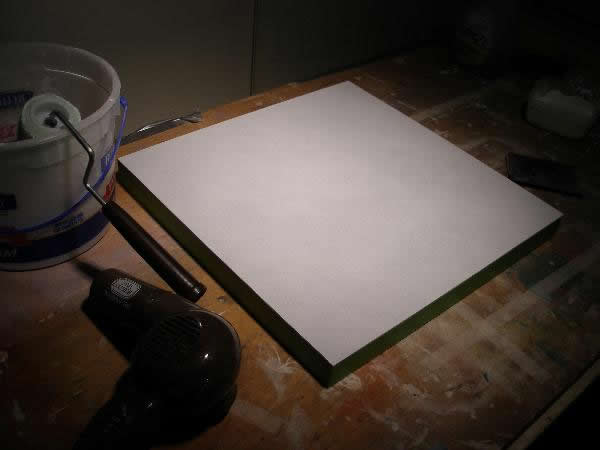
Because I’m using a different support than usual, I thought I would also add the process of preparing the masonite board within this oil painting demonstration. The support is cradled in wood strips and makes for a nice presentation ready display without a frame.
Here’s how we started:
[adinserter block=”26″]
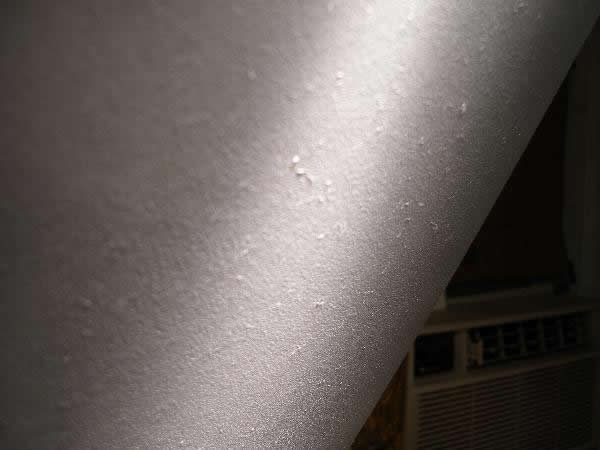
These first photo’s are of the masonite board and two ways of applying the gesso. Using the knife (lower half) you can see many lines of built up gesso that would have to be sanded to remove. This was caused by the board not being flexible like the canvas, thus another application method must be found.
Using the roller and applying the gesso made for a better result.
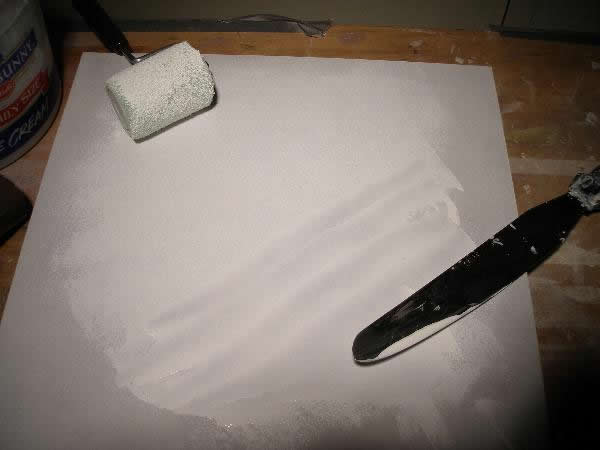
Here you see the results before sanding.
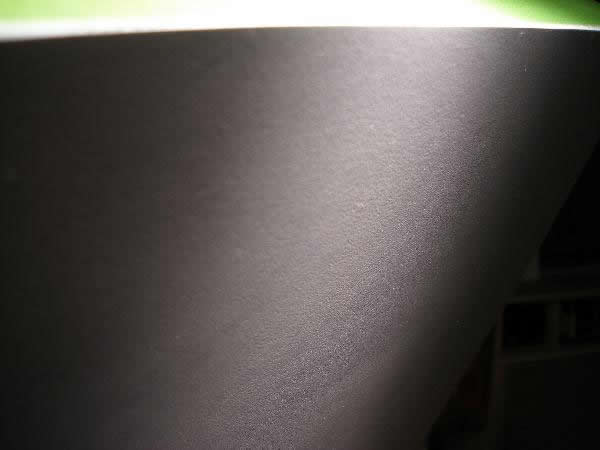
Results after sanding. 1st coat shown. a 2nd coat helped in eliminating 90% of the small indentations that you see in this photo. A nice smooth finish was achieved.
Now we can begin our painting. Here is the reference photograph I will be using. As the reference is a landscape format, I’ve had to do a bit of cropping to fit this to the square board I’ll be using. I first needed to select a strong focal point, seeing the top most fruit, I made my decision and got started!
[adinserter block=”26″]
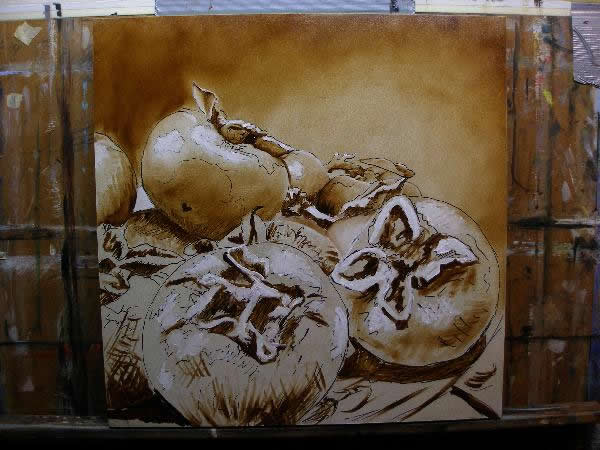
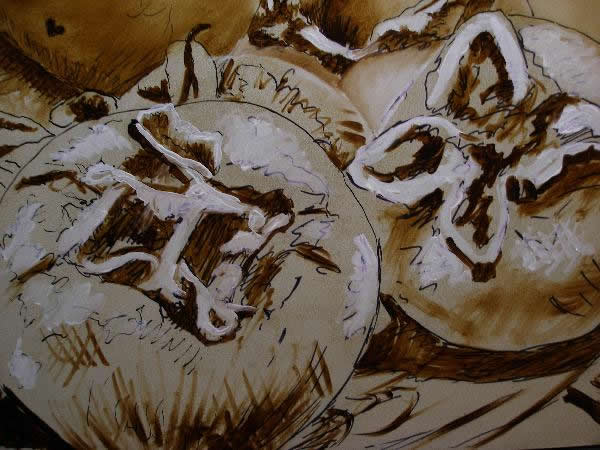
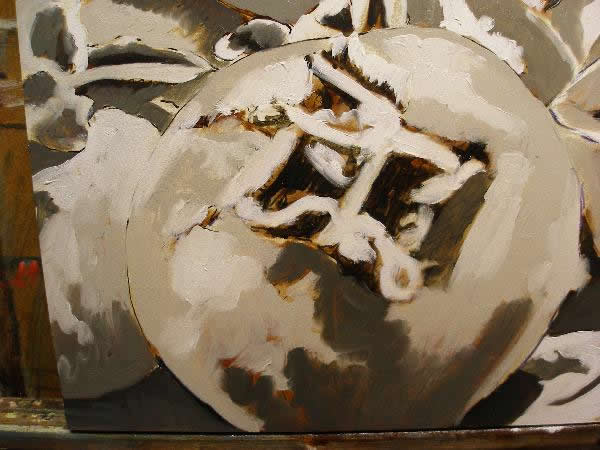
Here, I’ve gotten through the preliminary stages fairly far with the drawing, ink drawing, imprimatura and umber underlayer painting layed in. I’ve also introduced white to help bump up these highlights quickly.
The top half of the view has been final blended where as the bottom half, the color are just layed in over the drawing with no blending yet.
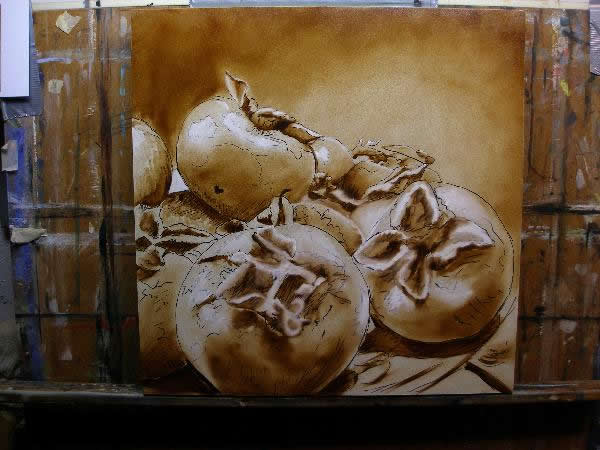
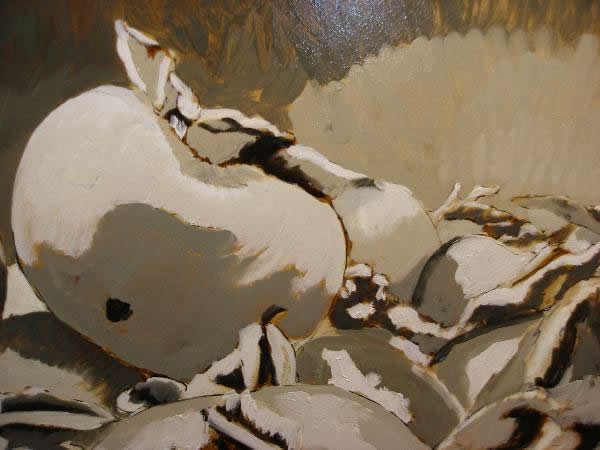
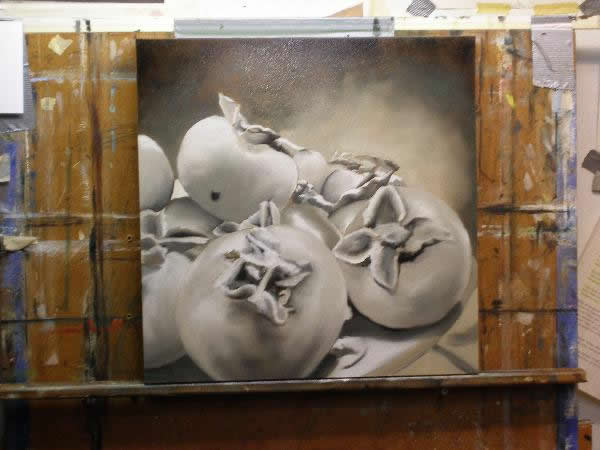
In the photo below, the final blending has been completed. You can still see most of my drawing lines. They remain visible to continue to give me a guide while painting the next layers.
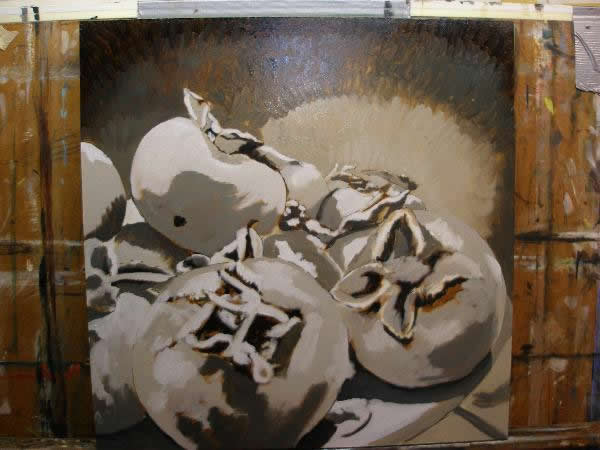
We now start the dead layer with our mixture of gray paints. The colors are layed in fairly loosely.
On this photo, you can see some blending being done. It is with a small brush that blends the paint on the canvas. Usually in the direction on the contour, and attempting to keep all hard edges crisp, while at the same time, blending areas and need to have a smooth transition. It’s difficult to show this in a photographic oil painting demonstration. Video’s really do describe the process so much better. Hopefully, I’ve captured enough data here for you to understand.
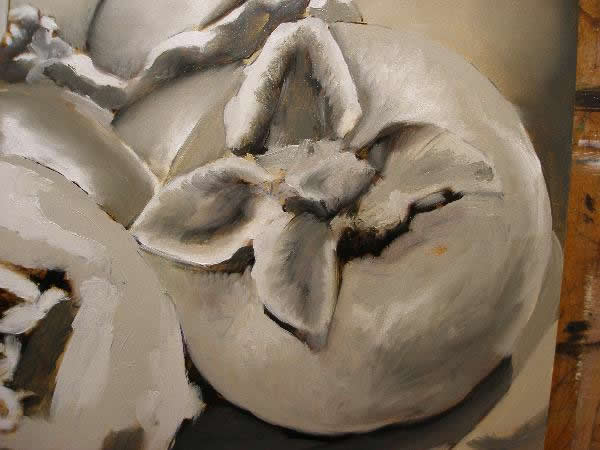
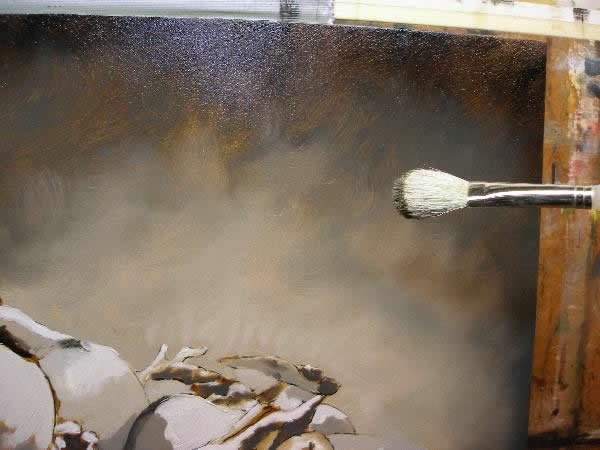
Below, the large and medium sized dry mop blending brush is used to smooth out any visible brush strokes. This is also said to “hypnotize” or “set” the paint. A close up view of one of the fruit.
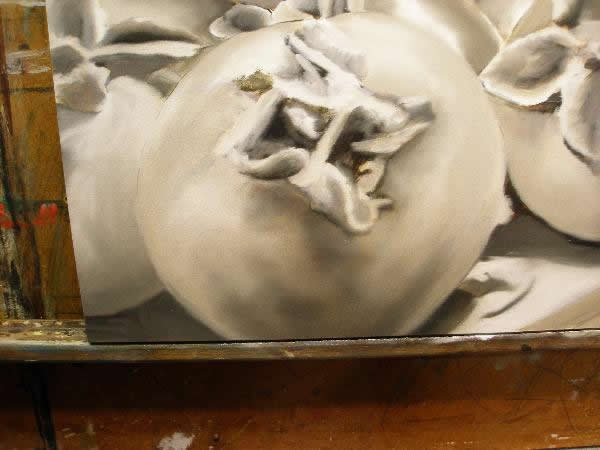
As you can see, I am not trying to describe or depict any fine details or texture at this time. I’m capturing the main tones, half tones, of shadows, etc. This is primarily a modeling exercise in which you are describing to your viewers the shape of things you are painting.
A close up of the brushes used in this oil painting demonstration, with some of the paint that gets on each one. This is wiped off using TP or lint free rags. I usually don’t put them into thinner as the thinner, when the brush is re-applied to the canvas, will lift too much paint and actually wipe off what you are only trying to blend.

We now continue on to the color layers and finishing layer of this oil painting demonstration.
Follow this link to see part 2 of this oil painting still life demonstration >>
Highly Recommended Painting Course From Delmus Phelps!
A Real Art Lesson
Capture the joy of painting and creating things of beauty with your own gorgeous oil painting. An oil painting that you create following this step by step technique, and once learned, can be repeated over and over again so you’ll enjoy a lifetime of artistic freedom in creating many more masterpieces.
Here’s what you’ll DISCOVER within “A Real Art Lesson”
- You will learn all the technique needed to do any painting you would like.
- With over 140 pages of information and 225 photos you get a complete how-to manual.
- How you place your objects, lighting and composition.
- How to prepare the canvas step by step.
- How we transfer the drawing to the canvas.
- You will see up-close, the umber under-layer, and how it is done.
- The finished umber under-layer and all the steps to get you there!
- You will learn how to mix your paints.
- How to make the “dead layer” or Gray layer, and why.
- Closeups of brush strokes and how the paint is applied.
- All the details are taught to make your paintings stand out.
- And many more photo’s and explanations than what I can give you here.
Very informative and good demonstration.
Hey…
With this write-up you sum up a few of the most noteworthy views.
Fast to read & inclusive of interesting insights.
Thanks for sharing Still Life Oil Painting Demo Using the Flemish Technique.