About Karin
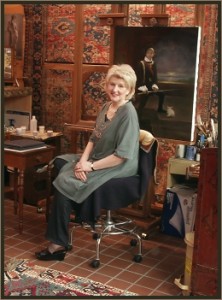 Karin Wells is an artist of amazing versatility. She graduated with honors from both the New England School of Art and Design, Boston, 1965, and the Butera School of Art, Boston, 1986. Karin has enjoyed a career as an award-winning graphic designer, illustrator and sign painter. She also taught Life Drawing and Painting for many years. She has most recently studied for three years at The New England School of Classical Painting in Greenfield, New Hampshire, under the direction of Numael Pulido.
To expand her craft, Karin has traveled throughout Europe studying the Old Masters. Her art reflects the deep influence of these great works. Karin demonstrates a remarkable facility for likeness and for the use of light.
The artist is a member of The American Society of Portrait Artists, Portrait Society of America, The Portrait Society of Atlanta, and The Copley Society of Boston.
To learn more about Karin and to view more of her amazing work, be sure to visit her website and blog by following the links below:
Website: http://www.karinwells.com/
Blog: http://karinwells.blogspot.com/
If you would like to be notified when Karin updates her blog, be sure to click the “Follow” link in the upper left hand corner of her blog.
Enjoy this portrait painting tutorial
How I Painted Joanna’s Portrait
This is the finished portrait of Joanna. 20″ x 24″ Oil on Linen.
When painting in layers, it is important to understand that each layer is painted to facilitate the following layer – NOT to correct mistakes.
Start with a plan and draw it out in detail before you ever pick up a brush.
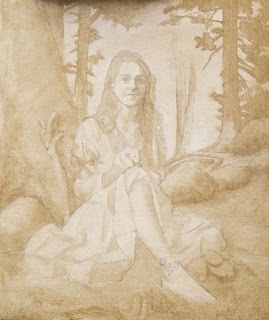
Of course I began with a raw umber toned imprimatura. See this.
When the imprimatura was dry I transferred the drawing to the canvas, used a black Sharpie marker for my guide lines and began to “draw” using raw umber and Liquin. I like to use a soft brush.
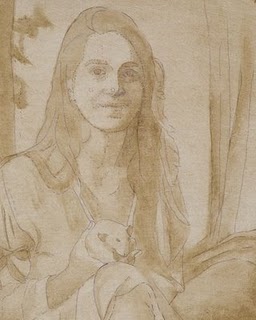
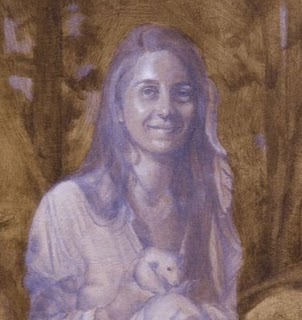
This is a close up detail of the beginning of the drawing process. You can see my drawing (cartoon) under the paint.
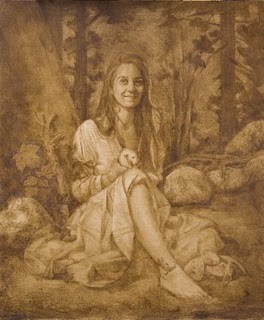
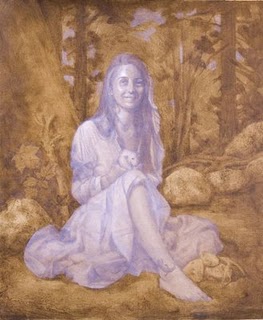
This is the finished raw umber drawing. It can be done in one day, but sometimes I take more time. Even though it gets dark, the Raw Umber is a warm amber and transparent.
Be sure to let this dry.
This is my first layer of white in building the “dead” underlayer. To begin, I scumble a mixture of Titanium White and Liquin onto the dry surface.
I used to use Zinc White but it has been found to be unstable.
Then I slowly begin to build up white as you can see in this detail. Except for some areas of the sky, I’ll stick pretty much to the figure.
Note that light is applied thickly. Shadows are thin and transparent.
This is day two and I’m still building light.
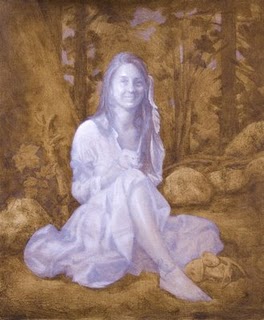
This is a detail of how the light is built and as far as I wish to go on the figure and objects in the foreground.
I’m starting to glaze color into the background and put in the first skin tone glazes.
You can see the rest of my process here:
Painting Skin Tones one layer at a time.



Nice tutorial – even though i suspect you make it sound a lot easier than it actually is:-)