Enjoy this free step by step drawing tutorial that teaches essential pencil portrait techniques. This drawing demonstration is courtesy of Faith Te (see bio and website link at the end of the lesson).
Step-by-Step Graphite Pencil Portrait Drawing Techniques by Faith Te
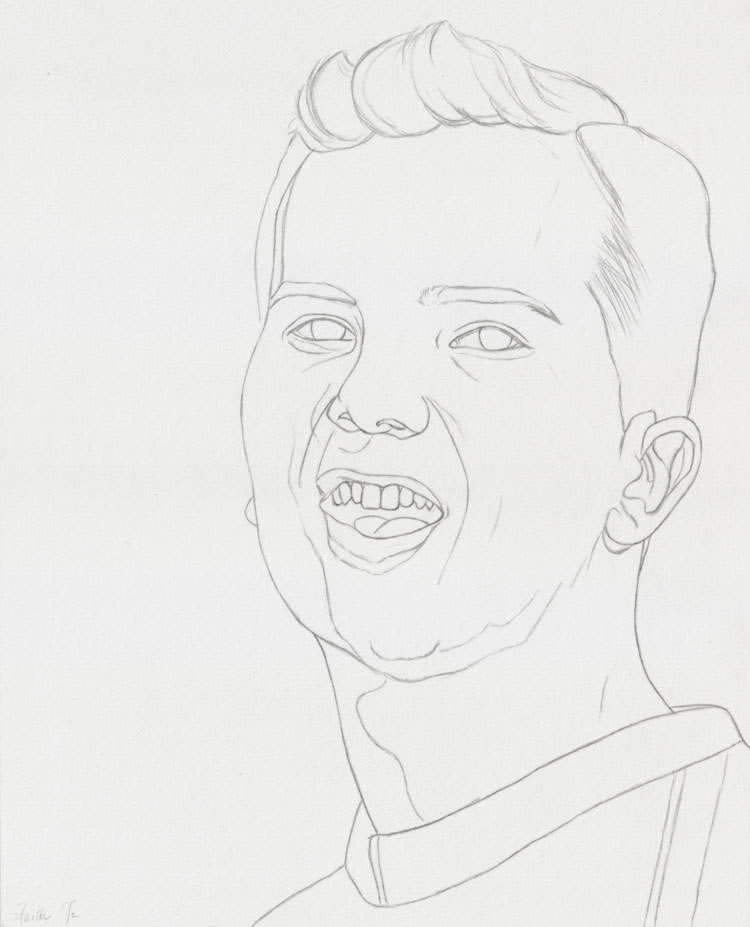
Stage 1 – Pencil Portrait Techniques
The outline was first sketched on newsprint.
When I was satisfied with the likeness, I used a graphite-coated paper to trace the outline unto the final paper. Doing this step keeps the final paper clean and free from scratches caused by erasures.
Time spent: About 5 hours
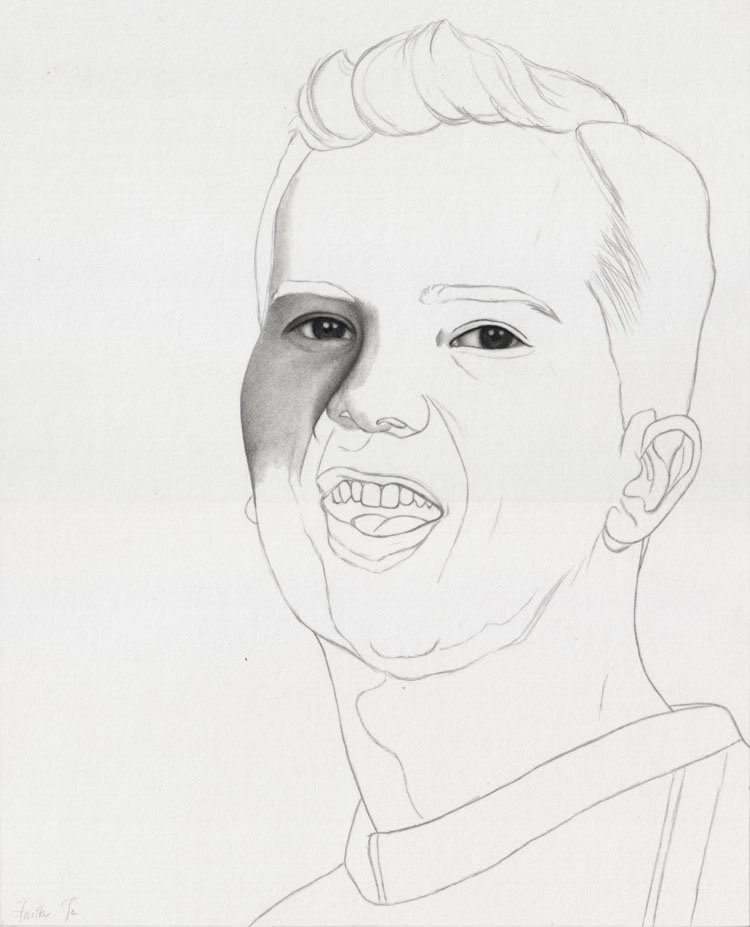
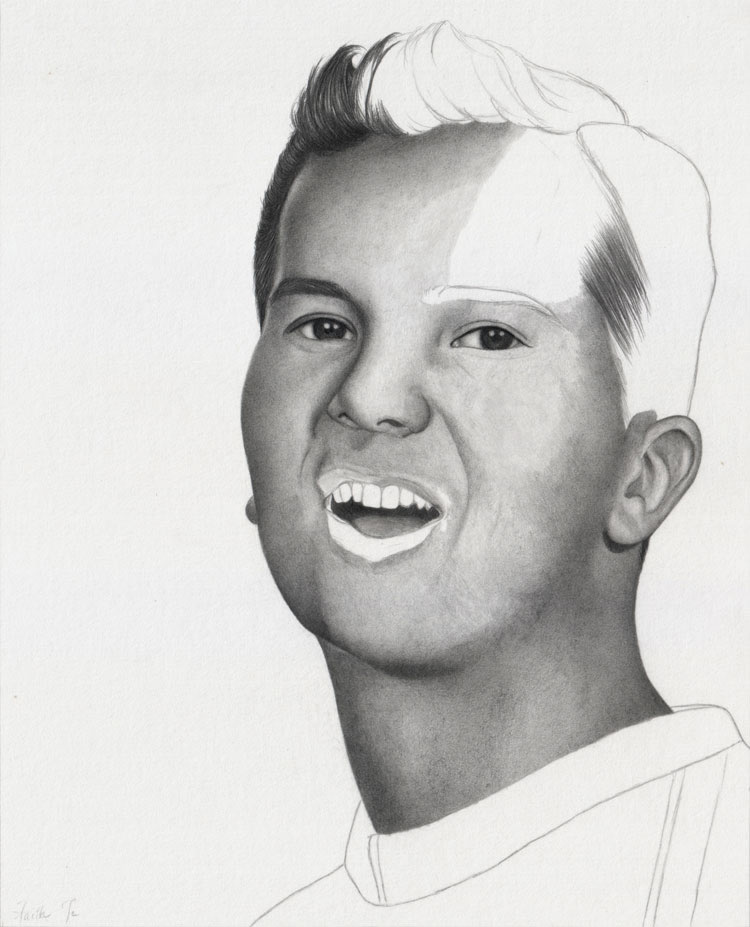
Stage 2 – Pencil Portrait Drawing Techniques
For the eyes I used 2B, 6H, 5H, 3H and H pencils. An 8B was used to darken and emphasize the pupils.
For the skin, 0.5 mm 2B and HB mechanical pencils were used.
Time spent: About 3 hours
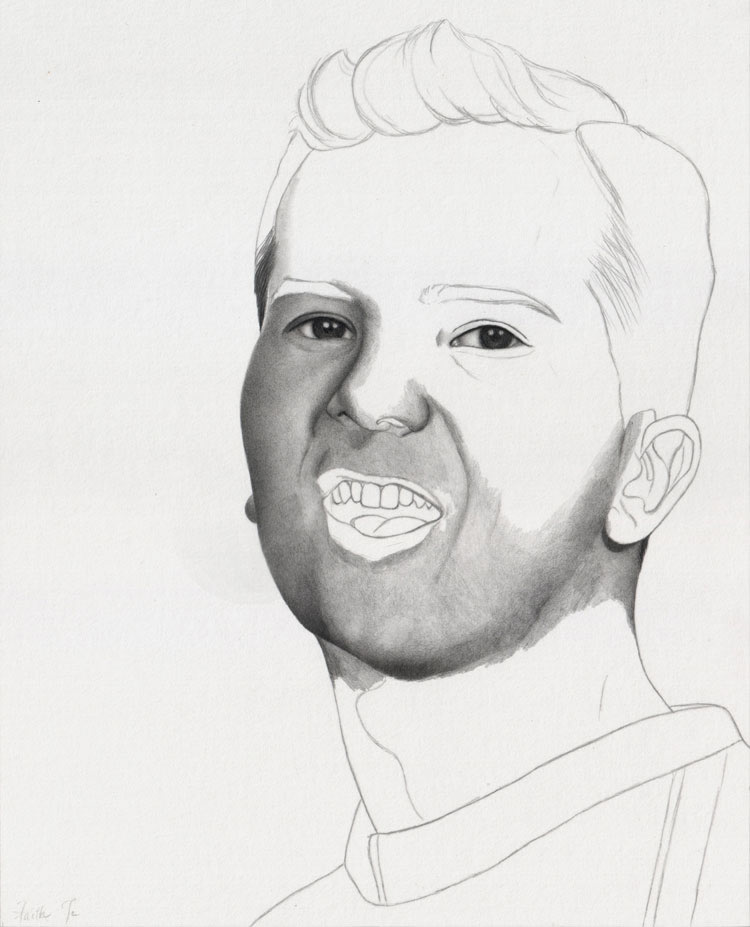
Stage 3 – Portrait Drawing Tutorial
More tones on the face using the 2B and HB mechanical pencils. Only the 2B was used on the chin and the neck.
Time spent: About 3 hours
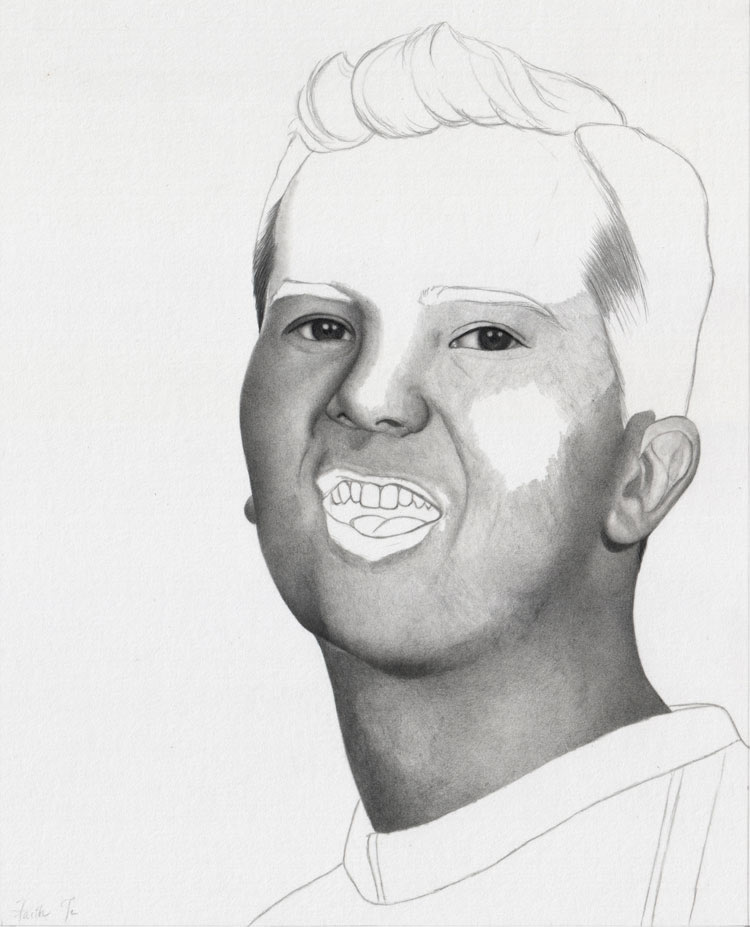
Stage 4 – Pencil Portrait Drawing Step by Step
I continued to work on the neck and the right side of the face using only the 2B mechanical pencil. Later on, I will use a kneaded eraser to remove any dark spots and to even up the tones.
A blending stump was used to smoothen the tones on the ear.
Time spent: About 1.5 hours
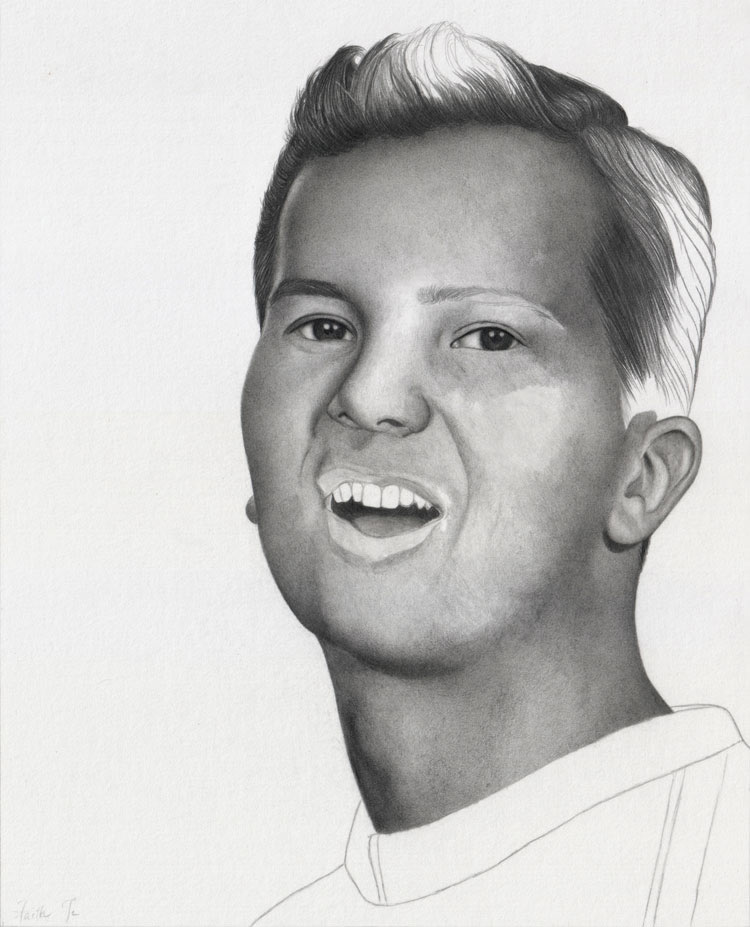
Stage 5
Using my trusty and all-purpose 2B mechanical pencil again, I worked on the hair, eyebrow, tongue and darks inside the mouth. I used about 5-6 layers of graphite and more pressure to achieve the darks.
[adinserter block=”80″]
More tones were also added to the ear, neck, viewer’s right cheek, and forehead using the HB and 2B mechanical pencils.
Time spent: About 4 hours
Stage 6
I’ve drawn more of the hair and the skin tones on the forehead and around the left eye (viewer’s right). Also, I have emphasized the Adam’s apple.
In other drawings, I would work on a particular area until it is almost finished. But here, I am going all over the piece, drawing some here and there.
Time spent: About 3 hours
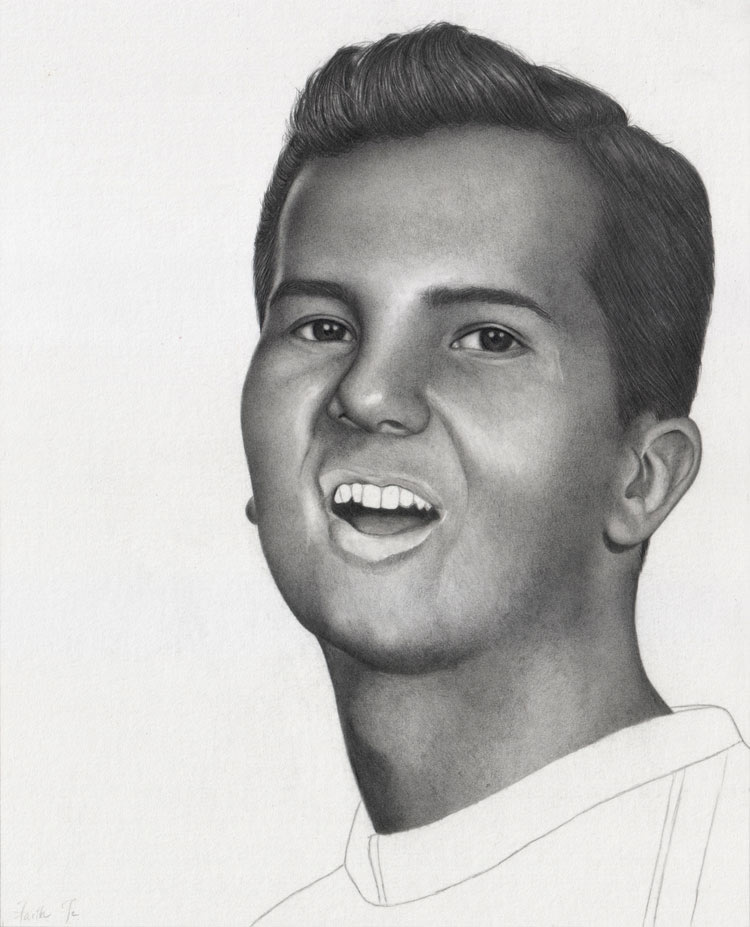
Stage 7
In this stage, the hair is finished.
I’ve also drawn the viewer’s right eyebrow, erased the highlights on the face using a kneaded eraser and shaped the nose and the cheek (viewer’s right).
Time spent: About 5.5 hours
Stage 8
I added a light background using a wooden H pencil.
A 2B pencil and an old stump were used for the initial tones on the lips.
For the clothes, I used a 6B pencil and the 2B mechanical pencil.
I am also fixing areas on the face, adding or erasing tones where necessary.
Time spent: About 2.5 hours
Stage 9
I blended the background and continued to work on the clothes.
For the teeth, I used the wooden H pencil. Still adding/erasing tones on the face where necessary.
Time spent: About 2 hours
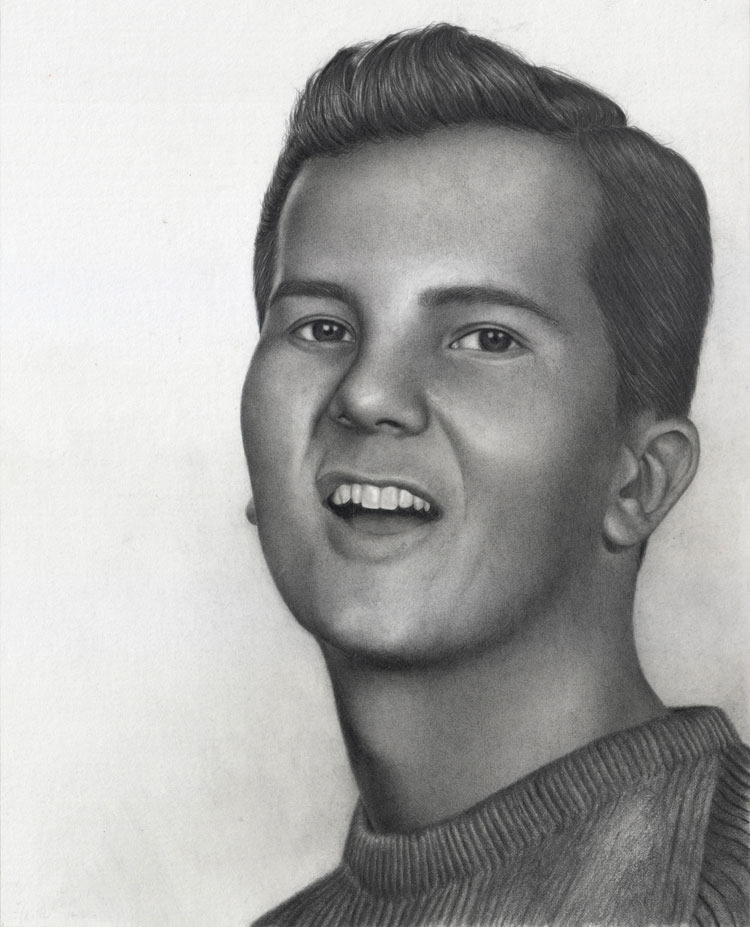
Stage 10
I continued to refine and shape the face. Also, a little more progress on the clothes.
Time spent: About 5 hours
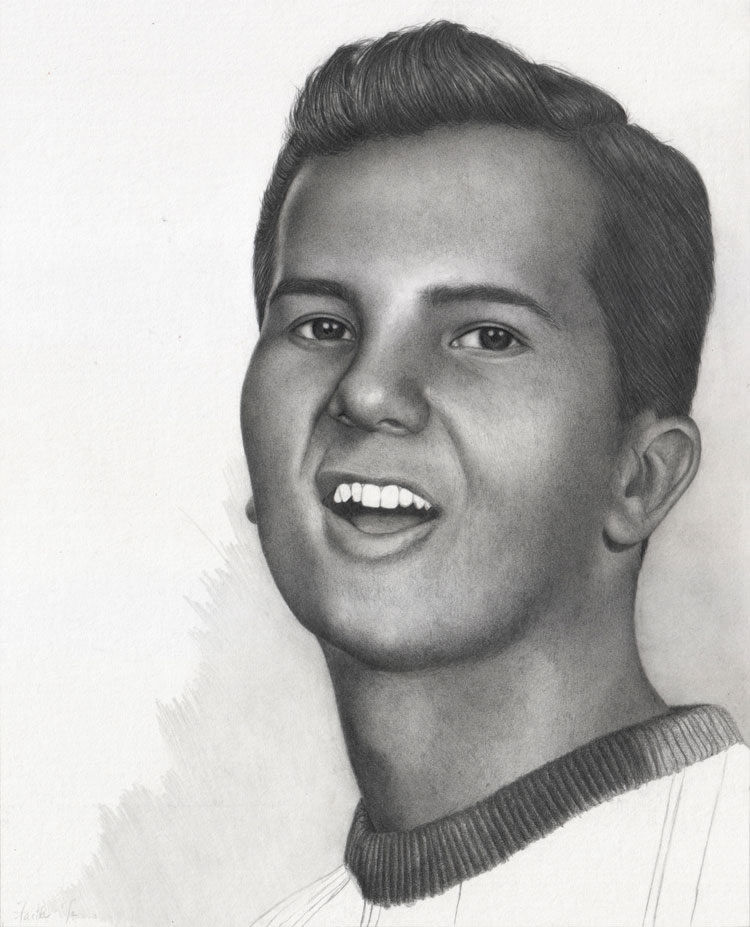
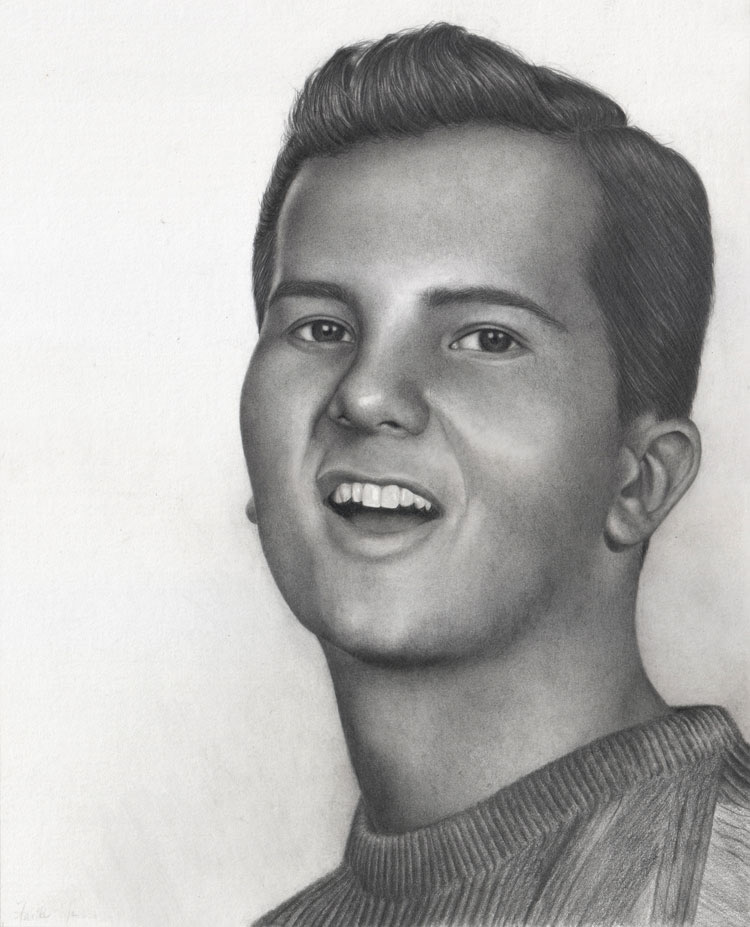
Stage 11: Finished
[adinserter block=”80″]
Here it is, finally finished. I hope you have enjoyed viewing the progress of this portrait. Thank you for reading.
Time Spent: About 9 hours
Total Time Spent: About 43.5 hours
I hope you enjoyed this step by step drawing tutorial and I hope you learned some pencil portrait techniques to help you in your next project. Find more pencil drawing lessons and tutorials on our site here.
About Faith

Graphite Pencil, Charcoal Pencil and Pastels Artist
Hello! My name is Faith Te. When I was 16, a great desire to capture nature and the people around me started my passion for drawing. I began to look at drawing not just as a hobby but something which I wanted to do all my life.
I practiced every day and for many hours since. I taught myself to draw by experimenting with different techniques and materials and through helpful tips and advice from other artists.
Initially, charcoal and graphite pencils were the only mediums I used. When I began working in color, I used pastels, and more recently, oils. My main subjects are portraits but I also enjoy doing many other subjects including still life, landscapes and flowers, especially orchids.
I devote many hours and lots of attention to detail into each and every one of my drawings or paintings. My ultimate goal is not only to achieve detail and realism but also to capture the life and character of my subjects.
Thank you for your interest in my artwork. I sincerely hope you enjoy your stay here on our web site. Please visit again soon!
Please take a moment to visit Faith’s Website and Blog to learn more about her and her products and services.
Her Website: http://www.artisticrealism.com/
the level of detail on your potrait was astounding, almost lifelike. i have a question could one use a single pencil to make such detail or will it mess the potrait.
I like your portrait
tell me what is your
smudge trick
and its
name
I am fascinated with these examples of pencil and graphite drawings.This is the medium Ilove.
Faith, I do admire the potrait a great deal. I too am practicing on drawing potraits, but I only have 4B graphite pensils. I have therefore drawn lots of outlines which I have not done the finishing. could I use the 4B alone to achieve this maybe? Thanks.