About Steve Fleming
Good art is the result of hard work and dedication. It only happens when the artist finds his or her own story to tell and then learns to do so with his or her own unique language.
I am an artist who works in watercolor and acrylic, and I teach both for The Art League in Alexandria, Virginia, as well as workshops across the country and abroad. My goal as an artist is to be creative; my goal as a teacher is to help my students learn to interpret the world around them, not to promote the belief the goal of art is the perfect rendering of a subject. One of my core messages: art is a creative process and is not just the sum total of the work we sell. In this era of digital cameras, I caution artists to look — really look both inside and outside — for the subject matter that lights our artistic fires. Otherwise, our work will be lacking everything but technique.
Enjoy. — Steve Fleming
Opaque Figure Painting Demo

18 x 24 opaque watercolor on 140lb arches cold press paper
This demonstration will show you how to use strong transparent colors as an under painting, and then a fairly dry application of more opaque colors, Titanium white, Naples Yellow from Da Vinci, and Coastal Fog, Peachy Keen and Sky Blue from Cheap Joes’s American Journey line of watercolor. Two things to know before starting are that you apply the opaque colors with a very stiff brush, ox hair filbert or one of the really expensive Skipper Brushes from Cheap Joes, you need the stiff hairs to push the paint on to the paper, and then you need to remember to shake the extra water out of the brush when applying opaque colors. You need some water to make it spread but too much will really dilute the under color and create a nasty, cloudy mess.
Start the painting with a simple line drawing of a figure, no details are important, you are just looking for an interesting shape to apply broad passages of colors.
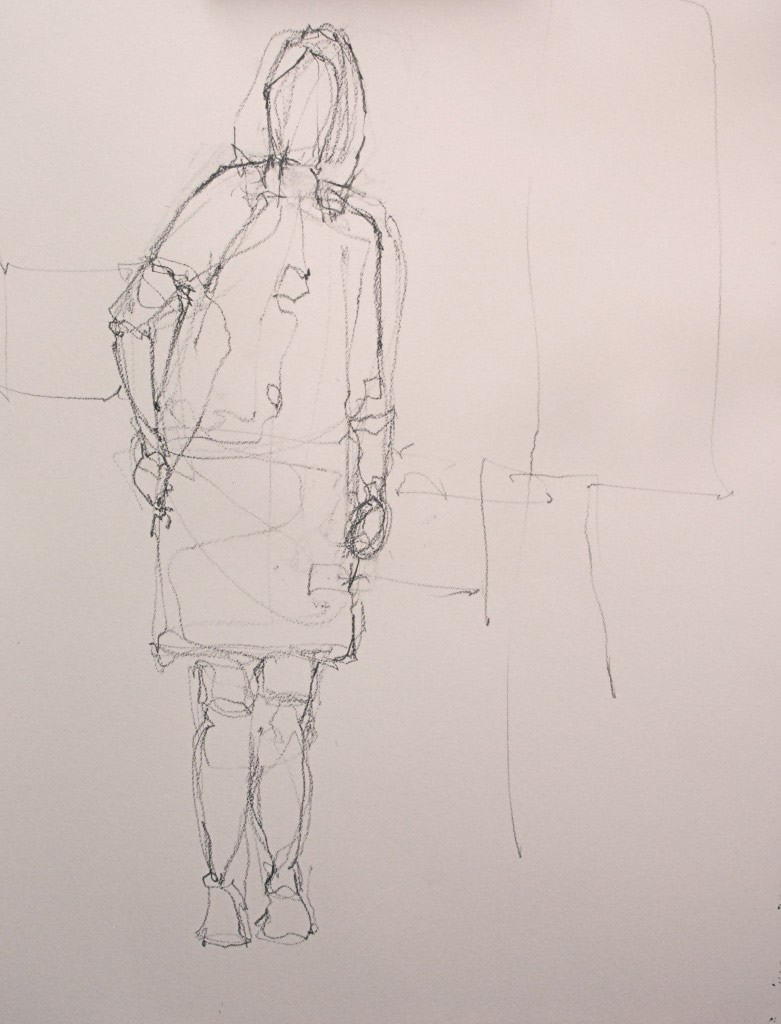
I must tell you now I think my drawing is pretty boring but sometimes even the instructor has moments of lack of expressiveness. The painting is basically just a warm toned figure with a cool background. Really use bright colors because the opaque colors will grey them out when you put them on top.
After I get the drawing on the paper, I use some Higgins Eternal Black ink to create some nice dark accents on the edge of the figure. For the ink I am using a regular no. 12 wash brush.
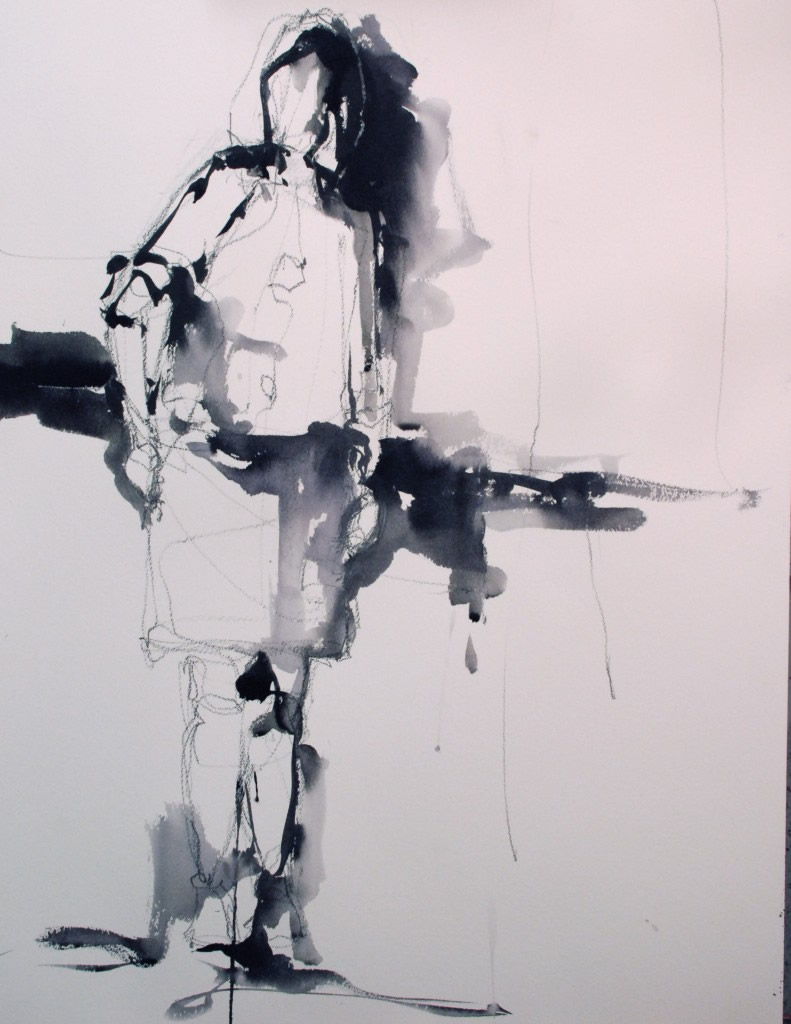
Without letter the ink dry I mover right into the rich passages of transparent watercolors. I am using New Gamboge, Cadmium Scarlet, Cobalt Blue, Skip’s Green from American Journey, and Olive Green. I put the colors down in a middle value with very little water.
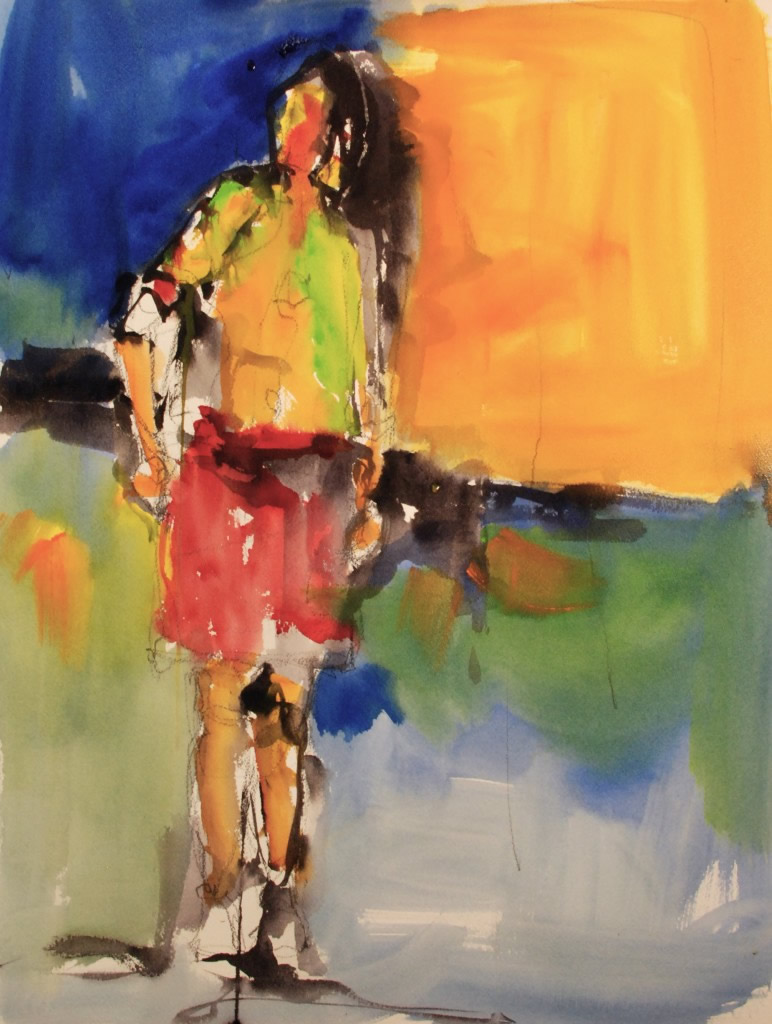
Again without letting the transparent washes dry I begin to over paint with the opaque colors.
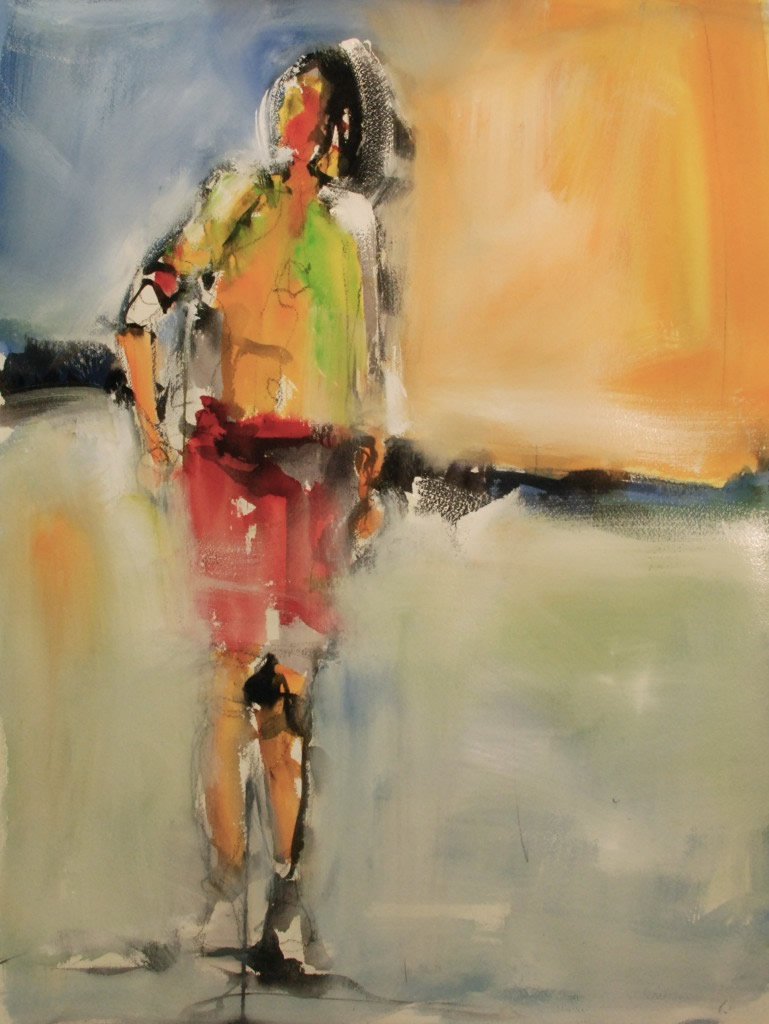
I really control the water in the brush, I shake the brush into a trash can that sits right next to me, and try not to over rub the paint, I want a nice interplay between the under painting and the opaque colors. I work on the edges of the figure with the edge of my brush charged with rich thick whites and Coastal Fog. I also use the occasional knife to scratch the edge.
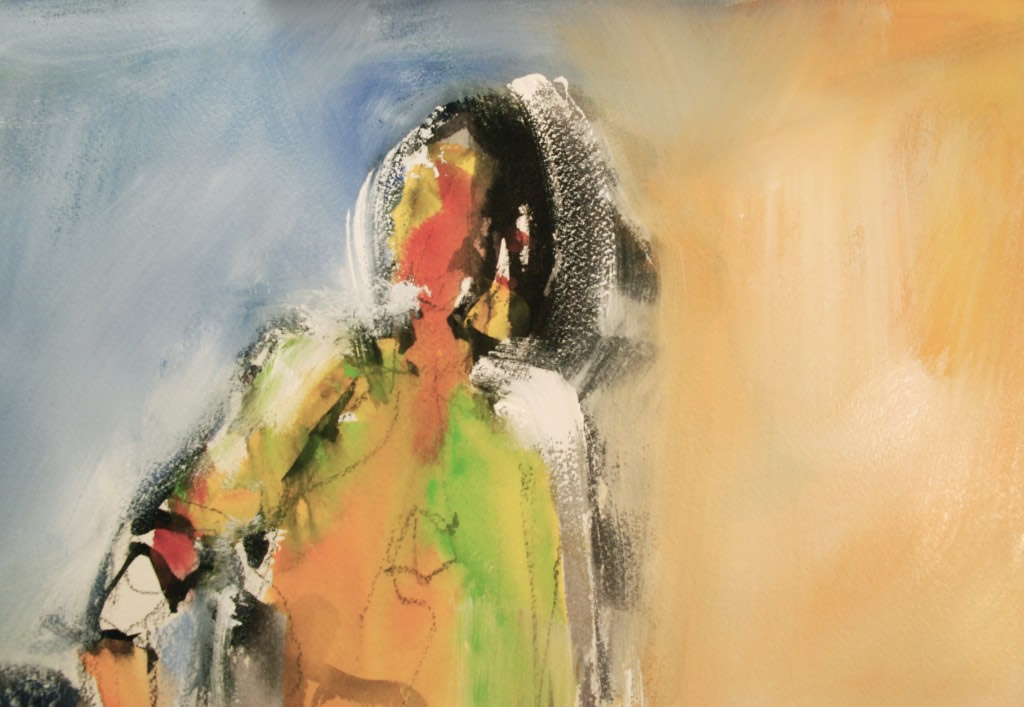
I pull some of the background colors across the edge of the colors on the figure. I really try to modify the edges with scraping, and the use of dry brush paint.

Now I start to adjust the colors adding warmer and cooler colors into the broad passages in the background. All of the time I am thinking of edges and the variety of color. Keep moving without letting the paint dry, don’t add water because at this point, watery paint will push a hole in the color. It will be very hard to fix later.
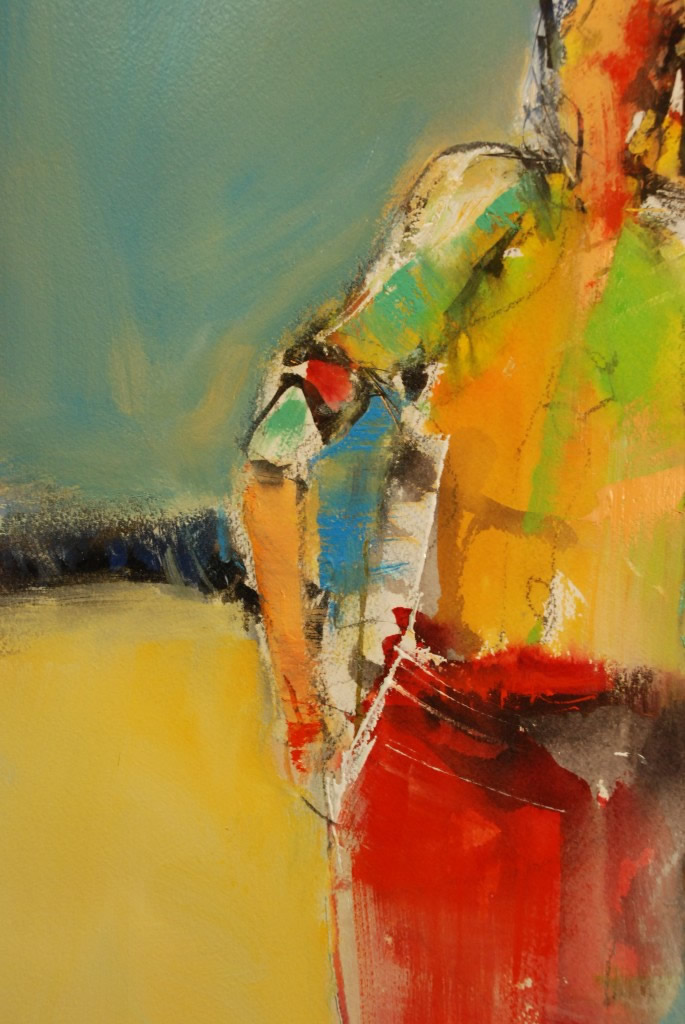
I get to the end of the painting and I find the background is boring and flat. By adding more whites, grays and blues, I begin to get a more interesting look.
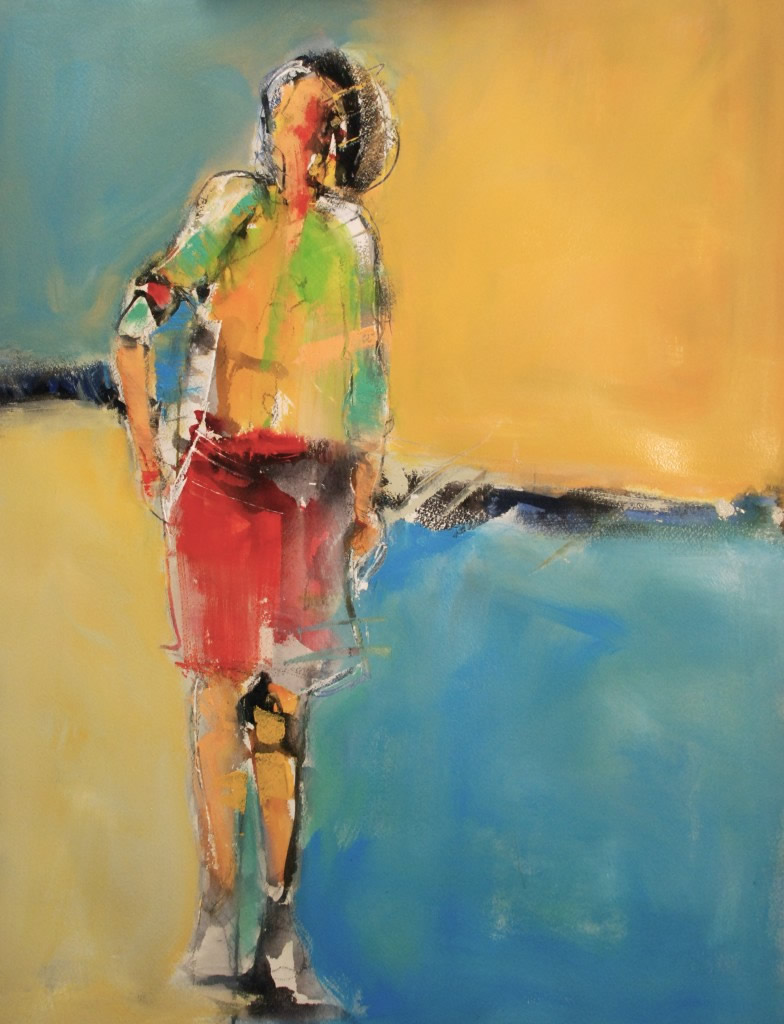
I modify the edges and colors merging the figure in and out of the background. It is not a great painting but it does works as a solid demonstration.

Keys to remember:
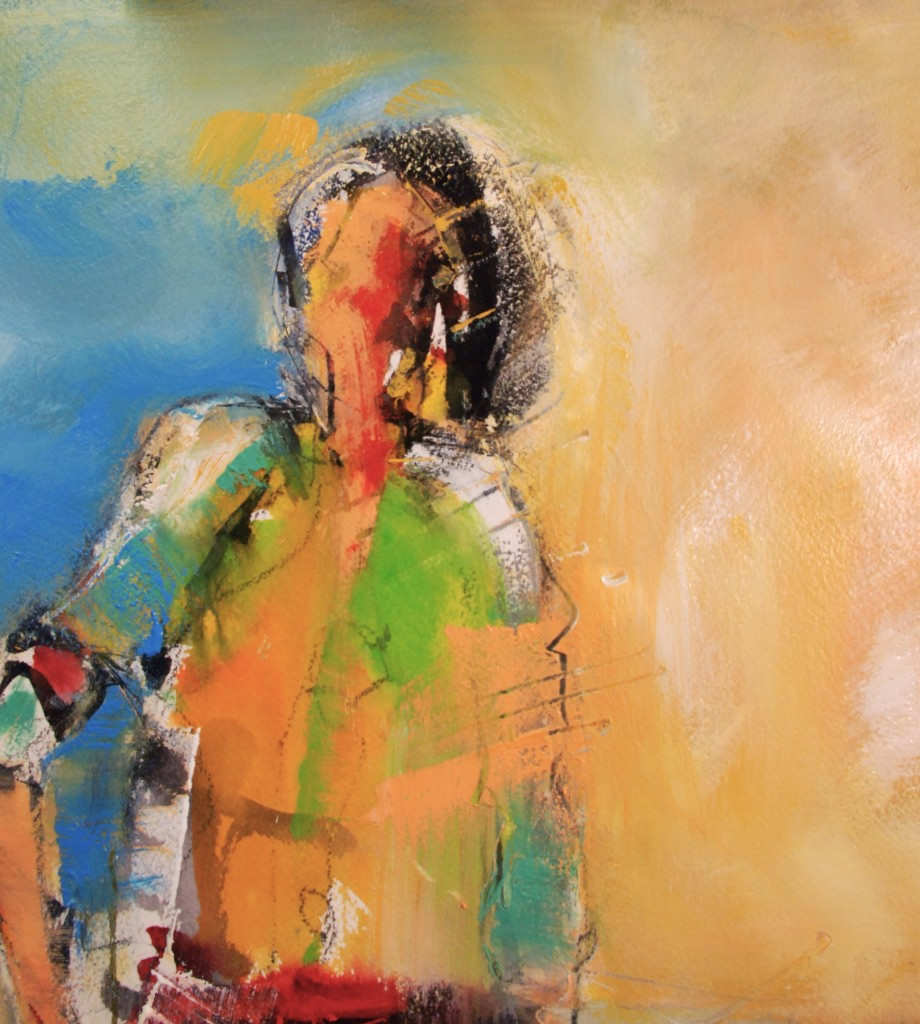
Don’t rub the paint
Use a stiff brush for the opaque colors
Use less water with the paint
Really work on the edges.

Hello What brand of watercolor that you using. is it W&N or Holbein?