About Barbara
Barbara A. King is a self-taught artist. Born in Irvington, New Jersey. Barbara took to art as soon as she was able to hold a crayon. Throughout her childhood, Barbara developed an appreciation for her majestic surroundings. She would often sit in tress for hours with pencil and pad, or sit in a meadow with a canvas. Years of artistic expression made it clear that Barbara’s life would be centered upon her passion for art.
To learn more about Barbara and to view her work, please visit her website by clicking here.
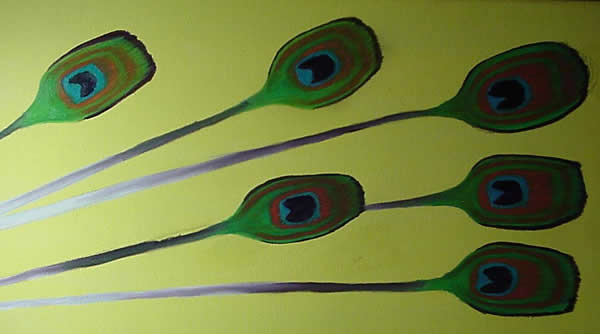
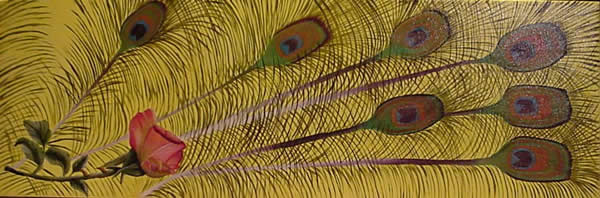
Oil Painting Demonstration – Peacock Feathers
Materials Used for this Painting
My Palette of Colors
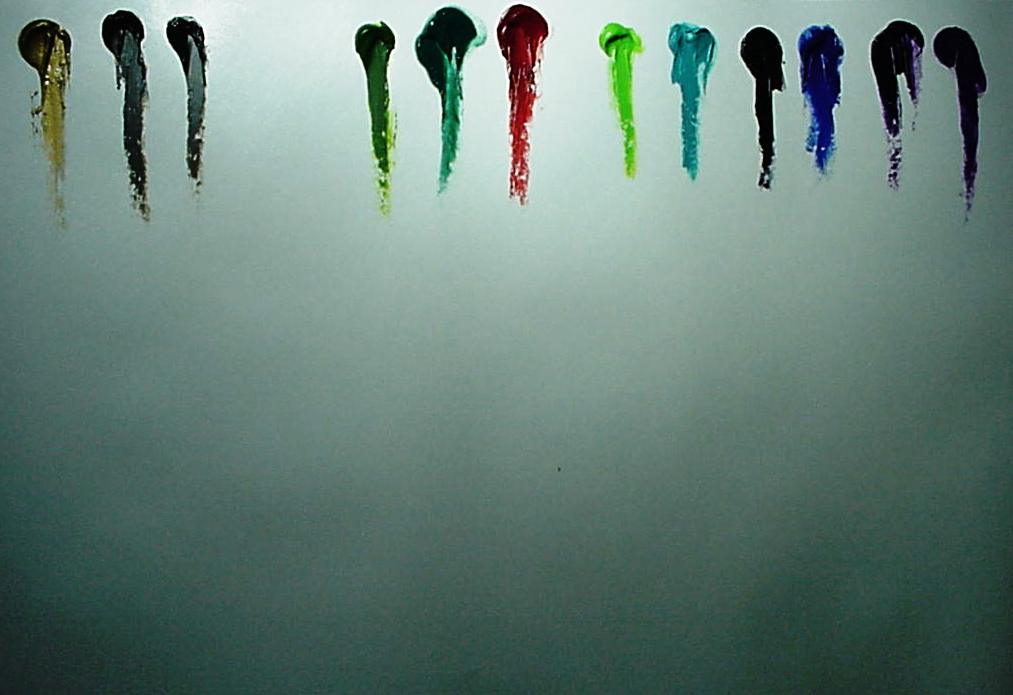
- Acrylic Yellow Lemon
- Dioxazine Purple
- Cobalt Blue
- Indigo
- Cobalt Turquoise
- Raw sienna
- Perlene Red
- Thalo Yellow Green
- Viridian
- Ultramarine Violet
- Raw Umber
- Sap Green
- Van Dyke Brown
- Warm White
- Metallic Gold
(One Coat Glazing Medium)
(Two Coats damar Varnish)
My Brushes
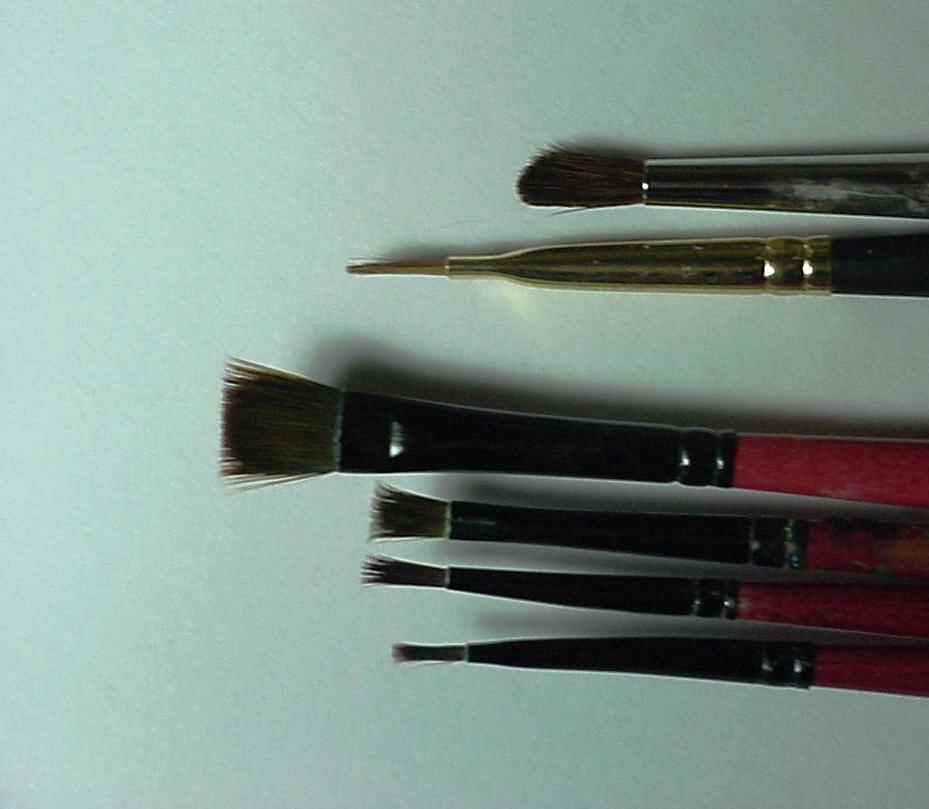
- # 6 Bright
- # 4 Bright
- # 2 Bright
- # 0 Bright
- # 2 red Sable flat
- Small soft mop brush
10 X 30 Canvas or what ever you have.
STEP 1
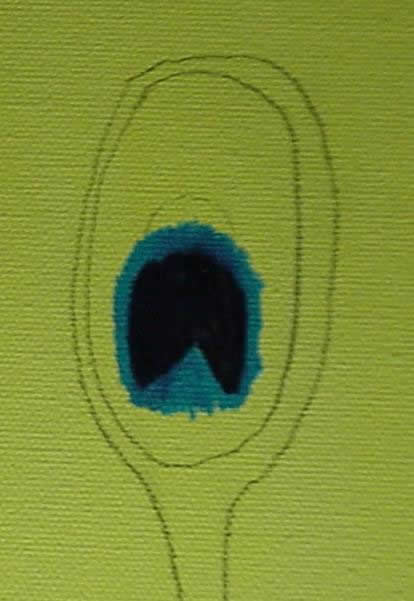
Cover the canvas with lemon Yellow acrylic paint. You can draw your peacock feathers on the canvas. Your lines will not show. I do not draw in the lines when I paint. I did this so you all can see the shape of how to start a peacock feather. The main part of the feather is shaped like an egg.
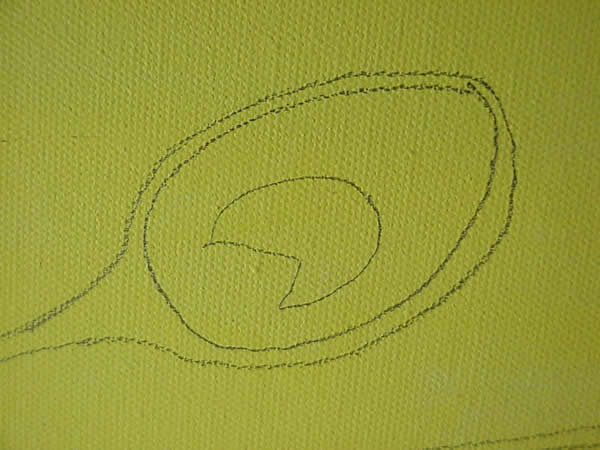
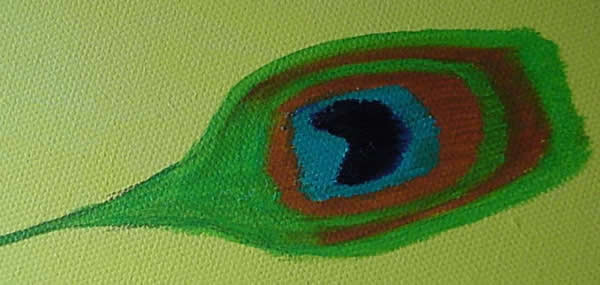
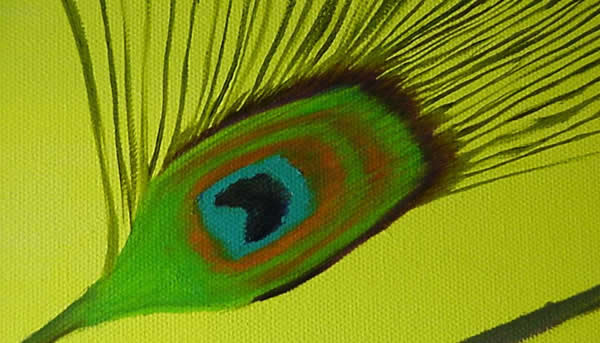
Start with what I call the eye.
Work your way out to the outside of the feather.
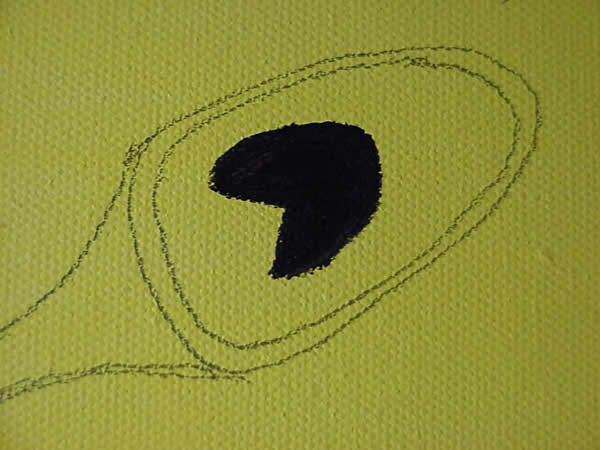
Oil colors for the eye: Cobalt Blue, Indigo, Dioxazine purple.
Make a mix of these colors for the eye.

Brush in the mixed colors for the eye.
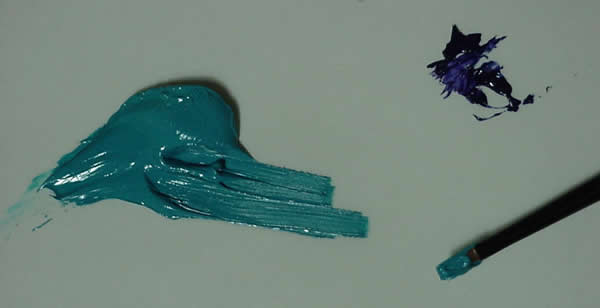
First ring around the eye. Cobalt Turquoise, using a sharp chiseled edge of the brush. Go in the direction that the feathers grow,around the eye with short strokes. Now blend and soften the edge, with a clean dry soft mop.
Second Ring: Mix Raw Sienna and a small amount of Perlene red # 6 Bright brush. The brush should always have a very chiseled edge. Soften edge with soft mop brush.

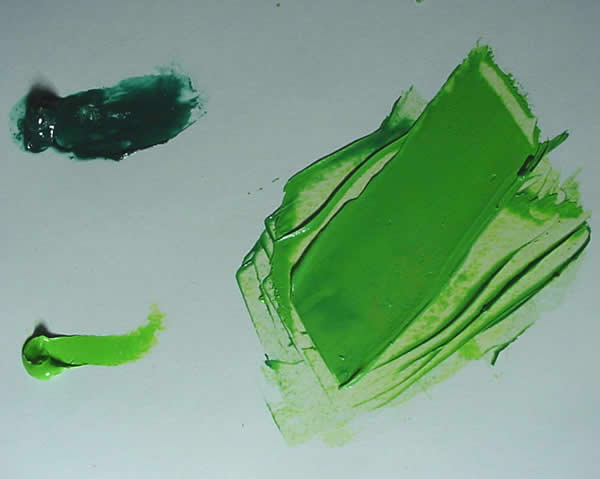
Third Ring: Mix Tholo Yellow Green and Viridian With # 4 or 6 Bright what ever brush works better for you. Always use short strokes at the top of the feathers. I can never say this enough “CHISELED EDGE”.
Next Ring: repeat second ring.
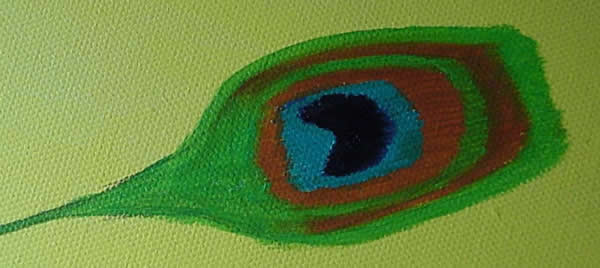
The last ring , mix Ultramarine Violet and Raw Umber with a # 2 Red Sable flat Brush.
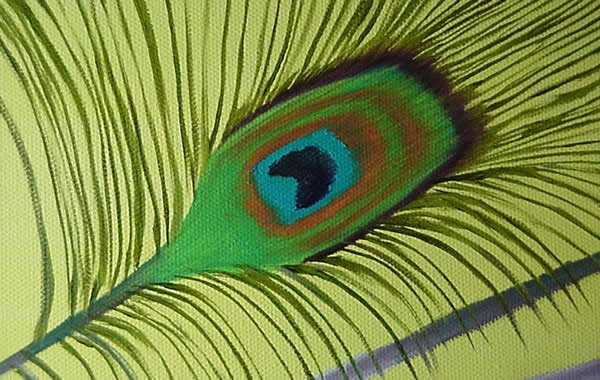
Lightly pull lines though all the rings in the direction the feather grows. (to the top of the feather)

Used your mop brush very softly go over all the rings to smooth out any hard brush lines.
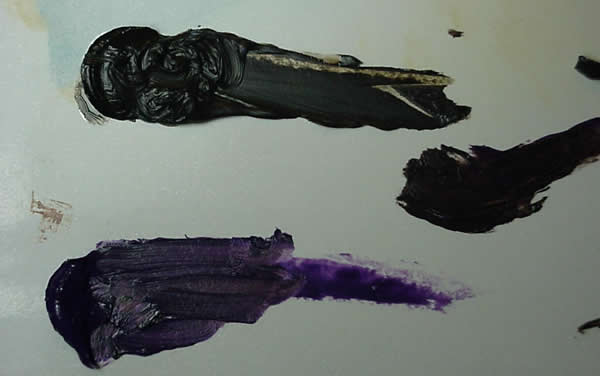
Feather Quills is a mix of your greens, purple, raw umber and warm white.
The top of your quill is your green mix. Middle quill is your purple and raw Umber mix. Bottom of the quill is warm white.
Blend the colors together were the colors meet.
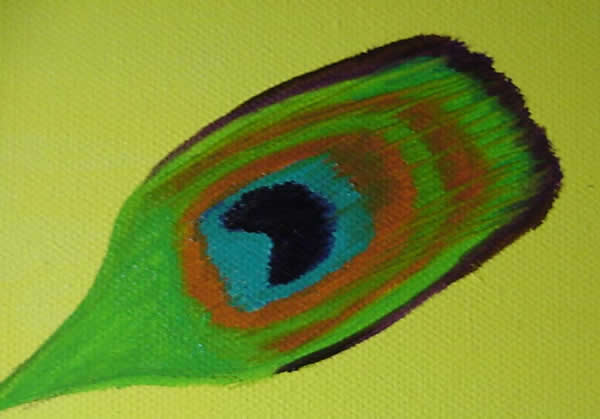
When all your feathers are done and quills are done, move to the outer edge of the feathers.
Now the fun begins!!
Mix Sap green and Van Dyke Brown more to the green side. Use a # 6 Bright. Your brush should have a very very chiseled edge.
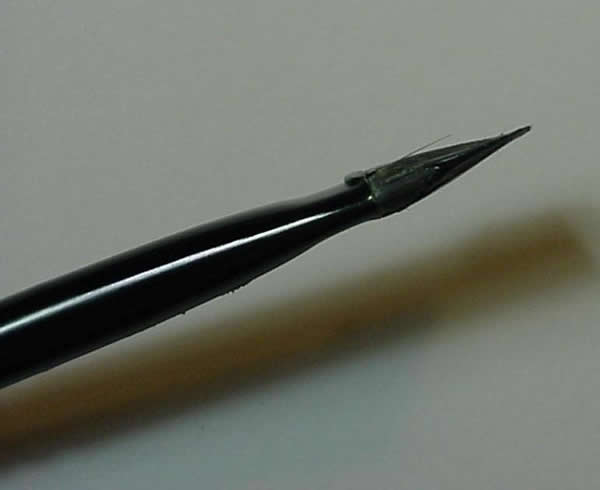
Keep your feather lines very close together. If you have a maulstick , this would be the time to use it to steady your hand.

This part of the painting takes a lot of time and patience. The feathers must be from the top to the bottom of the quill. You can fill in as you go. You will be going back and forth to your palette many times to reload your brush. You will also have to see what feathers are going to be in the background and what feathers are in the foreground.
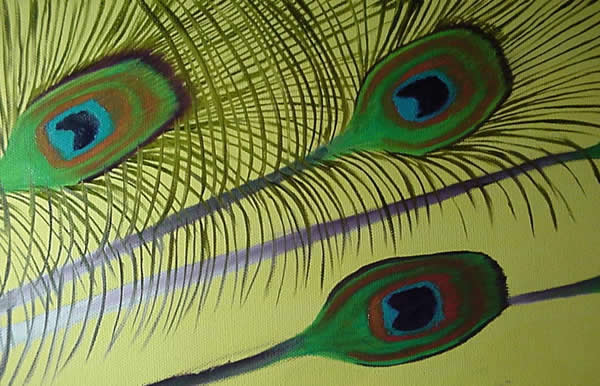
When your painting is dry you may use a light coat of metallic gold on your painting. Use the Metallic gold only on your eye and feather rings. This is optional.
When your painting is dry, put a thin coat of glazing medium on your painting. When the medium is dry use one coat damar varnish on your painting. Six months later put your second coat of damar varnish on your painting.
When I painted Proud Peacock I did things a little different with the background. I did not use an acrylic paint. I used a mix of gel, cadmium yellow and titanium white. This is for you people who don’t mind waiting for a background to dry.
I hope you all enjoy painting peacock feathers. Just a little note to all the people who are new oil painters. Never give up and don’t let any one tell you, you will never be a good painter. If you would like to see more of my work, please go to www.barbaraaking.com
If you have any questions, please let me know.
I think you are so creative and you took a very simple
subject matter and transformed it into visually easthetic work of art.I would like on day to create work like that so simple
but yet so eye catching and admirable.
.-= nomfundo´s last blog ..You Asked – Using Zinc White? =-.
nomfundo, Thank you so very much for your lovely comment. Best Wishes, Barbara
Very nice!
A very interesting art lesson…..All the best Barbara,Gianni da Londra
Jet, Thank you very much. Best Wishes, Barbara
Gianni da Londra, Thank you very very much. Barbara
I have been dreaming to paint peacock featehrs. Was so glad to see your demonstration. it was very clear and easy to follow. Will try to paint following your instructions.
Thank you. God bless you.
Kamala
Kamala, Thank you and I hope you enjoy painting peacock feathers. If you need any help, please contact me. Best Wishes, Barbara :O)
I use peacock feathers in my art quite often and always struggle with them. Thanks for explaining in detail how to paint them. Next time I’m painting peacock feathers I’ll make sure to follow your instructions.
🙂
Barbara,
Can you please tell me what oil colours to use for the feathers i am new to this and would like to try in oils.
would really appreciate your help
[peacocks are my passion but i am not sure where to begin so all the help you can give me is VERY WELCOME AND TRULY APPRECIATED]
RUPAL
Thank you! I’m about to “attack” a found dresser and I want to paint peacock feathers on it (I’m not using oil paints. using craft style paints) BUT I needed to see the strokes, etc! Thank you! I will send a picture once this project is complete (in a few weeks).
This is great insightful post! you really amazing! This is my first time reading this blog and you are already hypnotize me with your input on how to use the canvass and all of those color mixing technique. I will come back here again to check out your next post. Nice!
I love your work! Very beautiful. I recently acquired a feather painting and it is signed Bass ’06. Would you have any idea of who this artist coulod be? I am very interested in finding out about this work. It is amazing what you do in such detail and such amazing colors. Thank you for any assistance. Happy 2011.
Thanks for posting this demonstration! I like it!…Daniel
I wish you could show me how to paint a Flamingo
and have it look real.
I keep trying.
Also I want to ask what number of brush
did you use on the strands of the feathers
in those last pictures ?
I am trying for fine detail.
is very good
its very good.i liked it a lot
Your peacock feathers look similar to those on a painting I have made by Chezzio. Do you know anything about the artist?
Thank you for all the wonderful comments. If you have any questions, please contacted me on Facebook.
I am on facebook if you need to cantact me.
Thank you for sharing painting realistic peacock feathers.
I see that you have used lot of acrylic colors.
Can i use 3 primary colors and do the same peacock feather painting.
please let me know what colors should i mix to get the list of colors you used.
Appreciate your response.