About Katherine
My name is Katherine Herriman and I grew up in a small fishing town in Victoria, Australia (down the bottom), called Lakes Entrance. After finishing school, I moved to Melbourne to study psychology and social work. I chose to work with asylum seekers and refugee youth, helping them settle into their life in Australia. It was around this time I found my way back to making art. I can’t remember exactly when or why this happened. Although in hind-sight, at that time in my life there was more space, and more quiet, and more safety, than there had been in a long time. There were just less things getting in the way, so it naturally bubbled up to the surface ever so casually.
After a couple of years working as a social worker, in June 2009 I moved to Europe with my partner. We bought a motorhome, called her Nettle, and drove. We stop driving every now and then so I can draw and paint and my partner can pursue his passion, programming. With this life change, there is more space and quiet in my life than there ever has been. Audacious dreams began to tentatively emerge. I felt unsure about their right to exist and didn’t give myself permission to think them too much at first and yet they were there. They grow a bit bolder with every new discovery of other women who are already doing it. Women with businesses, who design and create and paint! I yearn to be one of them! I’m working towards this goal.
We’re still travelling but we’re beginning to dream of home, and nesting, and the life that’s waiting for us back in Australia. Instead of longing for quaint mediaeval European towns, my heart goes thump when I think of long dinners with friends, buying a house and making it a home, and regular trips to the library. We’ve reached the tipping point of our travels and are coming out the other end.
Visit Katherine’s Website Today Where She blogs about her original art and mixed media art how-tos.
Mixed Media Art Techniques with Acrylics, PanPastels and Ranger’s Distress Ink
A few weeks ago, I blogged about finding my arty sea legs. I mentioned my plan to focus on two particular techniques and a colour palette I’ve come to adore. In this tutorial, I’ll introduce you to both.
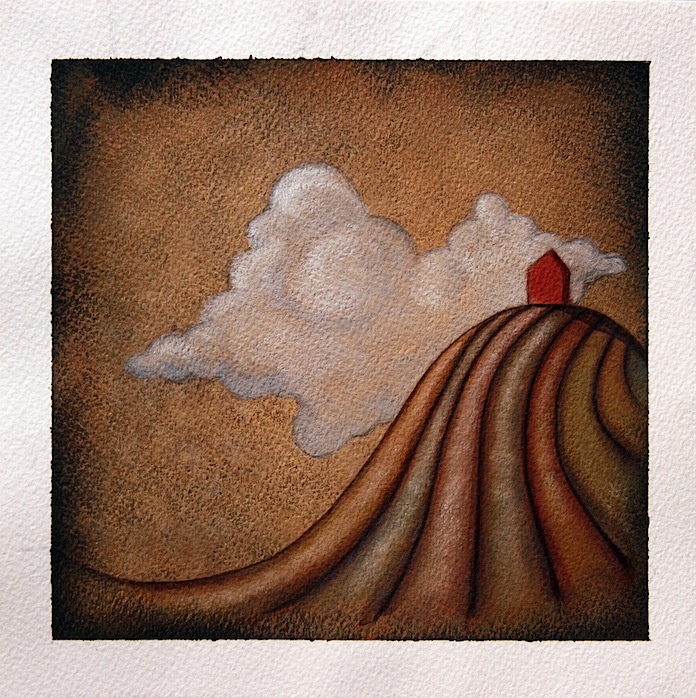
The first technique I adopted after reading about it on the blog of Natasha Newton when she very generously shared her particular style of dry-brushing. The other, I developed in response to my problem of not owning any PanPastels in dark shades and having difficulty creating shadows. Previously, I would only use Rangers Walnut Distress Ink to create shadows when using PanPastels but this was very time-consuming so I added another step using a Burnt Umber wash.
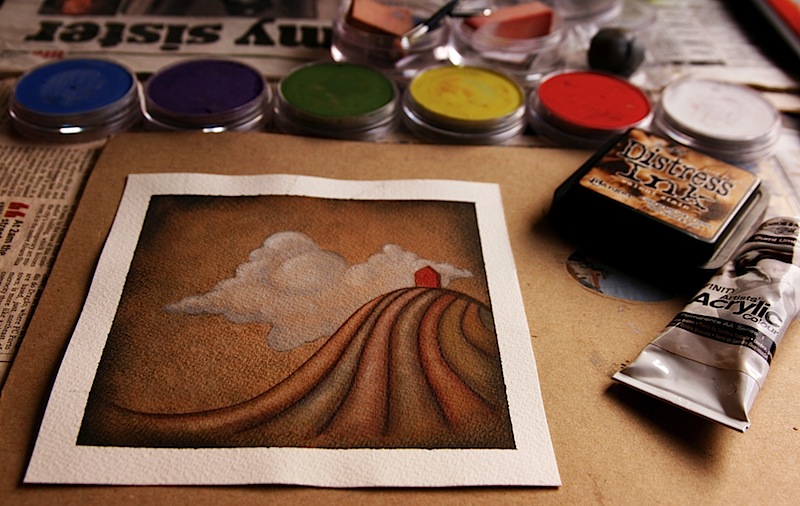
Materials for creating the background
- 300 gsm (140 lb) watercolour paper
- Zinc or Titanium White, Burnt Umber, Raw Sienna and Mars Black heavy-bodied acrylics
- Stiff bristled filbert paintbrush
- Watercolour mop paintbrush
- Low tack or tacked-off masking tape
- Sponge or spray bottle
Materials for creating the foreground
- Pan Pastels
- Walnut Distress Ink (Ranger)
- Burnt Umber acrylic
- Fixative for pastel
- Kneadable eraser
- Pencil
- Round Watercolour brush
- Liner brush
Step 1… Stretch the paper
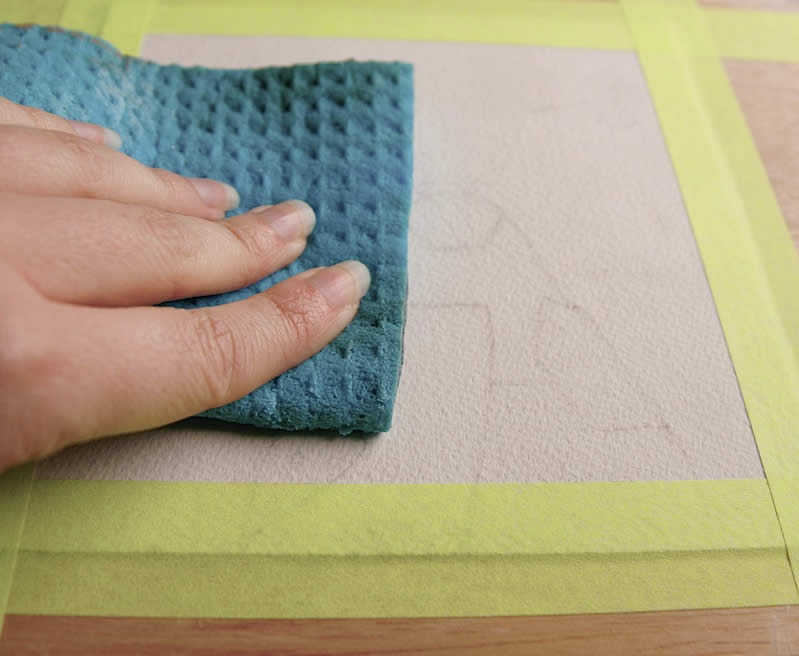
To prevent the paper warping too much while you are working you can stretch the paper. Tape the paper securely to a strong board. Spray or wipe the entire surface with water and let it dry.
Step 2… Paint black base layer
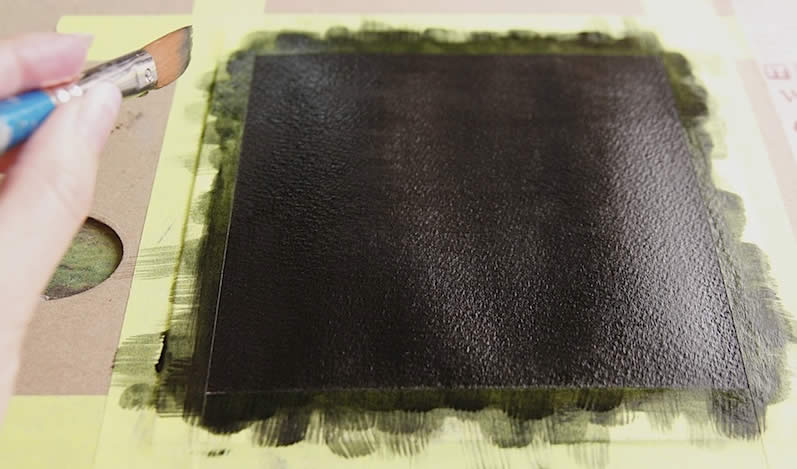
Paint the entire surface using a black acrylic wash with a watercolour mop brush. Let the first coat dry, then paint the entire background with a second coat. Continue applying coats until you have eliminated any streaking.
Step 3… Create sepia vignetted background
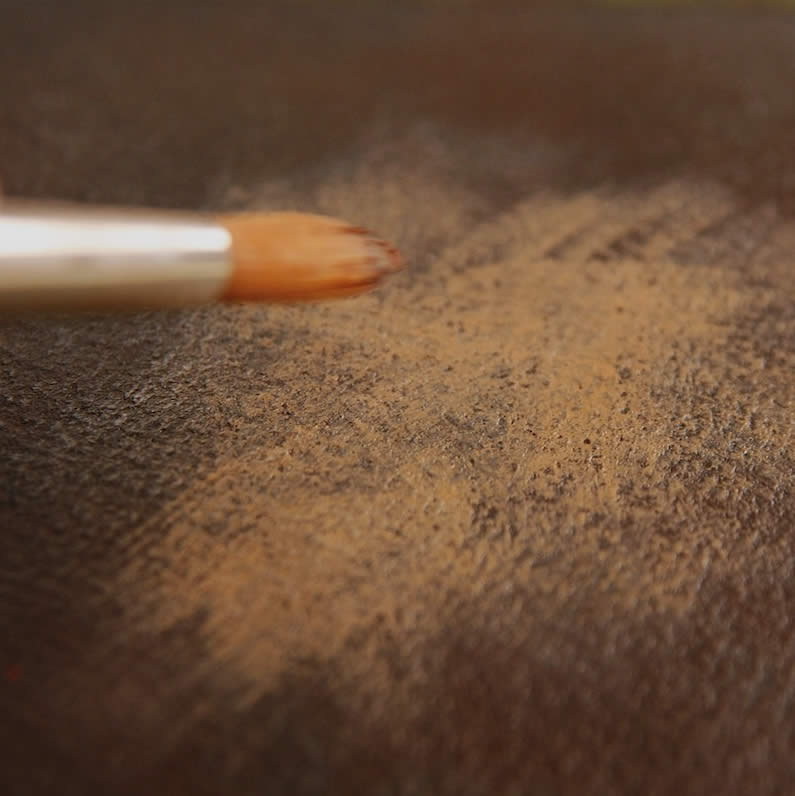
To create the vignetted background, we’re going to layer sepia tones of heavy-bodied acrylic paint from dark to light, allowing each successive layer to show through to create a blended surface. Start by blending Burnt Umber and a smidgeon of Mars black. Create several shades of this mixture by blending Zinc White if you have it, or Titanium White if you don’t, in ever increasing proportions. If you’re using Titanium White, you may find you need to add a little Raw Sienna the more white you add, in order to keep it relatively sepia-esque.
Apply a coat of the darkest shade using a dry brush technique with a stiff bristled filbert brush. Let it dry, or give it a quick blast with a heat gun. Apply the successively lighter shades in turn, allowing the layers beneath to show through.
Tip: Beware of the “tacky phase” when dry-brushing. I’ve noticed when using this technique that it can be difficulty to notice when the paint is in the danger zone between the wet stage and the “dry to the touch” stage. Be vigilant of the tacky phase and stop painting in that area until it’s dry.
Step 4… Sketch Subject
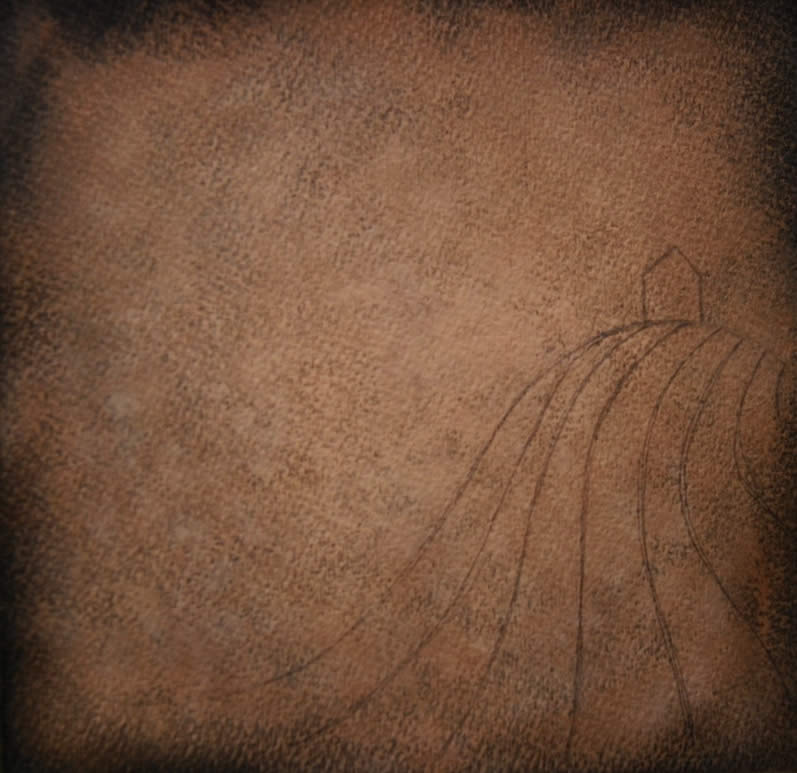
Use a pencil to sketch your subject on the painted surface of your work.
Step 5… Layer Burnt Umber wash in areas of shadow

Apply a Burnt Umber wash to areas where the shadows might rest with a round watercolour brush.
Step 6… Add white PanPastel to highlight areas of light
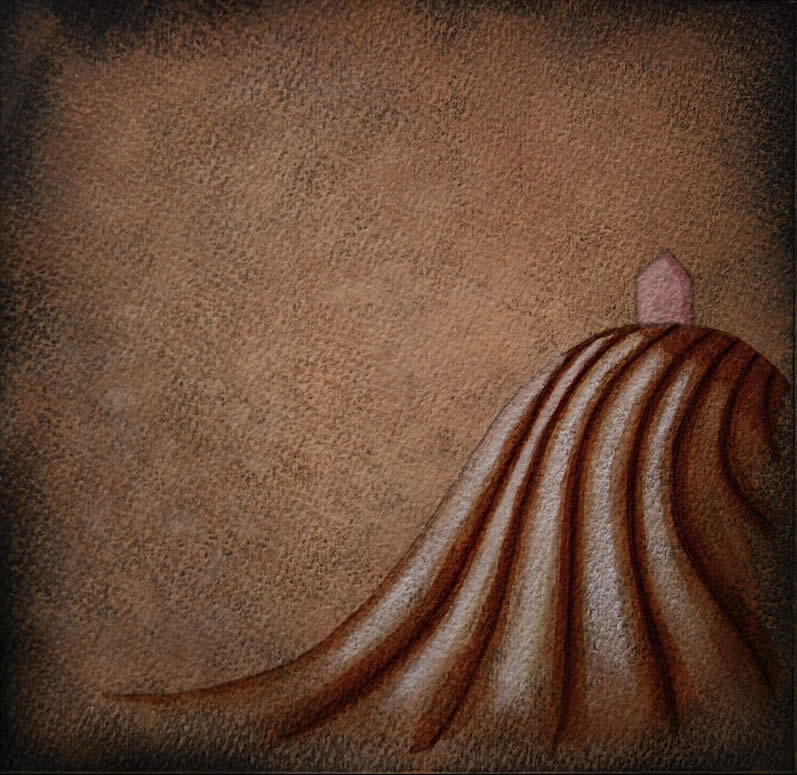
Apply some white PanPastel thickly to areas where the light might rest.
Step 7… Colour subject with PanPastels
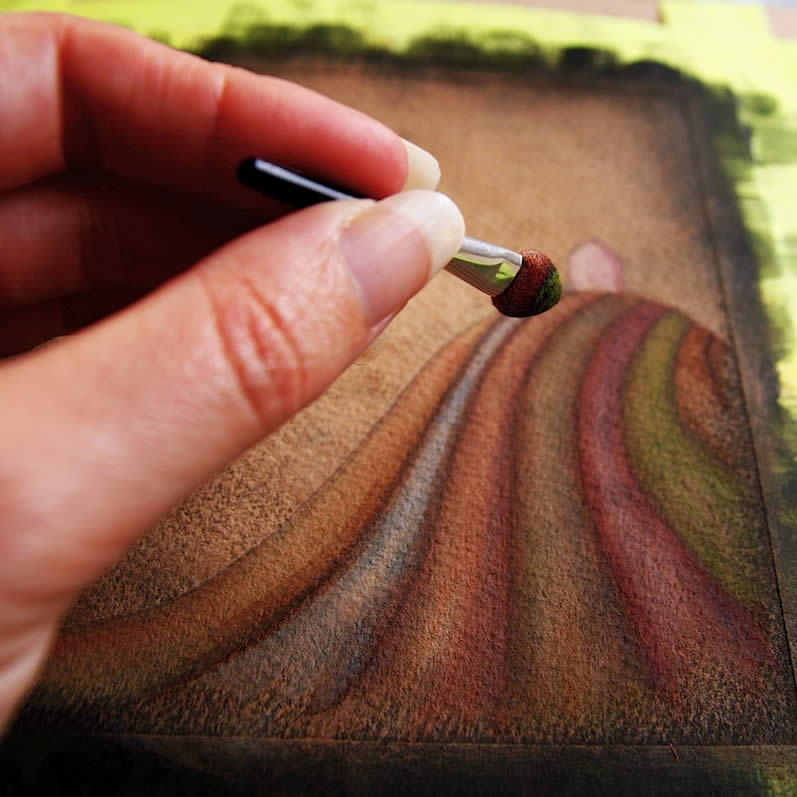
Colour subject with PanPastels. Apply the colour, beginning at the edge where the shadows might rest and work your way to the lighter areas. When using this technique, I always blend directly on the substrate, rather than mixing the colours first.
Step 8… Add finishing touches to subject
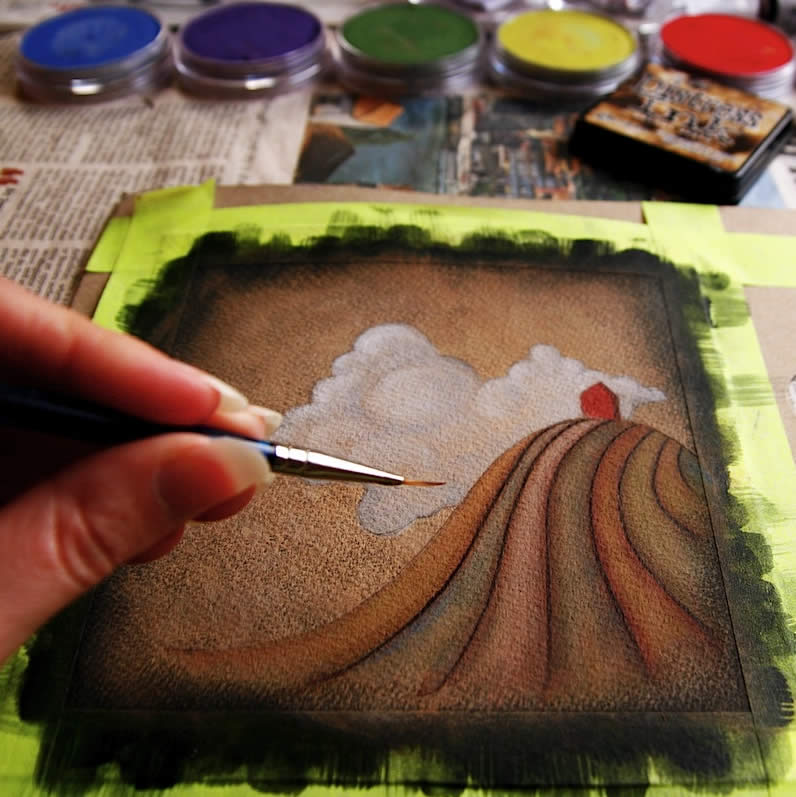
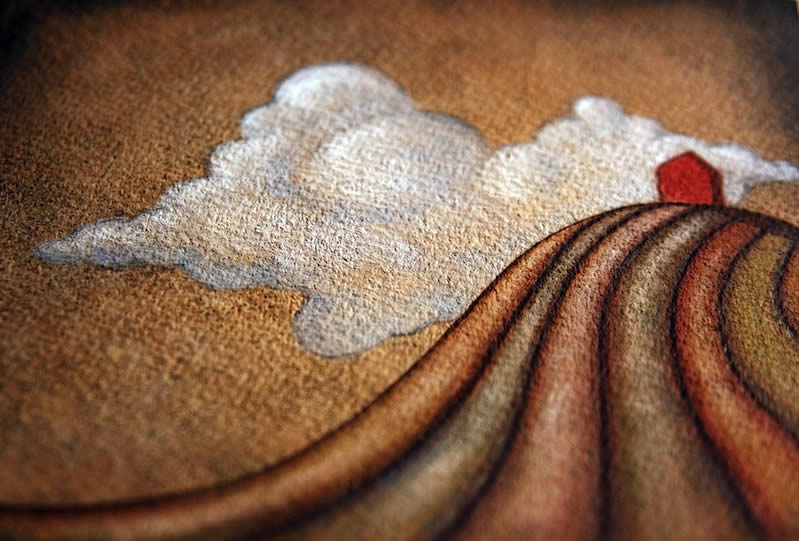
I added Ranger’s Walnut Distress Ink with a slightly damp liner brush to the shadows, used white PanPastel to re-define highlights and added the cloud to give the piece a bit more balance and contrast. Finally, slowly peel off the masking tape and seal your work with fixative.


It’s amazing, I’m going to try similar tecnic.
I’m spanish
Hi Katherine, Love your ideas and work. We honeymooned at Wilson’s Prom and Lakes Entrance 20+ years ago. Hubby-sand and I connected at a kite flying event at Lake Tyers 1992. Great memories!
Cheers
Katie-Lou