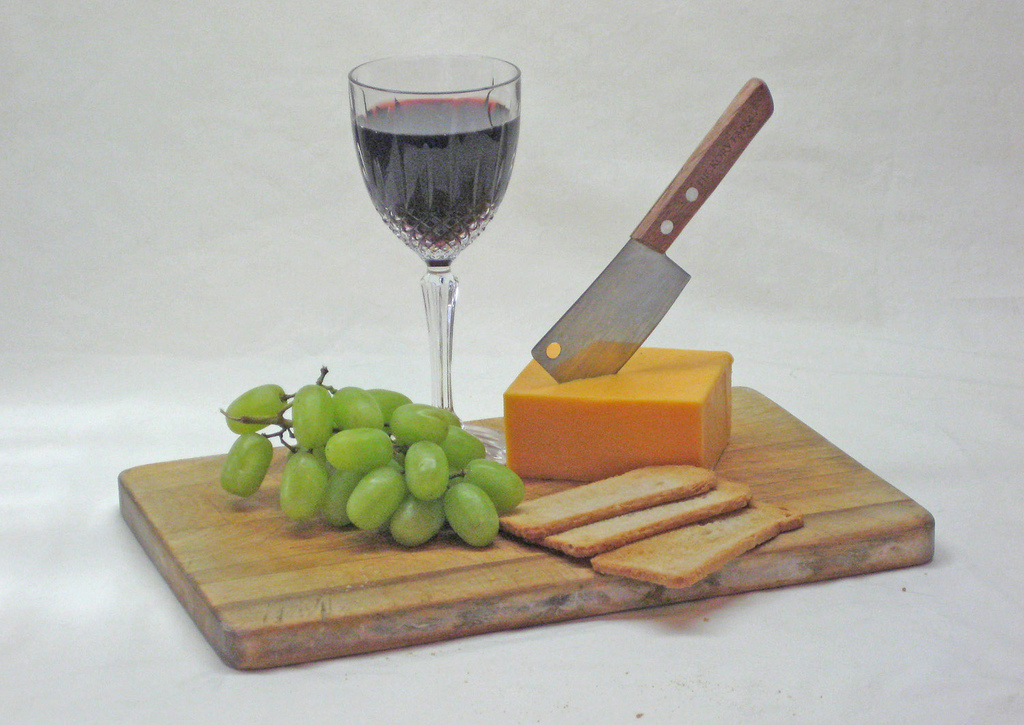
My beginner’s class in watercolour painting is doing one more still life before tackling landscapes. This high-key photograph was set up in my studio to avoid the necessity of doing a background wash – never an easy task for absolute beginners. These still life projects have been exercises in a number of watercolour techniques: colour mixing, wet-in-wet, dry brush, wet-on-dry, loosing edges, liquid masking, colour lifting, brush dexterity, and the general feel of how colour acts on the paper under a range of circumstances. Each student worked from a 5″ x 7″ print, plus my initial painting of the subject full-sized: 8″ x 6″. I show them each stage on a large flat-sceen TV, and re-paint this as a step-by-step demonstration.
Step 1
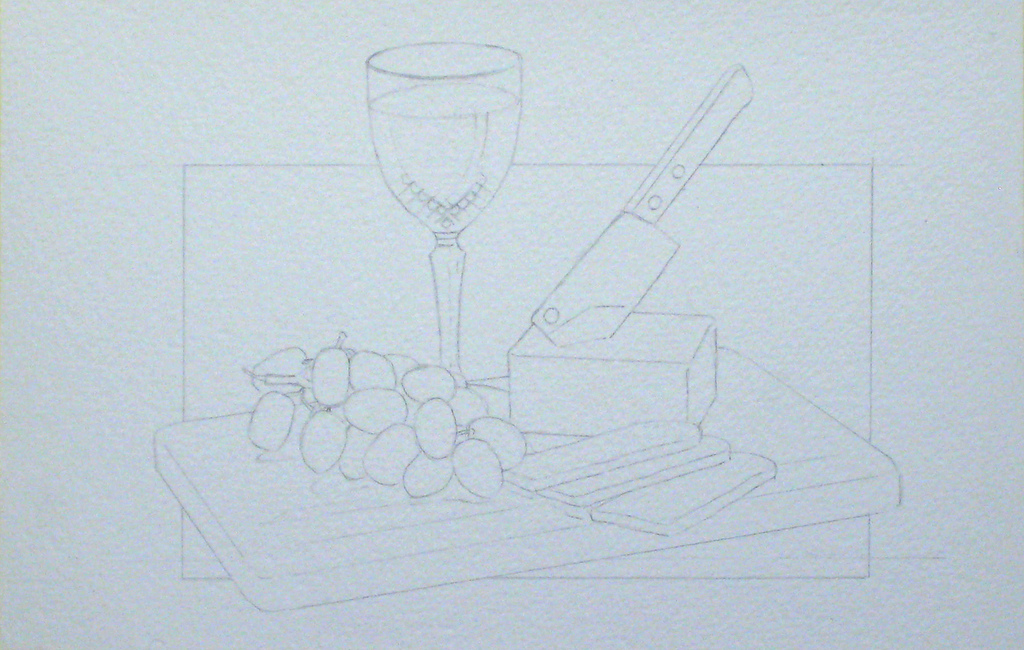
I always have them prepare a careful drawing on 300 lb paper as “homework” to save class time and ensure we all start at the same level.
Step 2
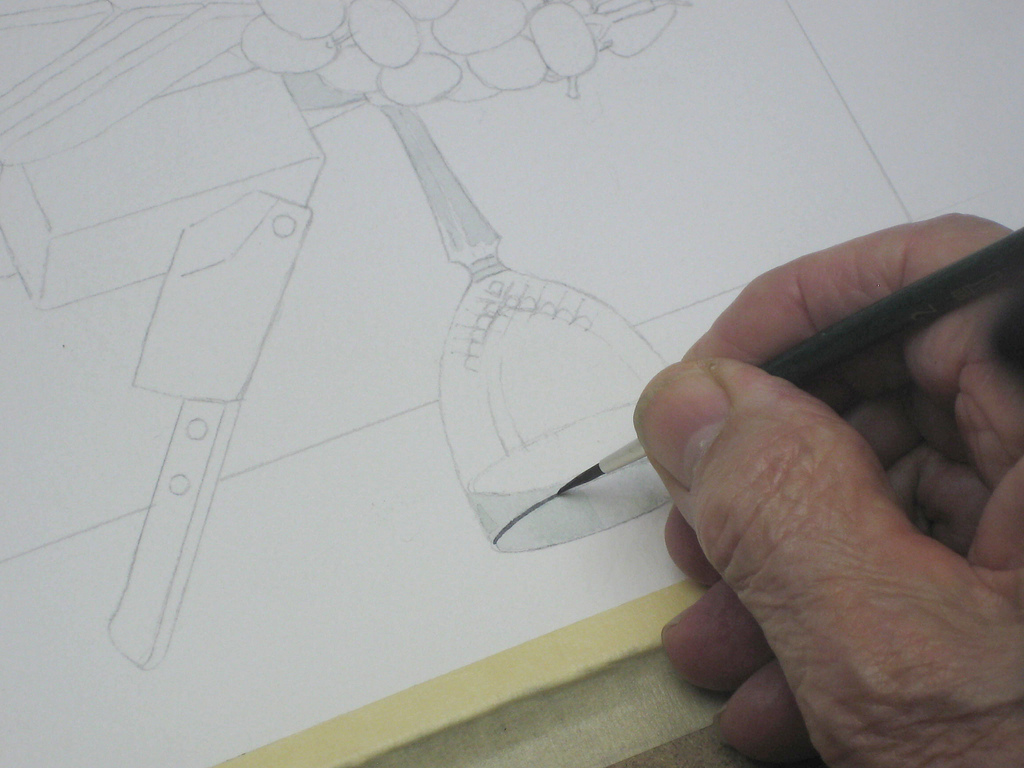
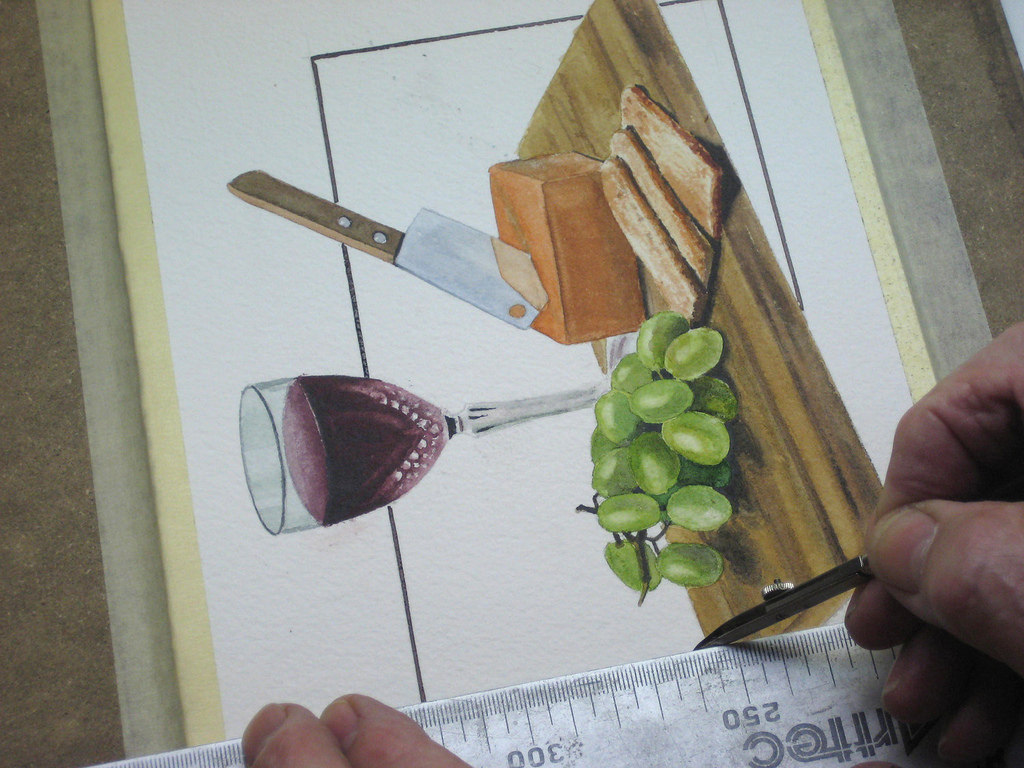
To enhance brush dexterity, and to help our lone left-handed student, I encourage them to turn their board up side down to help paint or draw around curved objects such as this glass. Here I’ve mapped in the basic glass “colour” made from a light wash of Antwerp Blue and Brown Madder, with the darker rim made from a much stronger mixture of these two colours. For more on painting glass see my site at: watercoloursforfun.com/Glass/TechniquesGlass.html We work from a limited palette and I avoid giving lectures on colour theory to beginners as it means little until they have actually handled colours in a real-world situation. By using a small amount of liquid masking before painting in the glass they begin to learn the magic of white paper. Later, they can often dispense with this with negative painting techniques.
Step 3
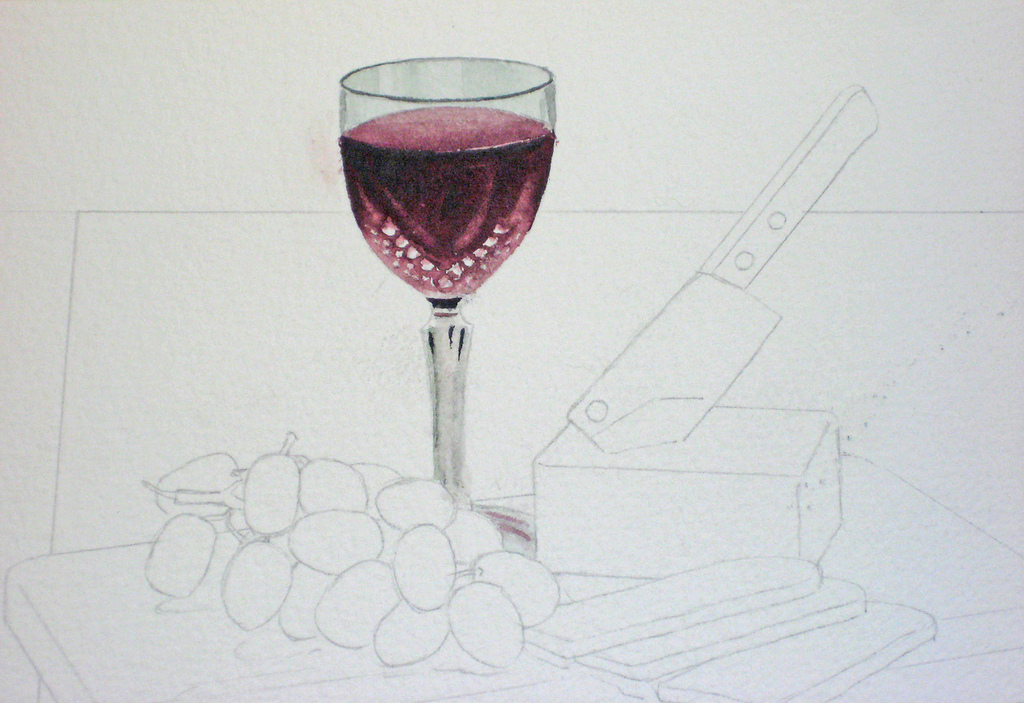
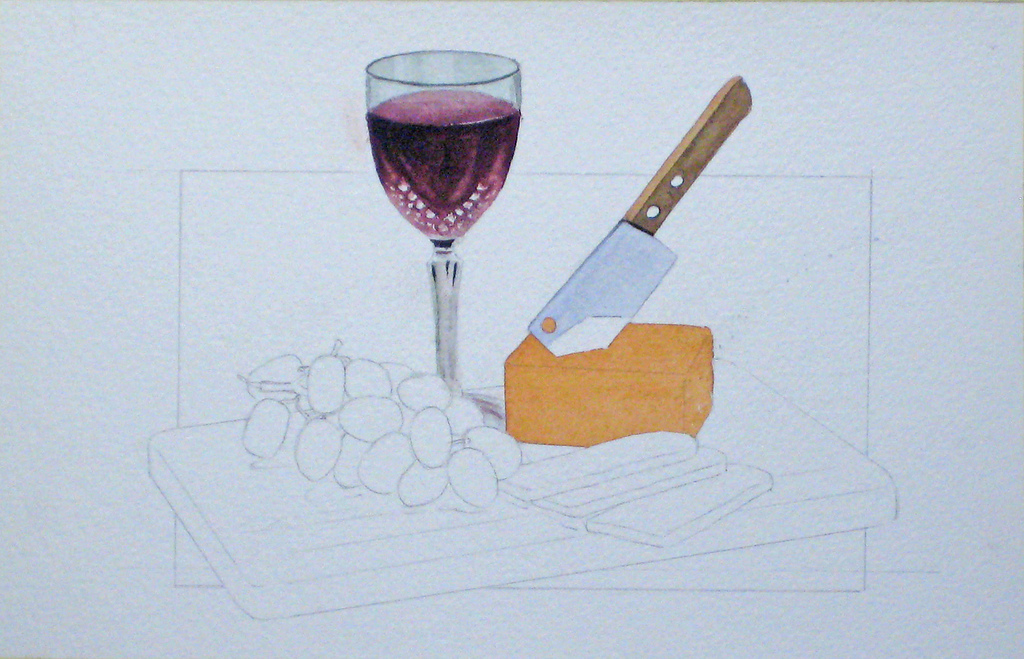
The wine was painted in using a mixture of Alizarin Crimson and a shadow or darker mix of Antwerp Blue and Brown Madder, working from light to dark. The use of a small scrub brush, water and facial tissue, lifts out the some reflected lights. Then the masking is removed and further blending to complete this stage.
Step 4
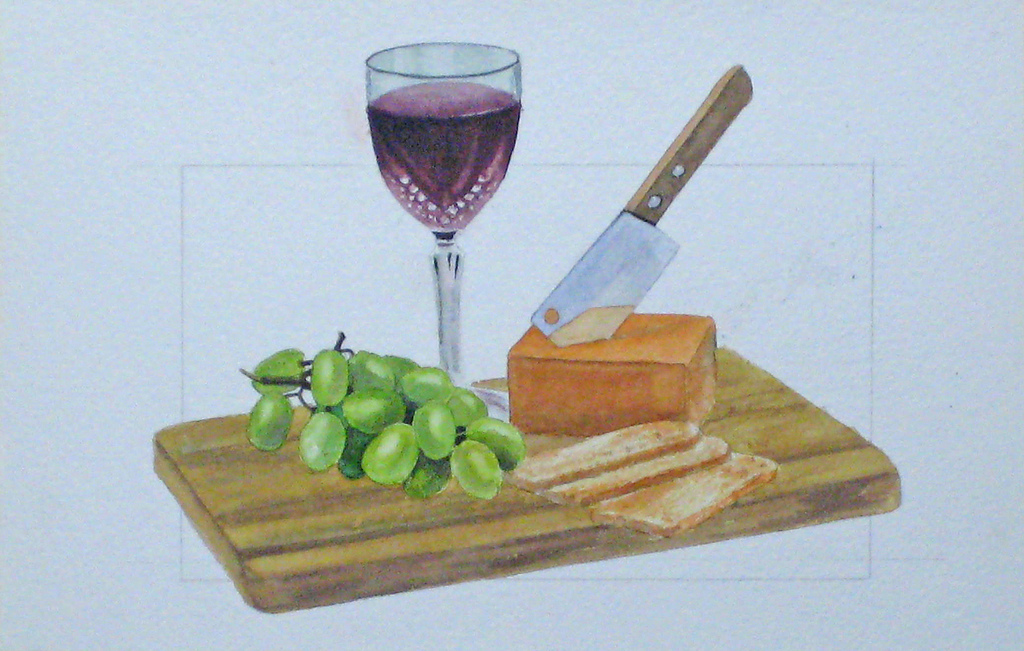
The knife and cheese block were painted in next, with the knife handle a mixture of Raw Sienna and Burnt Umber, plus our standard shadow mix of Antwerp Blue and Brown Madder. The cheese block was Cadmium Yellow Deep, Cadmium Red and a touch of Brown Madder. The blade was a mixture of Ultramarine Blue and a touch of our shadow colour.
Step 5
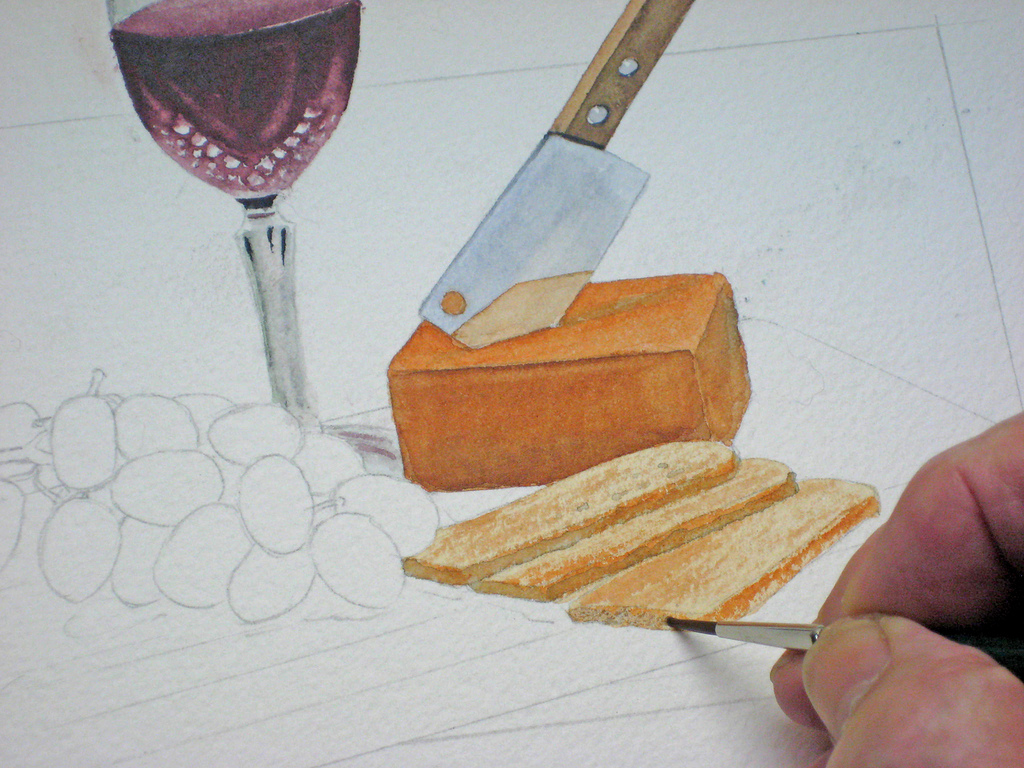
Here I’ve mapped in the Melba Toast slices using a mixture of our cheese colour plus Raw Sienna and Brown Madder. Part of this was a dry brush technique. The final shadows will be left until the cutting board is in. Incidentally, I love Melba Toast, cheese, grapes and red wine, so I made use of my still life set-up right away!
Step 6
A little more tinkering on the Melba Toast slices using a dry brush technique to reproduce the textured surfaces.
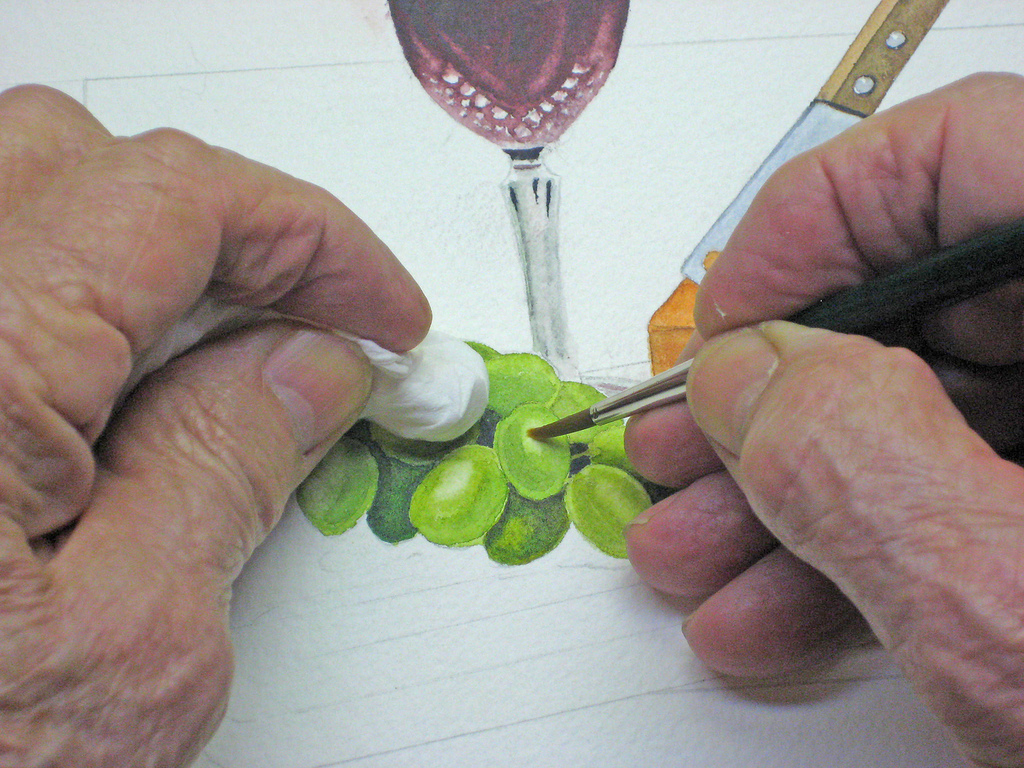
Step 7
I’ve jumped ahead here a bit, but the grapes were mostly Aureolin Yellow and a touch of Sap Green, with our shadow colour where needed. The shine is achieved by the dab and lift technique shown here.
Step 8
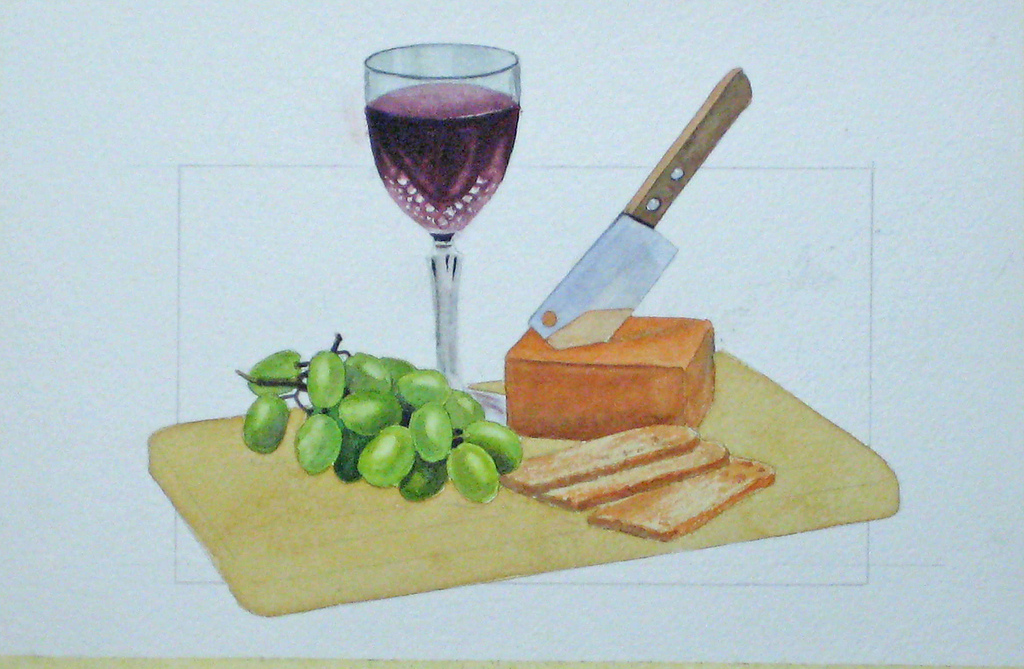
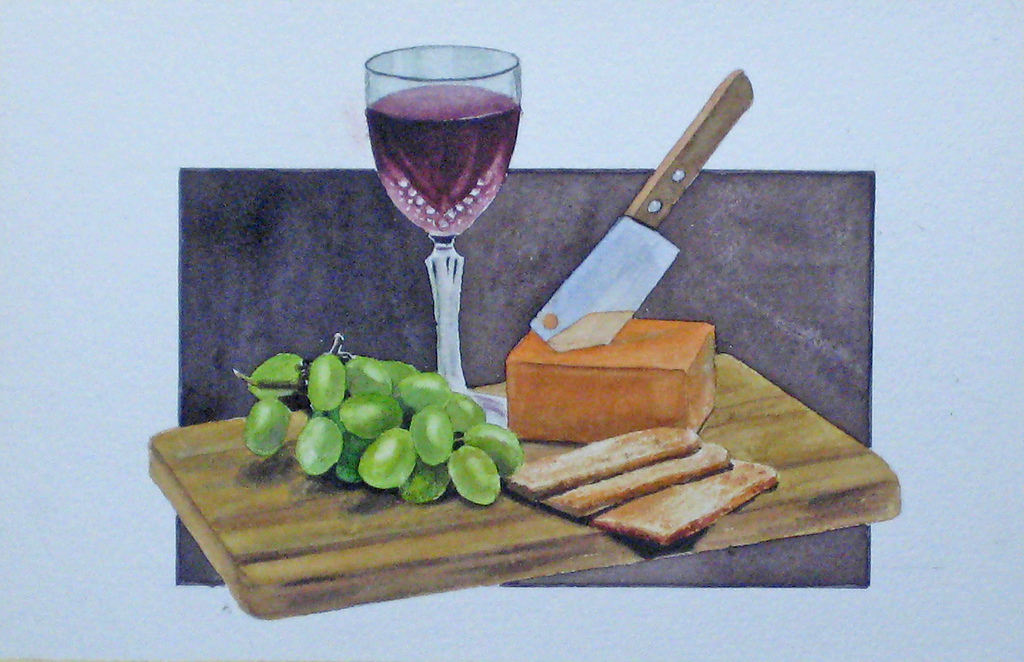
Now the cutting board is roughed in with a wash mixture of Raw Sienna, Brown Madder and a touch of our shadow colour.
Step 9
With the edges protected by liquid masking the various grain texture and shadows, it enables us to paint straight across and not “paint up” the the other elements. The shadows are still to come of course. All these effects are a mixture of the colours already in our palette, some used as a dry brush technique. Then the final shadows are out in with our basic shadow colour.
Step 10
For the more daring of my beginners I suggested a “paint outside the box” finish to this piece. In order to fill in the background with a strong shadow colour I used a ruling pen to give us a straight edge all around. This requires several strong glazes of Antwerp Blue and Brown Madder, so the ruling pen must be loaded with pure colour.
Step 11
This gets tricky and is a good exercise in brush dexterity. Turning the board all ways to make the brush work for you is also good experience for beginners. It’s also fun, although a high-wire act with no net!
Step 12
The first wash can be imperfect as subsequent washes will cover this up.
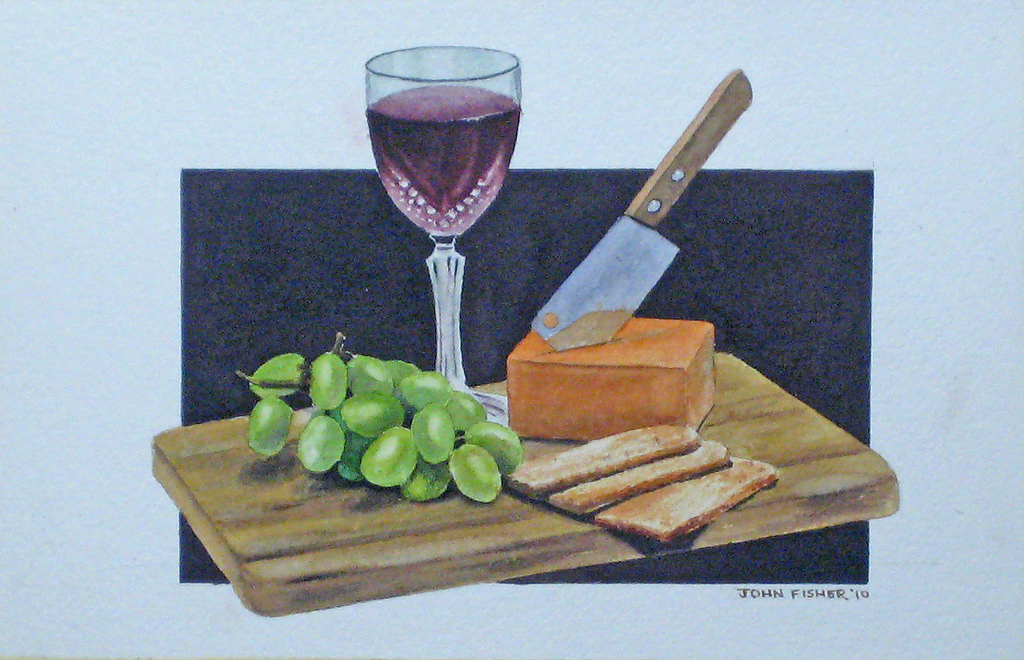
Final Step
The third wash completes this project, and when matted and framed, makes a nice painting to hang in the kitchen.
I was born and educated in England, graduating from the Luton School of Arts (now Barnfield College) in 1945. It was my hope to become a graphic artist, but at the end of the Second World War returning service men and women had first crack at the few jobs available, and rightly so. I took a number of jobs while I tried to break into my chosen field, and ended up being a reluctant carpenter. Many years passed and I emigrated to Canada in 1952, married a Canadian woman, started a family, and in 1955 finally started on a career which took in graphic arts, owner of my own graphics arts company, art director at an advertising agency, and careers in marketing, advertising and public relations.
I wish I could claim that my passion for art burned brightly throughout those years, but alas, the need to make a living took prominence. As with many people, I always promised myself that when I retired I would get back to painting again. That time came in 1989, when my wife and I were living the winter months in our condo in Destin, Florida. Robert Long, a talented watercolour artist, was offering private lessons from his nearby condo. He was my mentor, and made my retirement years infinitely richer.
In those days Robert taught only technique, and there were rarely more than four to six of us in those early classes. From Robert I regained my interest in photography as an adjunct to painting, and as the cliche goes – I never looked back. I have had many paintings accepted and hung in exhibitions in Florida and Ontario, where I now live. I’ve won some prizes, come first in some exhibitions, and occasionally won the Citizens’ Choice awards. But I mainly paint for fun – hence the choice of name for this site.
To learn more about John and to view more of his work, please follow the link below:
Thank you for this site and tutorial..This is the best I have looked up. I actually feel that I can finally attempt this style. I ordered a set of Dvd’s from the UK; which were excellent on teaching but was not the style I was interested in. You went beyond the basic lessons and showed me how better than the verbal & pictorial instructions..Can’t wait to finish all your tutorials.. Hopefully I will be able to finish what I started to paint for my brother and got imtimidated..I keep looking at it but chicken out. Am afraid I’ll ruined what I have done so far…


Thank you for this site and tutorial..This is the best I have looked up. I actually feel that I can finally attempt this style. I ordered a set of Dvd’s from the UK; which were excellent on teaching but was not the style I was interested in.
You went beyond the basic lessons and showed me how better than the verbal & pictorial instructions..Can’t wait to finish all your tutorials..
Hopefully I will be able to finish what I started to paint for my brother and got imtimidated..I keep looking at it but chicken out. Am afraid I’ll ruined what I have done so far…
You are a very,very good teacher.Thank you.
Appreciate all you do to help us armature artist