Below is a wonderful step by step tutorial on how to paint a still life in watercolor by artist John Fisher (see bio and website link below). I hope you find this demonstration helpful and enjoyable! Happy Painting!
Watercolour Sill Life techniques – Still Life with Tomatoes
Another in my series of watercolour demos based on class projects.
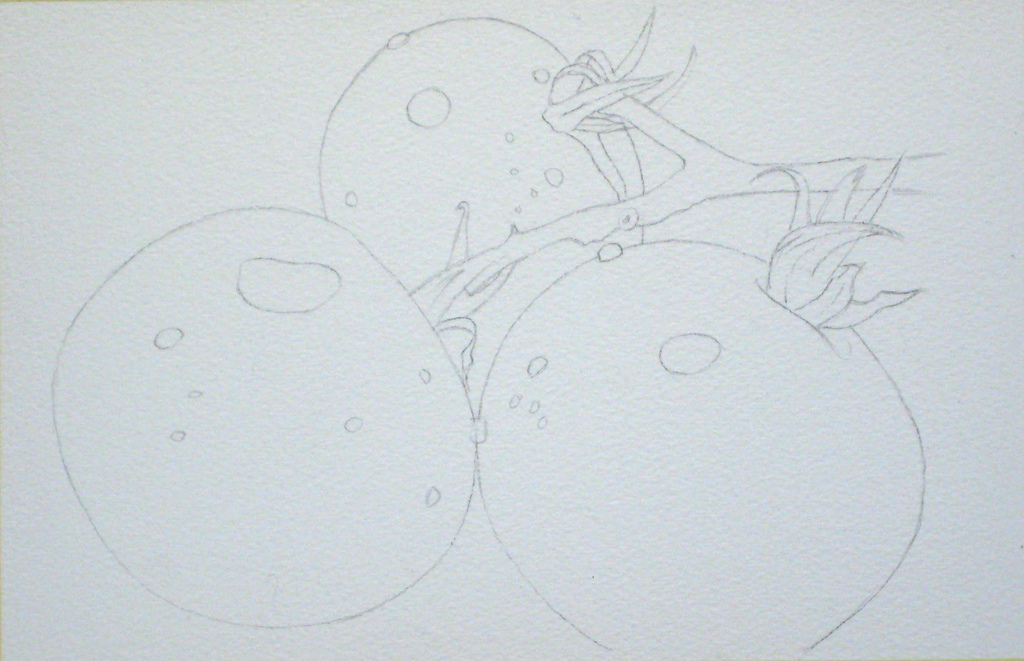
Step 1 – How to Paint a Still Life in Watercolor
This step-by-step watercolour is based on a photograph by Sylvia Lang, posted on July 9, 2011, in the website Paint My Photograph (PMP). I thought it contained many techniques my Intermediate watercolour class could master. Image size 7″ x 11″ on Arches 300 lb cold pressed paper. using Winsor & Newton Artist quality colours.
Step 2 – Still Life Painting Techniques
I always begin my projects with a carefully drawn image, and I usually sit down quietly in front of my reference photograph and line drawing to plan exactly how I will paint this project to better teach you how to paint a still life in watercolor. I will often write this down in point form, detailing when I will apply any appropriate masking, what colours come first and where any negative painting is required. This helps me if I’m away from the project for a few days or working on something else. I’m able to quickly pick up where I left off. I also use more than one palette, so the existing colours are easily reconstituted again.
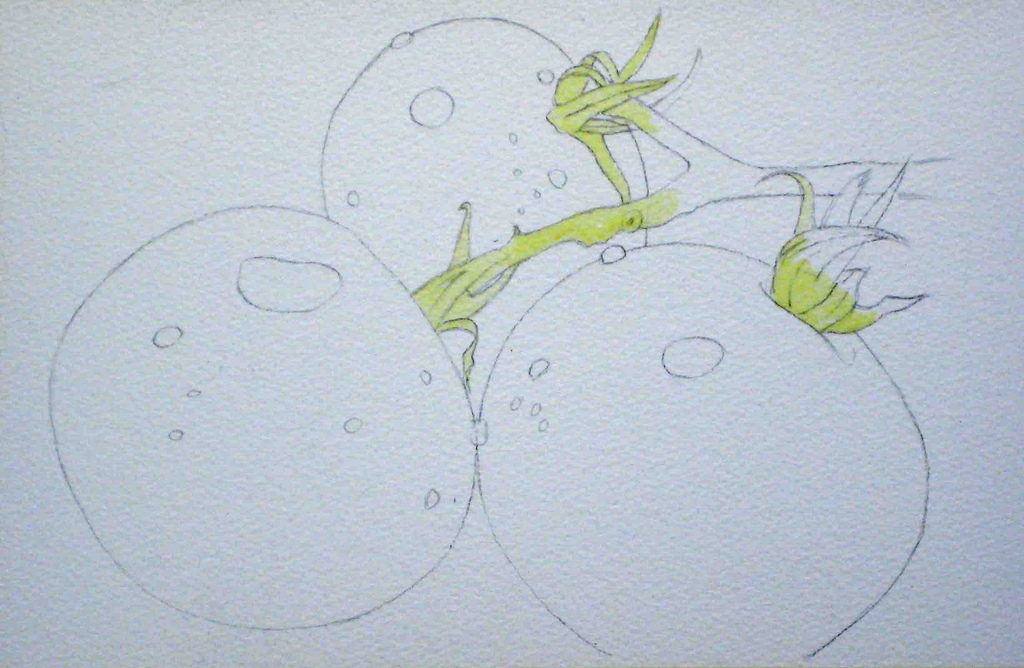
Step 3 – How to Paint a Still Life with Watercolour
Here I’ve applied some masking fluid to the stems prior to painting in the first wash over the tomatoes.
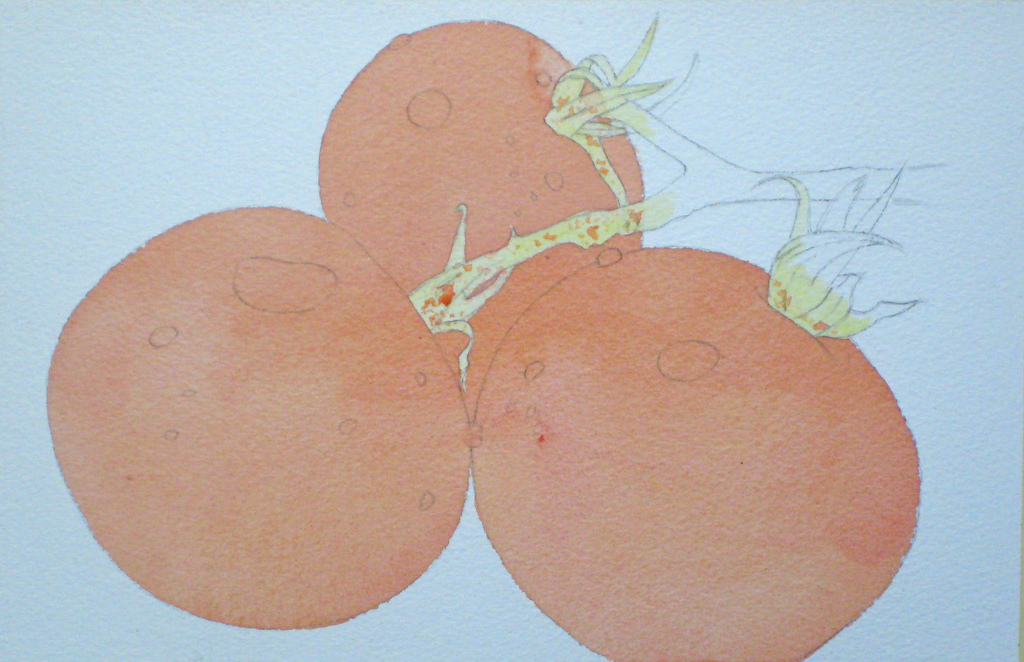
Step 4
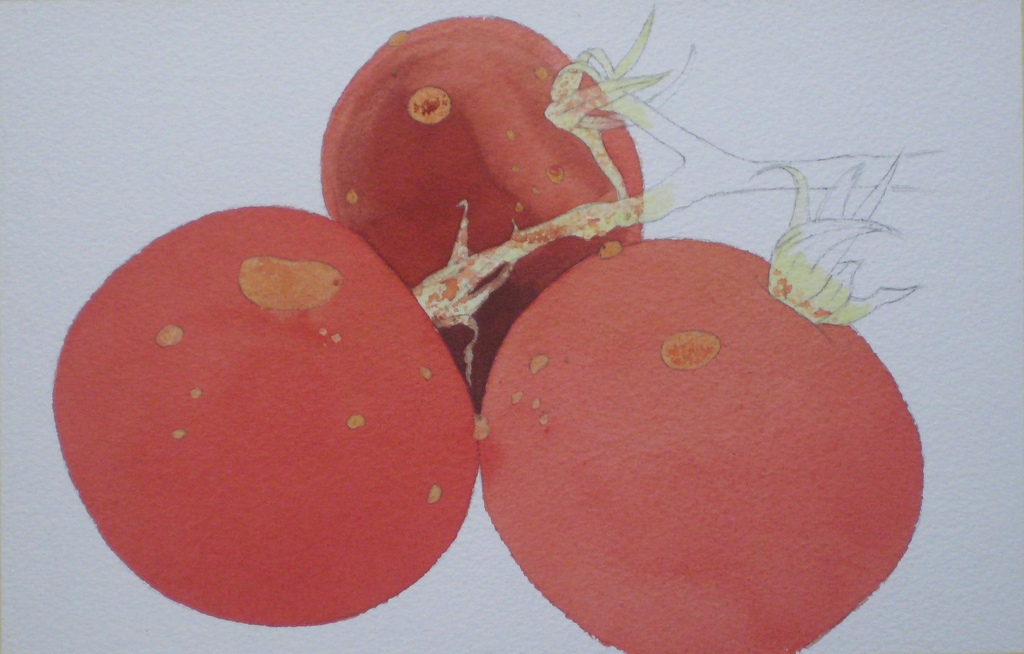
The first wash was a mixture of Winsor Red, plus a touch of Alizaron Crimson and New Gamboge. I find Winsor Red ideal tomatoes, strawberries and red peppers. You may notice a small “blossom” at the top of one tomato where I carelessly touched it with a No.4 brush to pull some colour in. No problem, as this will be corrected with later washes and colour lifting.
Step 5
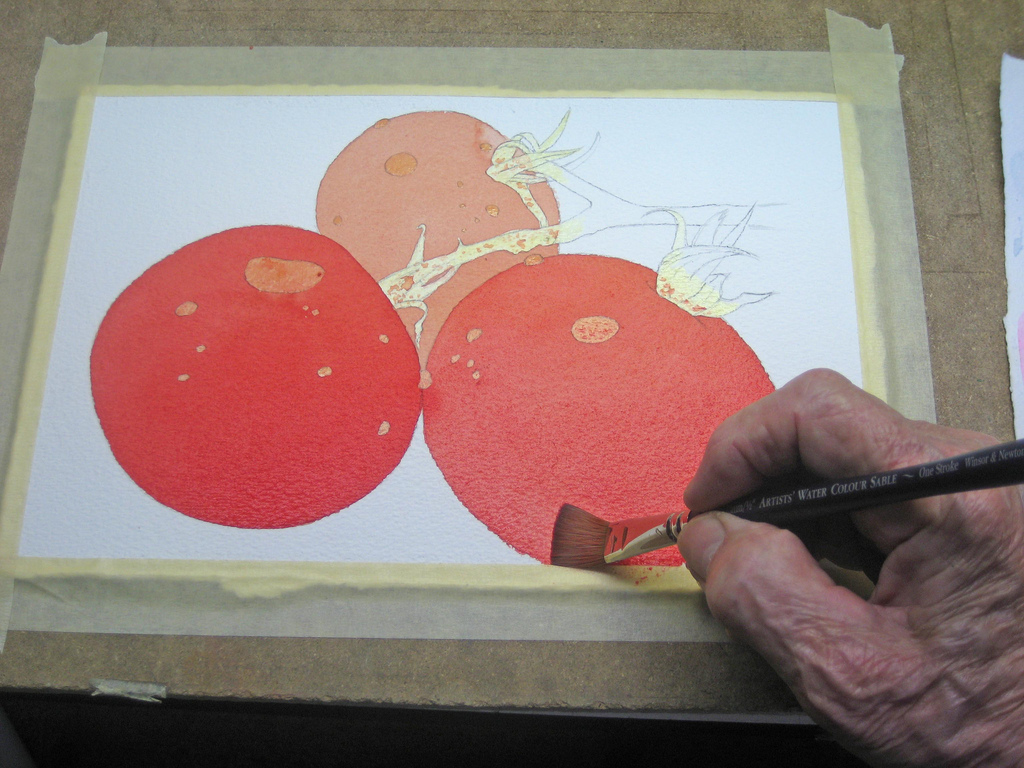
Next I apply a stronger wash of Winsor Red with a touch of New Gamboge. I’m using a 1/2″ flat brush fully loaded with colour and I’m making the right-hand tomato slightly lighter.
Step 6
Now I turned my board upside down to carefully paint in the background tomato, after drying off the two foreground images. I’m careful not to drag the colour over the edges of the other tomatoes to avoid that outline cartoon look in this tutorial on how to paint a still life in watercolor.
Step 7
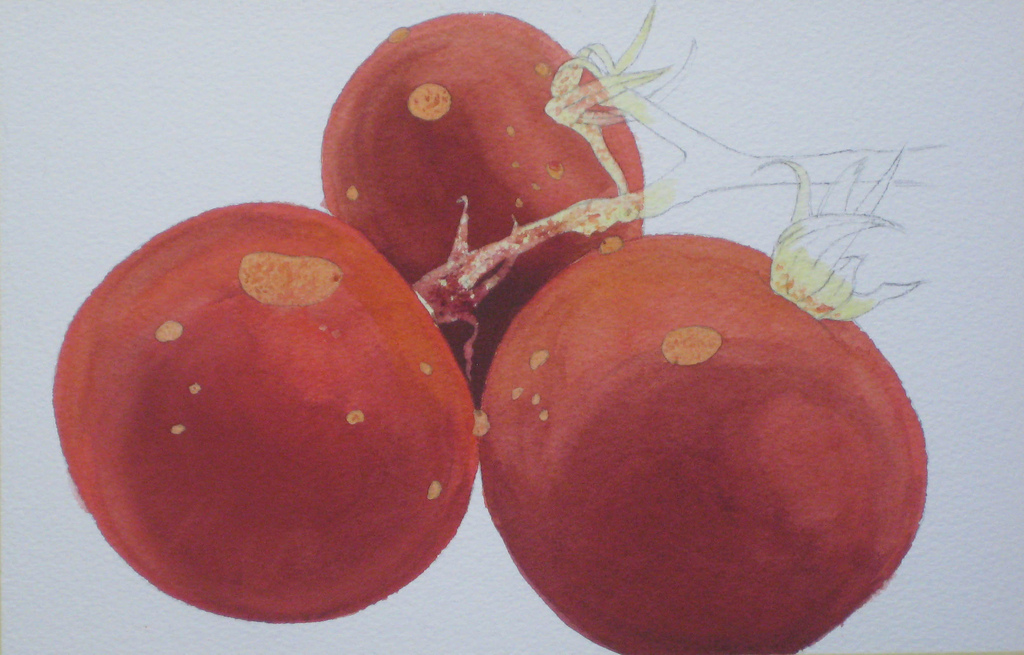
While my board was upside down I began darkening that background tomato with Winsor Red, plus a shadow colour made from Antwerp Blue and Brown Madder. I usually keep a pan full of this mixture to use in such areas as it darkens the colour without changing the basics. Then I began the gradual build up of colour ready for later lifting techniques which will help make this three-dimensional.
Step 8
Completing the tomatoes, I blend the results with a plain water to smooth things out.
Step 9
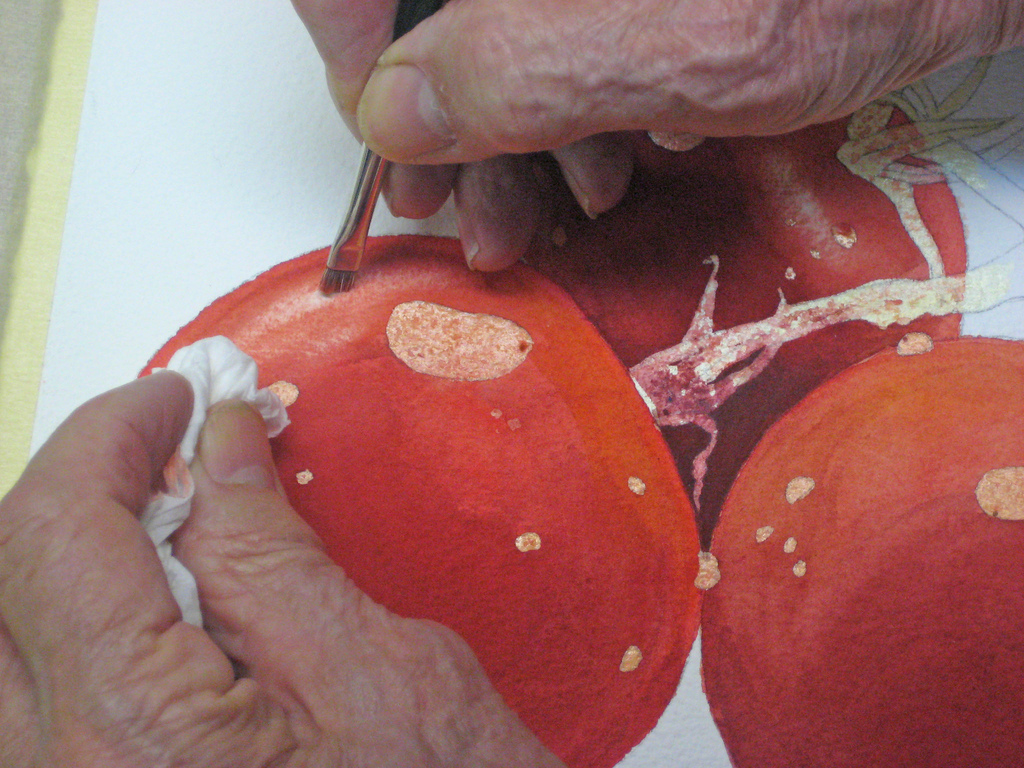
Now I’m lifting out the highlights using a small scrub brush and tissue. My scrub brush is an inexpensive oil brush with the top bristles cut down to make it stiffer. If you’ve never used this technique, practice first on scrap paper as the results will depend on how much colour is being lifted, and you will have to judge how much water and how much pressure to apply with your scrub brush.
Step 10
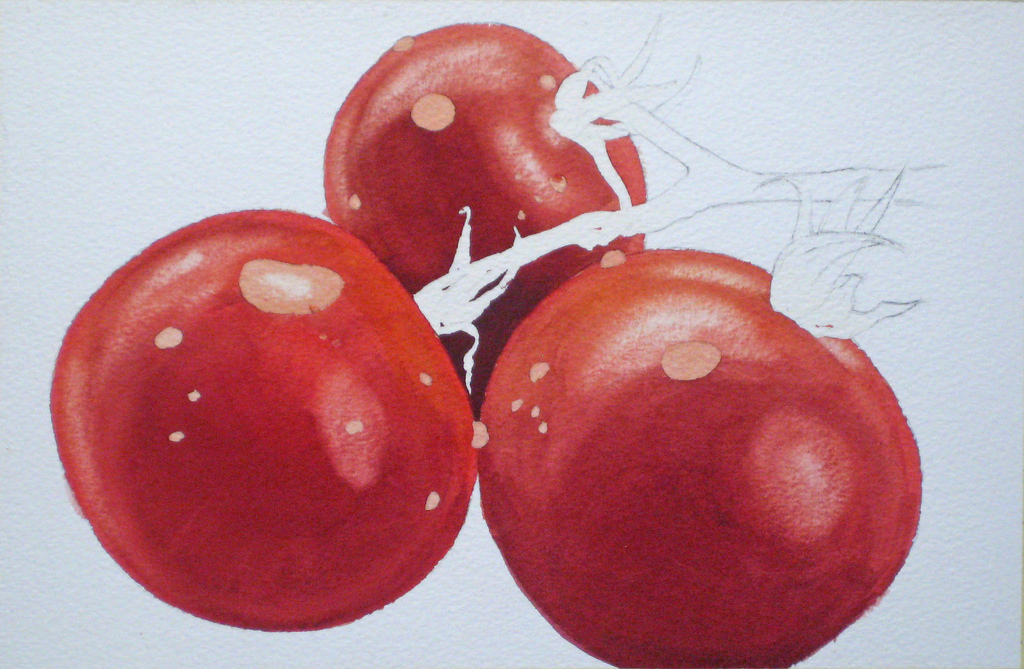
Here is the first roughed-in highlight area, and now I ready to remove the liquid masking and complete the water droplets.
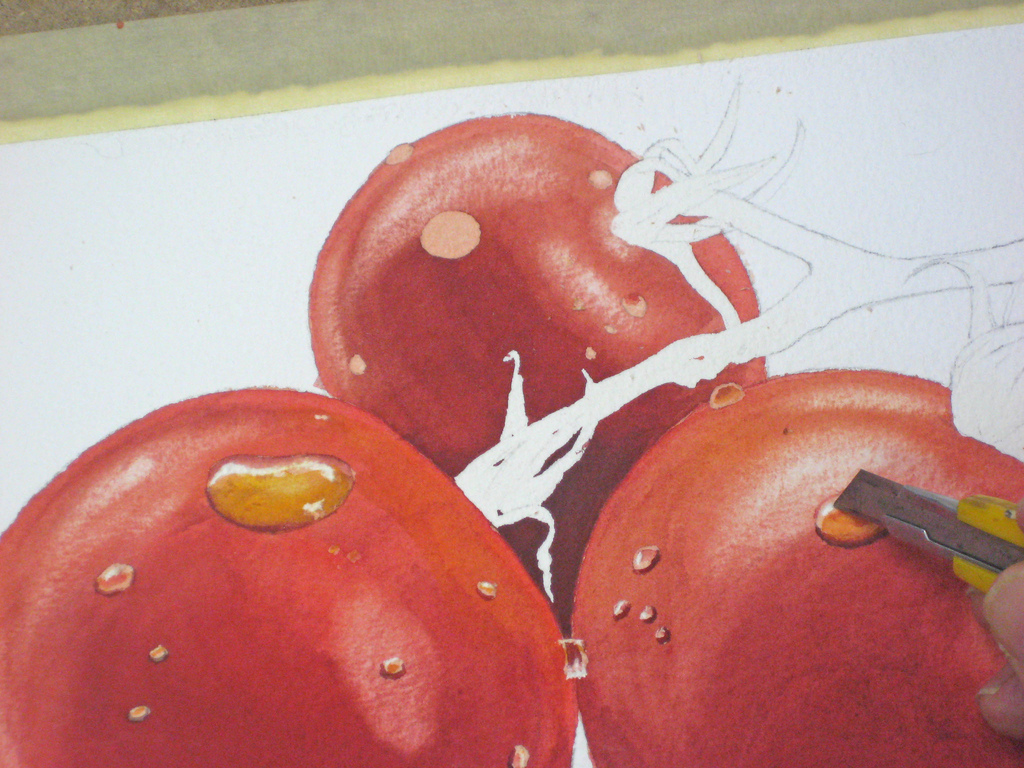
Step 11
The droplets are an illusion and should be painted in carefully, then an extreme highlight picked out with a knife. This is the advantage with using good quality 300 lb cold pressed paper, which gives you the flexibility to use some of the tricks of the trade. Of course you can use acrylic white if you choose. Nothing wrong in that, but I prefer to let the white paper do the work if I can.
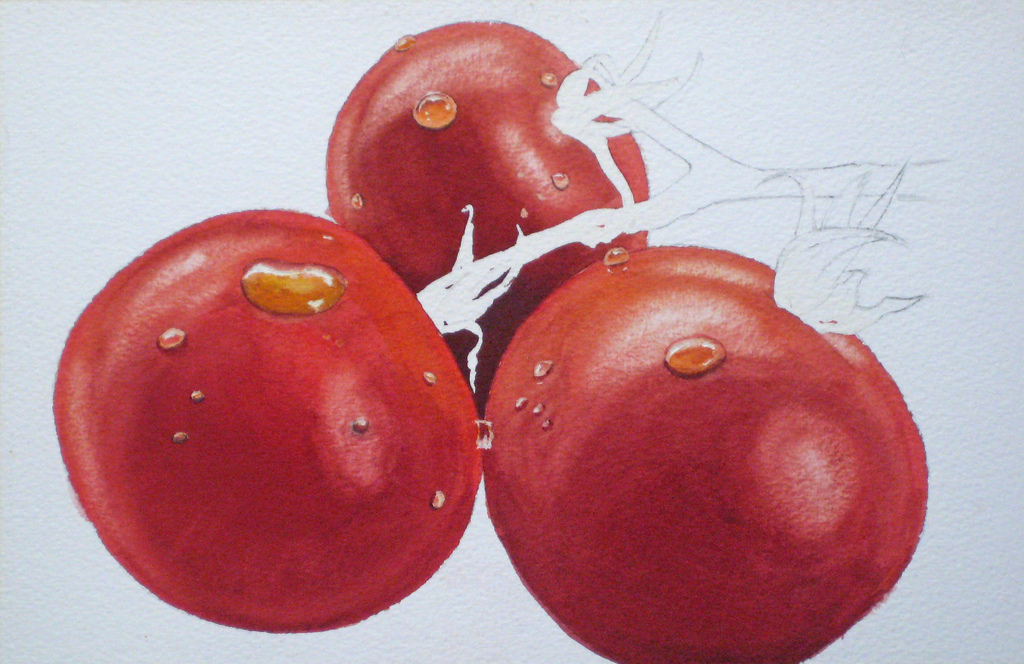
Step 12
Some more modification will be needed on the highlight areas, but now we’re ready to paint in the stem areas and background.
Step 13
The basic wash is made from Aurolin Yellow with a touch of Sap Green, plus a touch of our shadow colour.
Step 14
The stem and leaves are gradually worked up by washes of the same colour only darkened as needed. Notice there is quite a bit of reflected light from the tomatoes appearing along the stems in places.
Step 15
The final touches are put on the stems and leaves, and the tiny hairs picked out with the knife. Now for the background wash.
Step 16
For most of my background washes completed after a painting is finished, I usually put a wash of pure water over everything, stopping just about 1/16″ from any edges. Then I apply the main colour wash, pushing the colour into the little space left. By using a water coat first I’m assured the colour won’t dry in ridges and the colour will follow my water application. I felt the need to first protect the green stems with liquid masking as I didn’t want the colour to run once the background wash was applied.
Step 17
Here is my first background wash, working wet-in-wet.
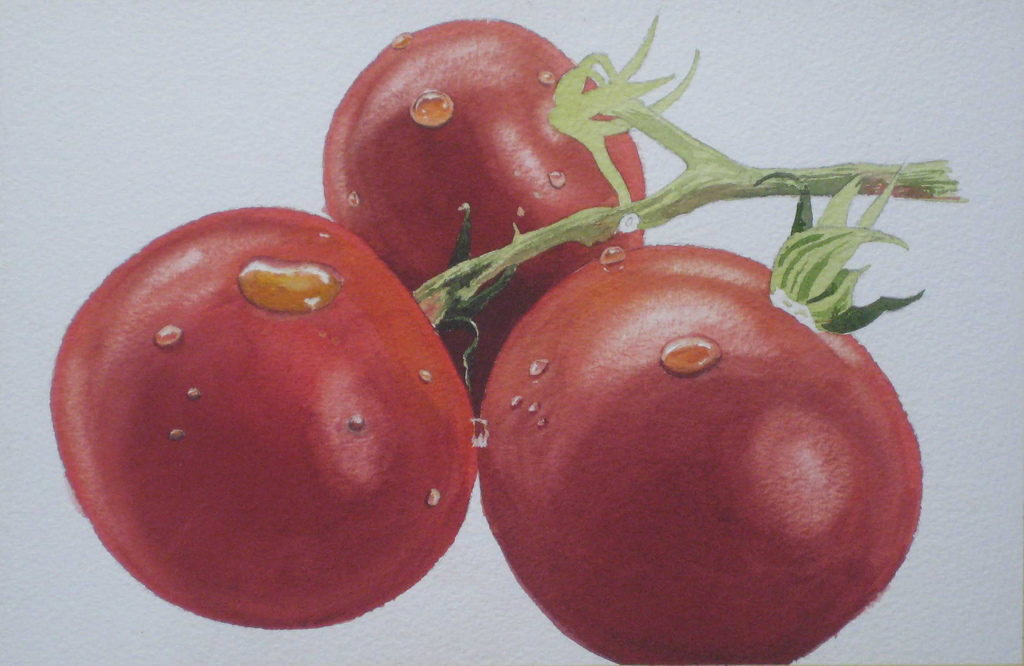
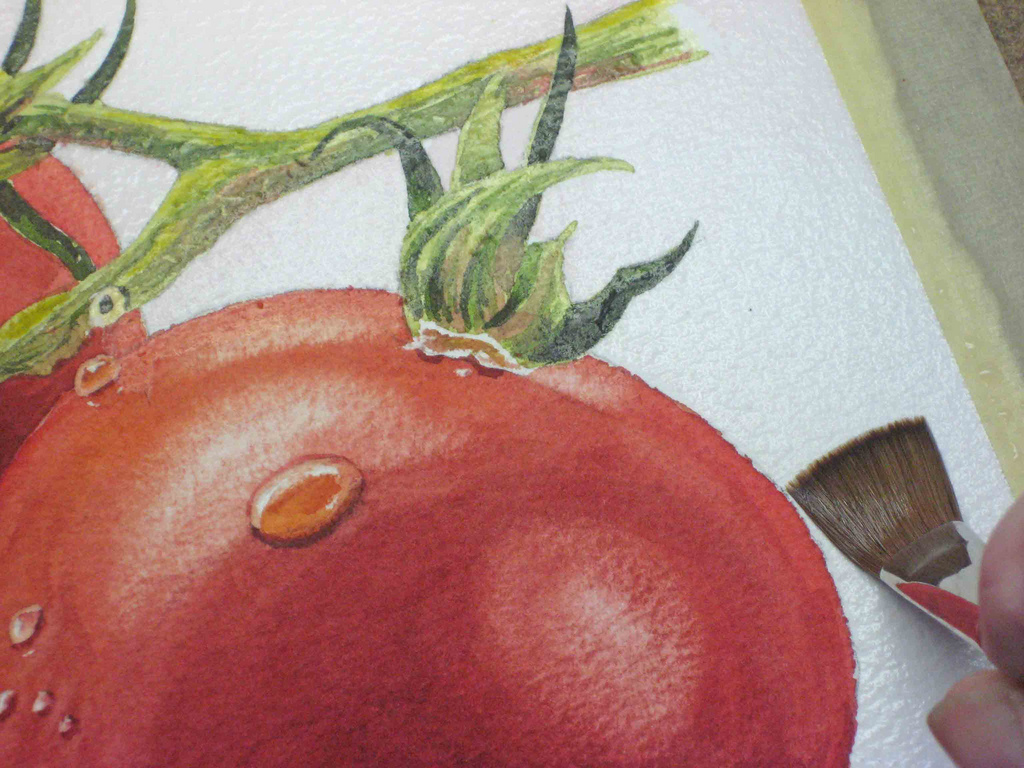
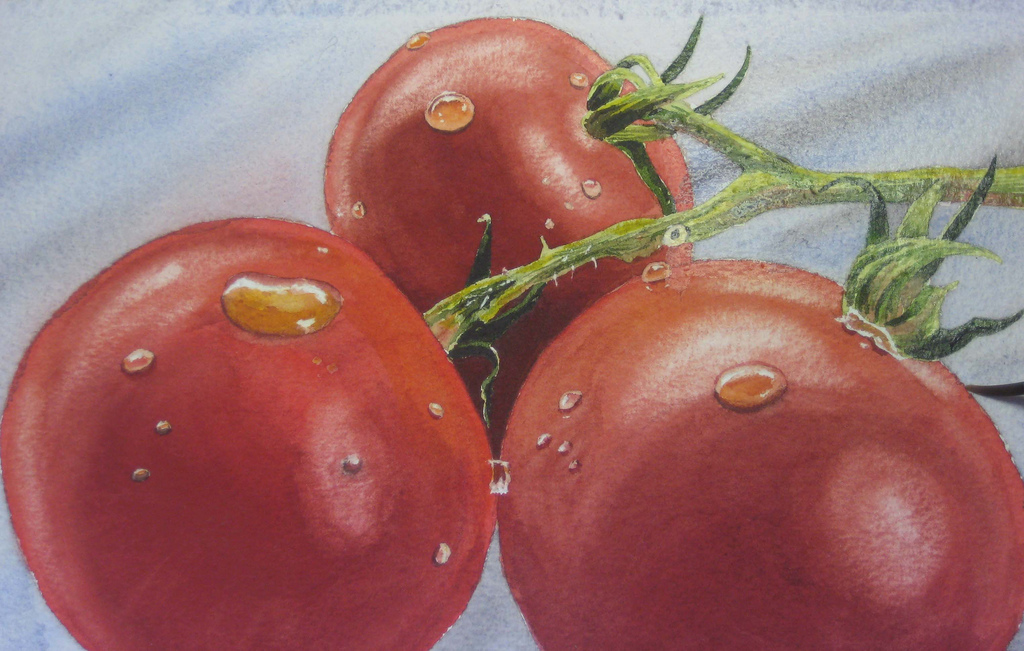
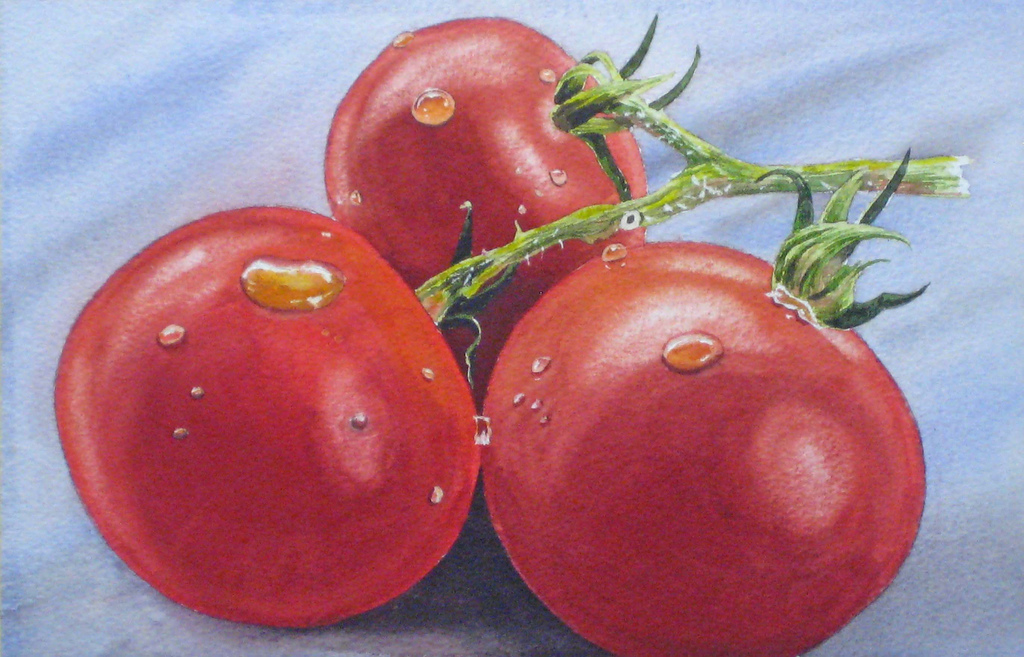
Final Painting
The final result was accomplished by some work on the rough edges of the tomatoes by dragging colour in with a No.4 brush. The final dark shadow was added just underneath and the liquid masking removed from the stems. I hope you found this useful.
I was born and educated in England, graduating from the Luton School of Arts (now Barnfield College) in 1945. It was my hope to become a graphic artist, but at the end of the Second World War returning service men and women had first crack at the few jobs available, and rightly so. I took a number of jobs while I tried to break into my chosen field, and ended up being a reluctant carpenter. Many years passed and I emigrated to Canada in 1952, married a Canadian woman, started a family, and in 1955 finally started on a career which took in graphic arts, owner of my own graphics arts company, art director at an advertising agency, and careers in marketing, advertising and public relations.
I wish I could claim that my passion for art burned brightly throughout those years, but alas, the need to make a living took prominence. As with many people, I always promised myself that when I retired I would get back to painting again. That time came in 1989, when my wife and I were living the winter months in our condo in Destin, Florida. Robert Long, a talented watercolour artist, was offering private lessons from his nearby condo. He was my mentor, and made my retirement years infinitely richer.
In those days Robert taught only technique, and there were rarely more than four to six of us in those early classes. From Robert I regained my interest in photography as an adjunct to painting, and as the cliche goes – I never looked back. I have had many paintings accepted and hung in exhibitions in Florida and Ontario, where I now live. I’ve won some prizes, come first in some exhibitions, and occasionally won the Citizens’ Choice awards. But I mainly paint for fun – hence the choice of name for this site.
To learn more about John and to view more of his work, please follow the link below:
your water color work are is very nice i impressed
Patti Brundlesays
I tried to DL the lesson on apples and, for some reason, my PC froze and I couldn’t finish it and can’t find it. There was one painting that appeared on FB about a bowl of fruit. I missed DL it and can’t find it. HELP


your water color
work are is very nice i impressed
I tried to DL the lesson on apples and, for some reason, my PC froze and I couldn’t finish it and can’t find it. There was one painting that appeared on FB about a bowl of fruit. I missed DL it and can’t find it. HELP
i love the way you explain your painting , i can draw the subject, but but then when I put the paint down, it looks awful, thank you.