Learn how to paint a beautiful seascape in watercolour with this free step by step painting tutorial by artist Julie Duell (see bio below).
How to Paint a Seascape in Watercolour
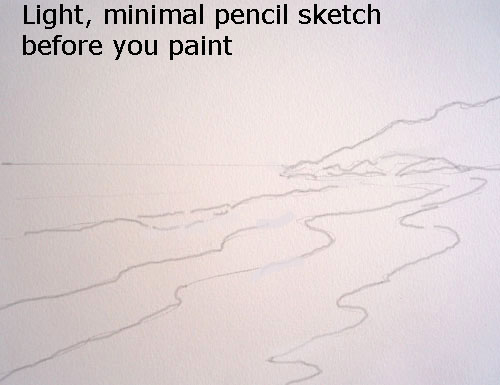
One lady emailed asking for a seascape demonstration in watercolour – so here is my effort. Now I am making this a combination of what to do and what NOT to do in that I am using 185 gsm paper in a pad and not stretching it! Let’s see what problems it brings and see if I can find a way out…
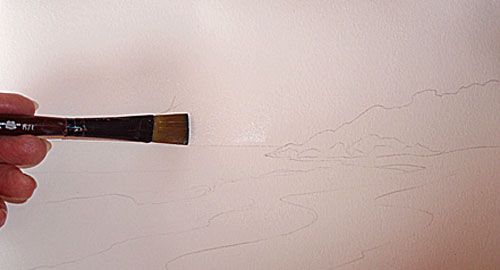
Wet the sky area with plain clear water ready to apply a wash. If you don’t do this you may end up with hard edges you don’t want.
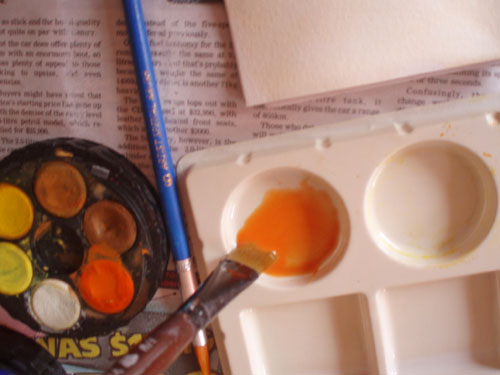
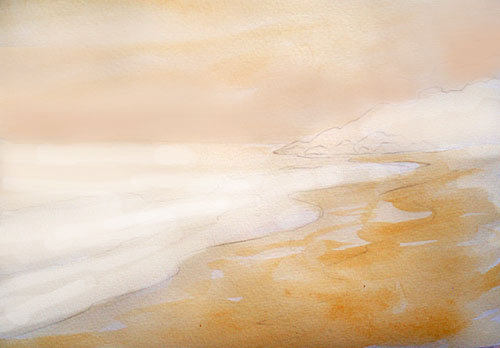
I decide to apply a warm wash first to make sure I keep a sunny look…
It looks bright in the pan, but it is so diluted that when I apply it the colour is very soft.
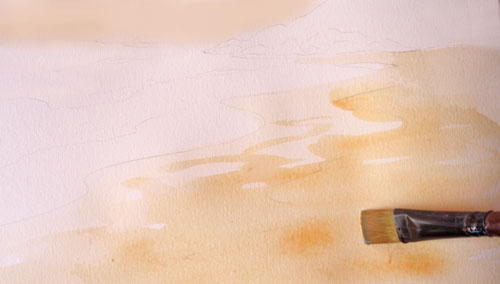
While I have this colour handy, I apply it to the sand area as well, a bit stronger because it is in the foreground and colours are always stronger closer to you.
Oh oh – the paper is buckling somewhat so I put a minimal amount of the wash on the water and rocks to marry up the sky and beach and try to even out the wet and dry areas on the paper.
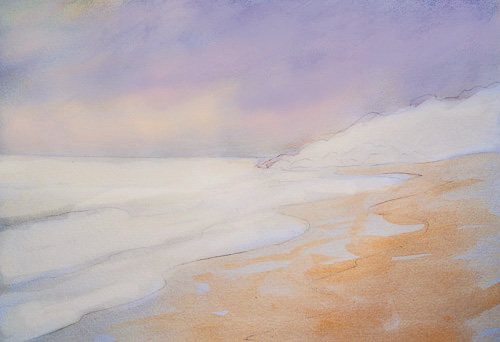
Next I mix a purply wash for the sky and apply it gently over the soft orange. The first wash needs to be thoroughly dry before you do this.
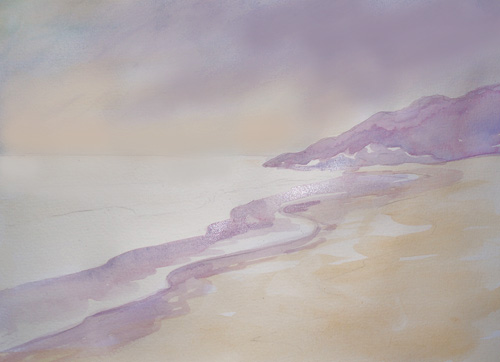
Once again, while I have this colour in the pan, I deepen it a bit (I am mixing red and blue together to make the purple) and apply to the headland + define shadows along the water edge. I have to apologise for photo colour discrepancies once again – the light in my studio is varying on this “sunshine and showers” day. Where possible I photograph in strong sunlight.
Next I add some blue to the water. You can see here how the unstretched paper is responding to the varying areas of moisture – not good, but I will keep going and see what I can do to fix it later.
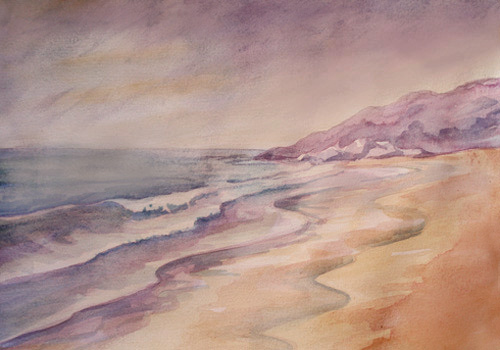
I continue defining, trying to keep the overall transparent. It’s not easy! The colours tend to dry paler than they look when applied wet so allowances have to be made for this.
I am nearly there, but the painting lacks life. With a small brush I add 2 seagulls to add interest. There is a nice airiness in the sky around them – I am pleased with that.
Here is the finished result…probably a bit heavier than it should be in the darks, but that’s my nature – I like drama!
When it was completely dry, I ironed it on the wrong side with a warm iron which reduced the buckling to practically nil. It’s probably not “proper” procedure of course, but this blog is about sharing experiences and helping each other.
About Julie Duell
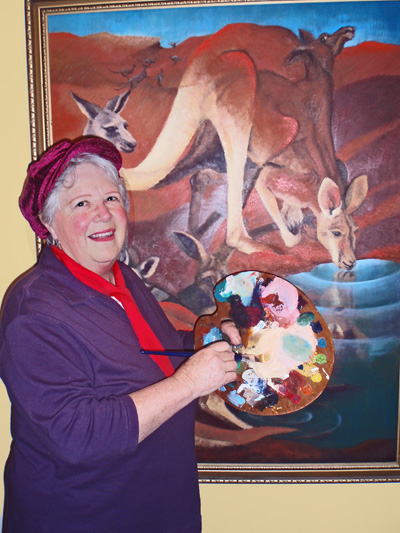
Julie Duell (nee Henderson) is a 6th generation Australian going back to the First Fleet of English convicts to arrive in Sydney cove in 1788. She also has a drop of American Shoshone Indian heritage for good measure! Julie was born in Sydney in 1941 and continued to reside in Sydney environs thereafter. Julie was named after the month of her birth, July.
Over many prolific artistic years, Julie has painted under the names Julie Ferguson and J. Ferguson-Duell before simply signing her works Julie Duell. As a child, she studied art at St. George Technical College, Kogarah and singing with a private teacher in Rockdale, entering numerous Eisteddfods as a soloist with some success.
Adult years saw Julie resume her art studies, once again at St. George Technical College and then numerous short courses on the Central Coast where she has been a prolific practising artist and art teacher since around 1970.
Inspiration: A deep love of nature, children and a fascination for human form, body language and portraiture. Also, the fairy realm.
Mediums of expression: Painting and drawing in charcoal, oils, pastels, inks, watercolour and acrylics with many works executed in mixed media. Her children’s book creations feature Australian fairies in the form of Sprites. Clay modelling and printmaking have been other strings to her bow.
Awards: Among a number of awards over the years, Julie’s Children’s book “Bush Sprites of Australia” attracted a special award from the Riso Educational Foundation of Japan in 1985, along with 3rd prize in an International Postcard Competition that year.
https://www.kidsfuncorner.com/ – Free site designed for children, teachers and parents. Julie has fun animating stories and creating learning aids that are fun, as well as giving kids an opportunity to showcase their work….
I am 80 years old, and picked up my pencil again, two years ago. I have struggled with perspective until I came upon your artintegrity article. thank you. Have you written any books. I hope so because in all my searches on how to “do perspective,” yours was the first to make right and left brain sense. Thank you, thank you. I hope you do make all your helpful knowledge available in a book. respectfully, beverlee
I get the back of my watercolor paper real wet and place a heavy book on the front side to allow it to dry completely. When dry, I paint on the front side and it does not buckle or roll up on the ends. I hope, if you try this, it too will work for you. I enjoy reading this article as you painted. Thank you, it was very helpful.


Beautifully done! I like how you explained your entire process, so easy to learn from, thank you!
I am 80 years old, and picked up my pencil again, two years ago. I have struggled with perspective until I came upon your artintegrity article. thank you. Have you written any books. I hope so because in all my searches on how to “do perspective,” yours was the first to make right and left brain sense. Thank you, thank you. I hope you do make all your helpful knowledge available in a book. respectfully, beverlee
I get the back of my watercolor paper real wet and place a heavy book on the front side to allow it to dry completely. When dry, I paint on the front side and it does not buckle or roll up on the ends. I hope, if you try this, it too will work for you. I enjoy reading this article as you painted. Thank you, it was very helpful.