This lesson on how to paint a landscape in watercolor is provided by artist John Fisher. Enjoy! This is a big lesson in several parts, so be sure click the link at the bottom of this page to go to part 2.
About John Fisher
I was born and educated in England, graduating from the Luton School of Arts (now Barnfield College) in 1945. It was my hope to become a graphic artist, but at the end of the Second World War returning service men and women had first crack at the few jobs available, and rightly so. I took a number of jobs while I tried to break into my chosen field, and ended up being a reluctant carpenter. Many years passed and I emigrated to Canada in 1952, married a Canadian woman, started a family, and in 1955 finally started on a career which took in graphic arts, owner of my own graphics arts company, art director at an advertising agency, and careers in marketing, advertising and public relations.
I wish I could claim that my passion for art burned brightly throughout those years, but alas, the need to make a living took prominence. As with many people, I always promised myself that when I retired I would get back to painting again. That time came in 1989, when my wife and I were living the winter months in our condo in Destin, Florida. Robert Long, a talented watercolour artist, was offering private lessons from his nearby condo. He was my mentor, and made my retirement years infinitely richer.
In those days Robert taught only technique, and there were rarely more than four to six of us in those early classes. From Robert I regained my interest in photography as an adjunct to painting, and as the cliche goes – I never looked back. I have had many paintings accepted and hung in exhibitions in Florida and Ontario, where I now live. I’ve won some prizes, come first in some exhibitions, and occasionally won the Citizens’ Choice awards. But I mainly paint for fun – hence the choice of name for this site.
To learn more about John and to view more of his work, please follow the link below:
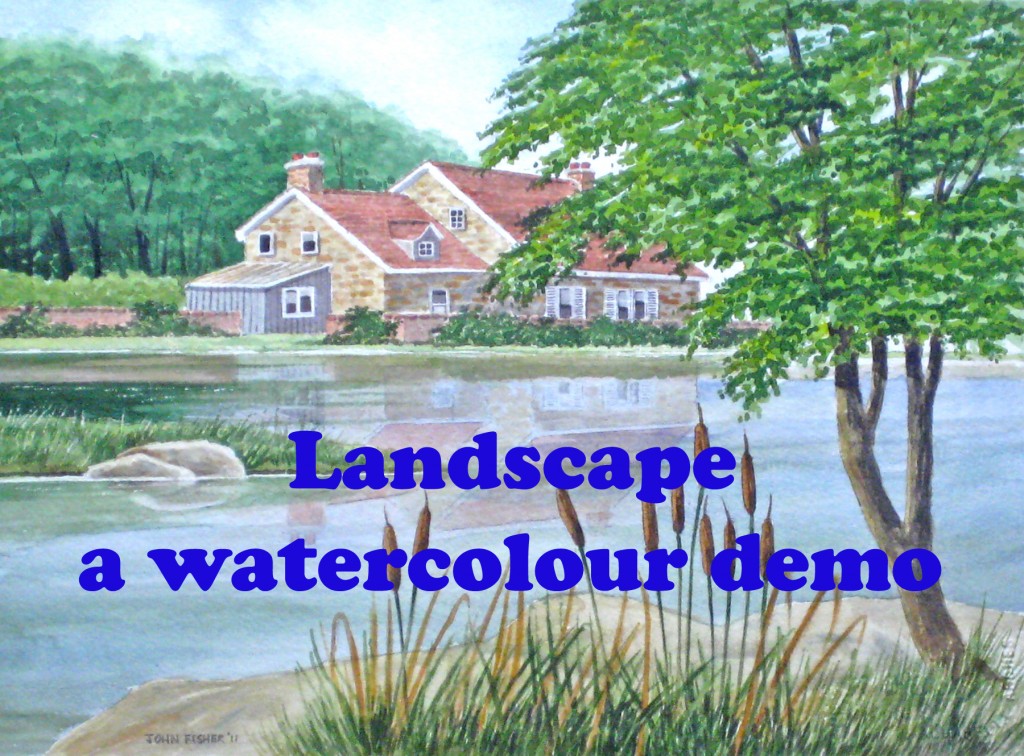
A step by step demo of a landscape for my class of beginners in watercolour.
My class for beginners in watercolour tackled their first serious landscape recently, and I wanted to incorporate many of the techniques we have been using over the past season. I chose this subject matter based on a old pencil sketch I’ve had kicking around in my “ideas” file for years as it uses wet-in-wet, dry brush, stone and brick, reflections, foliage, sky, and water.
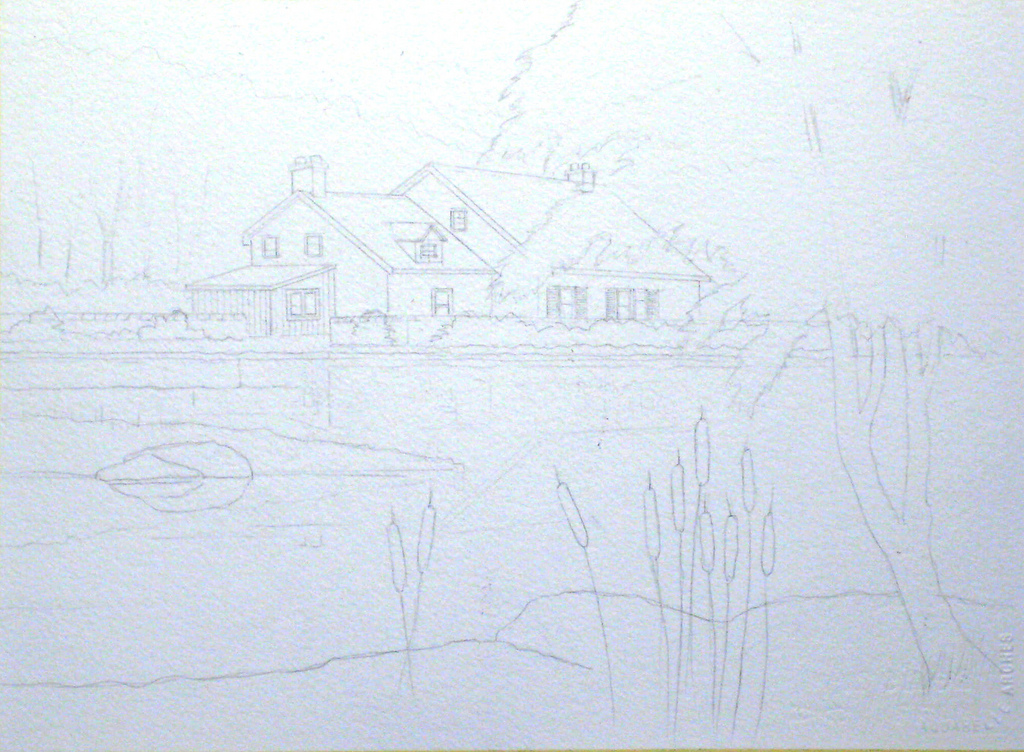
Step 1
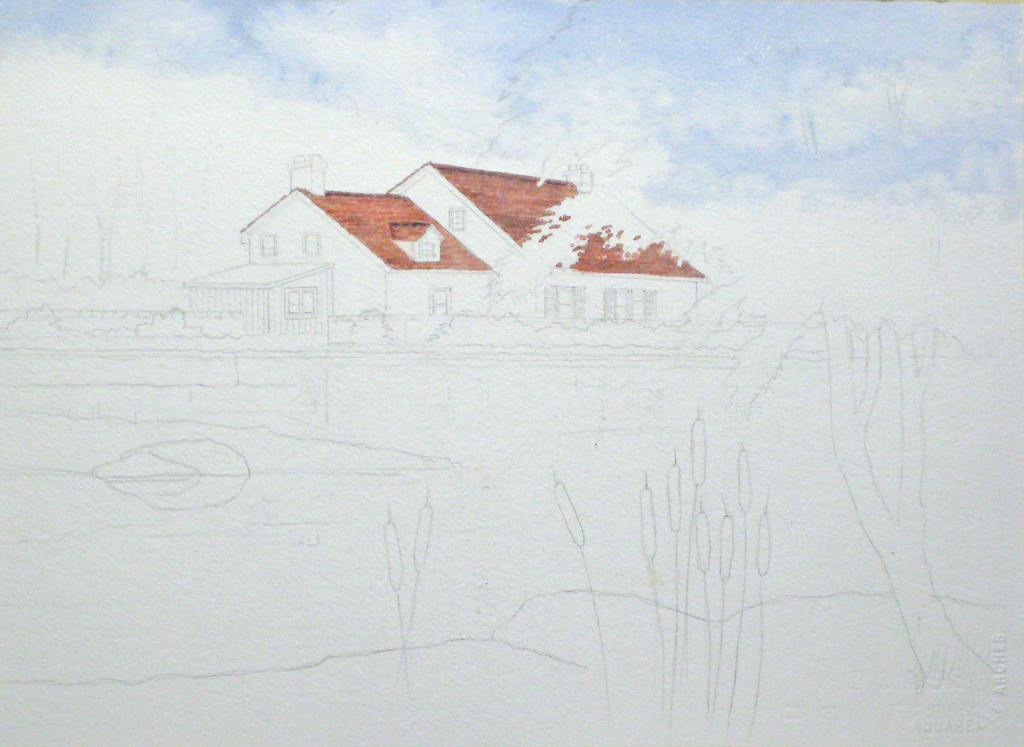
With beginners I always like to emphasize a careful drawing first, as a kind of underpinning to allow them some leeway to bring their own style to bear. I intentionally left off the reflection of the cottage until later as too many lines prove confusing at this stage.
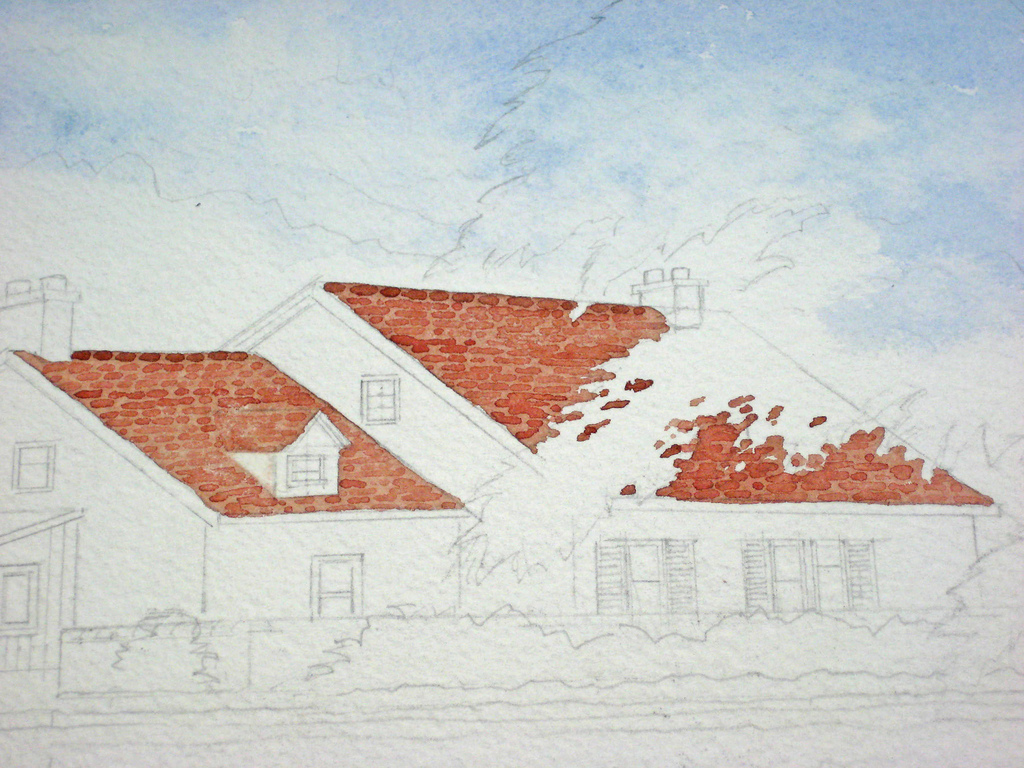
Step 2
Next we paint in the basic roof colour, using a mixture of Raw Sienna, Brown Madder, Cadmium Red, and a touch of our standard shadow colour made from Brown Madder, and Antwerp Blue. Notice how I’ve left some negative spaces for the leaves where they cross the roof. You may notice I accidentally painted over an area on the gable which should have been left white. I corrected this by masking it off and lifting it out with plain water and facial tissue. This is why I always insist my students use only 300 lb. paper as it helps in correcting mistakes.
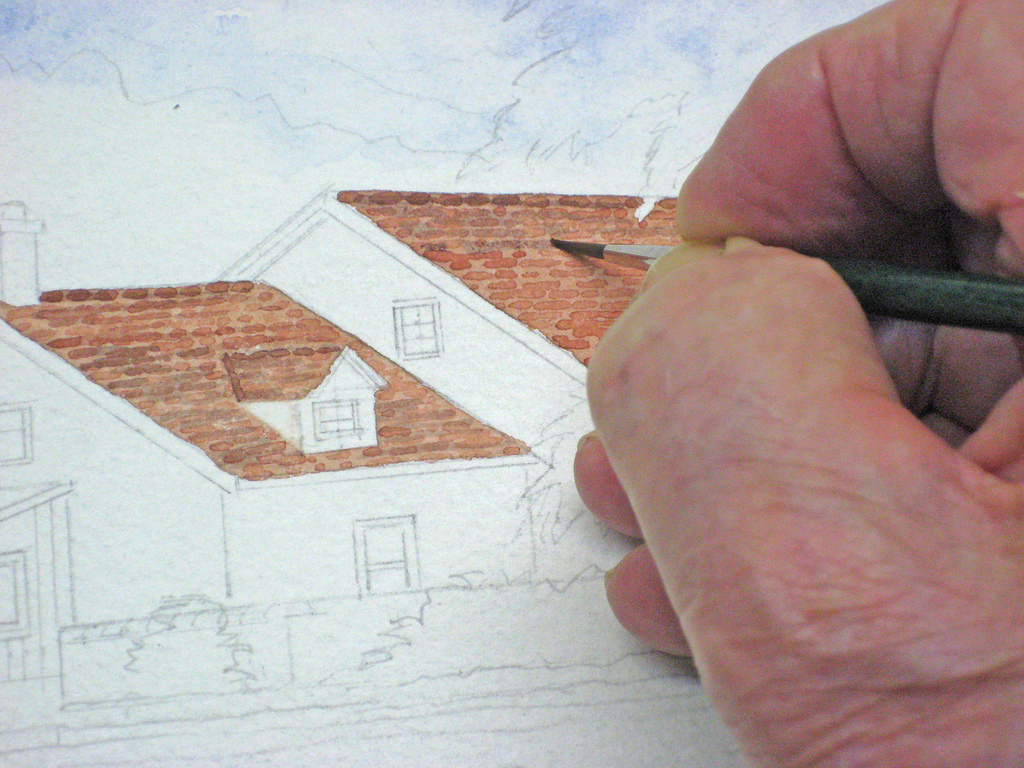
Step 3
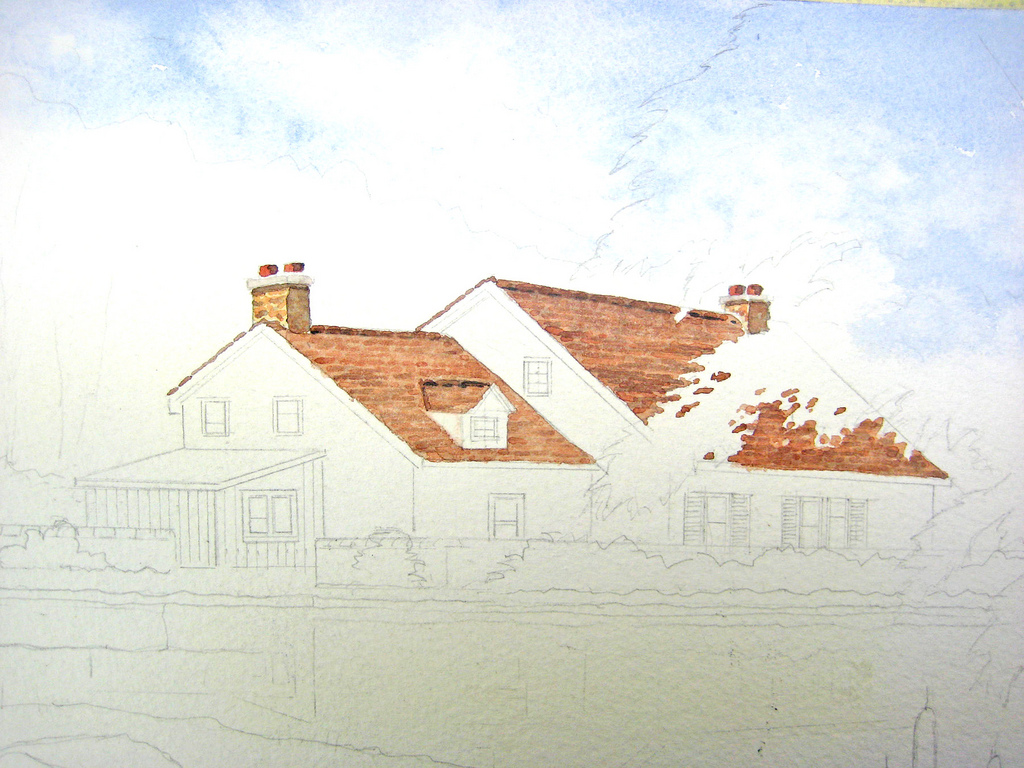
We indicate the tiles or shingles with the same colour over our first wash. Using a #2 round brush we give the impression of the roof covering. No need to paint in every tile, but try to stagger them a little. Be sure to extend your tile courses under the white spaces left for the leaves.
Step 4
Now I went over the tiles with a number 2 round brush, using our standard shadow colour to emphasize certain areas. Personal style will come into play here, but the idea is to create a realistic roof area without painting in every single tile.
Step 5
Here’s how it should look at this stage, after blending this area with a #2 round brush loaded with water. Try to emphasize the ridge tiles and show he edge of the tiles along the outer roof line. Lots of opportunity here for personal style in colour and texture.
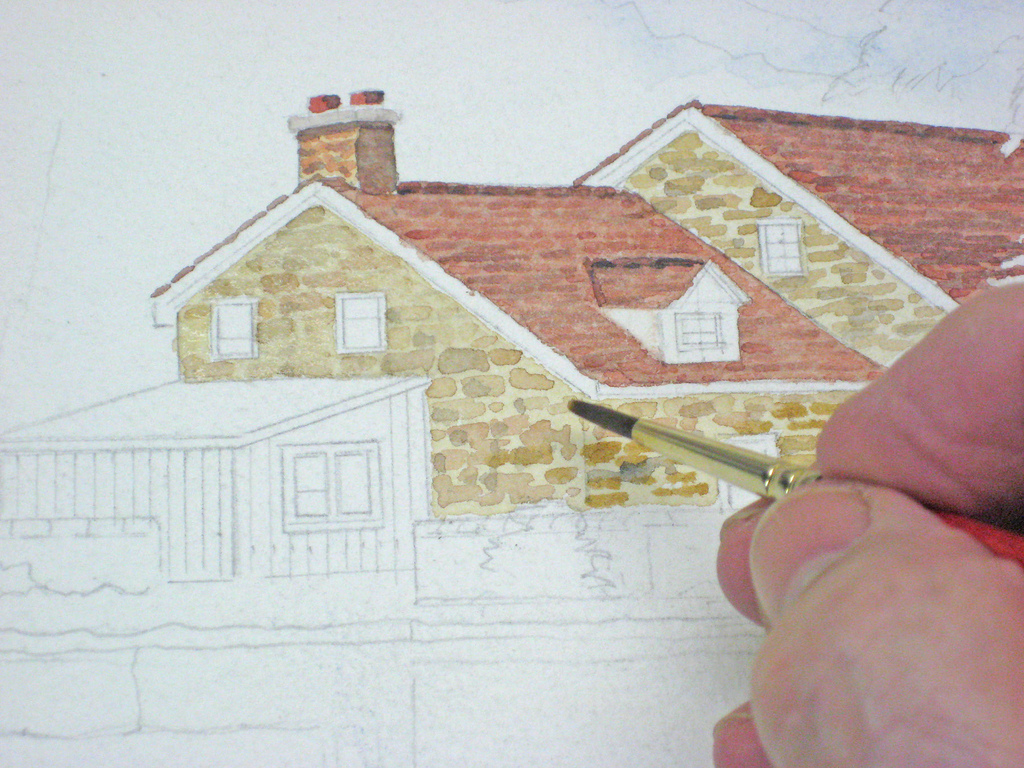
Step 6
Now put in the two chimneys, using a brick colour to match the stone cottage. Raw Sienna with a touch of Brown Madder for the brick work, followed by a slighter darker version for the bricks. Don’t attempt to paint individual bricks at this size, just indicate a few bricks here and there. Follow this up with some standard shadow colour to emphasize certain areas. If the result doesn’t please you, try blending with plain water. For the chimney pots use Cadmium Red with a touch of Brown Madder in a light wash, then show the shadow side with our standard shadow colour.
The chimney ledge is probably concrete, so indicate that with a faint shadow wash. I’ve put a shadow under that ledge, and to fix our light source and direction, I’ve painted one side in our standard shadow colour. You’ll have to mix this and try it out first. Don’t get it too dark. You can always add another layer later. This is not an architectural rendering so we’ll try for realism, but in a loose way.
Step 7
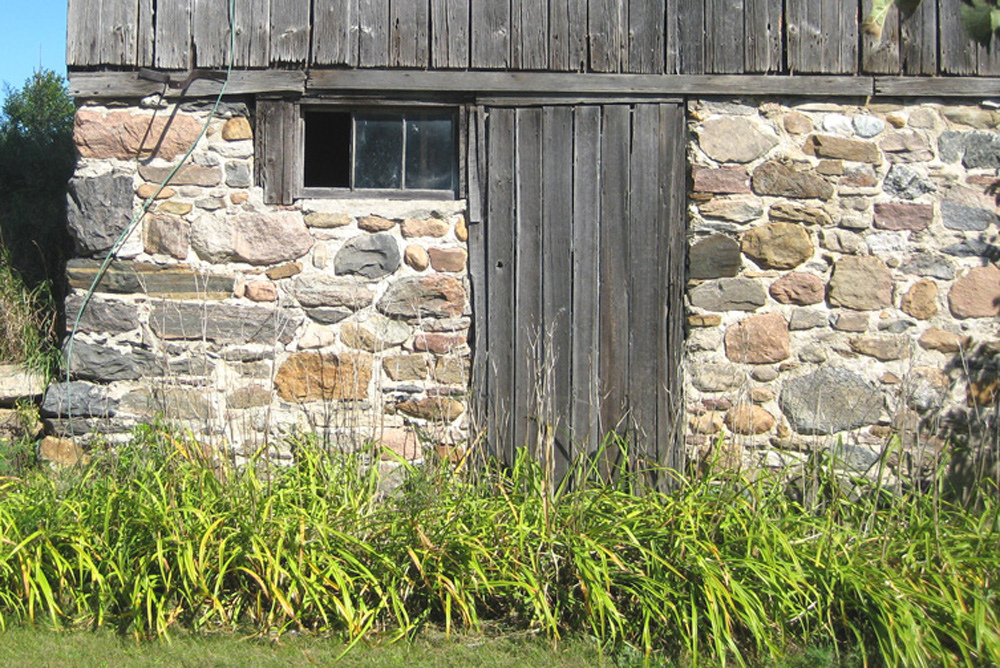
This is the basis for our stone technique.
Step 8
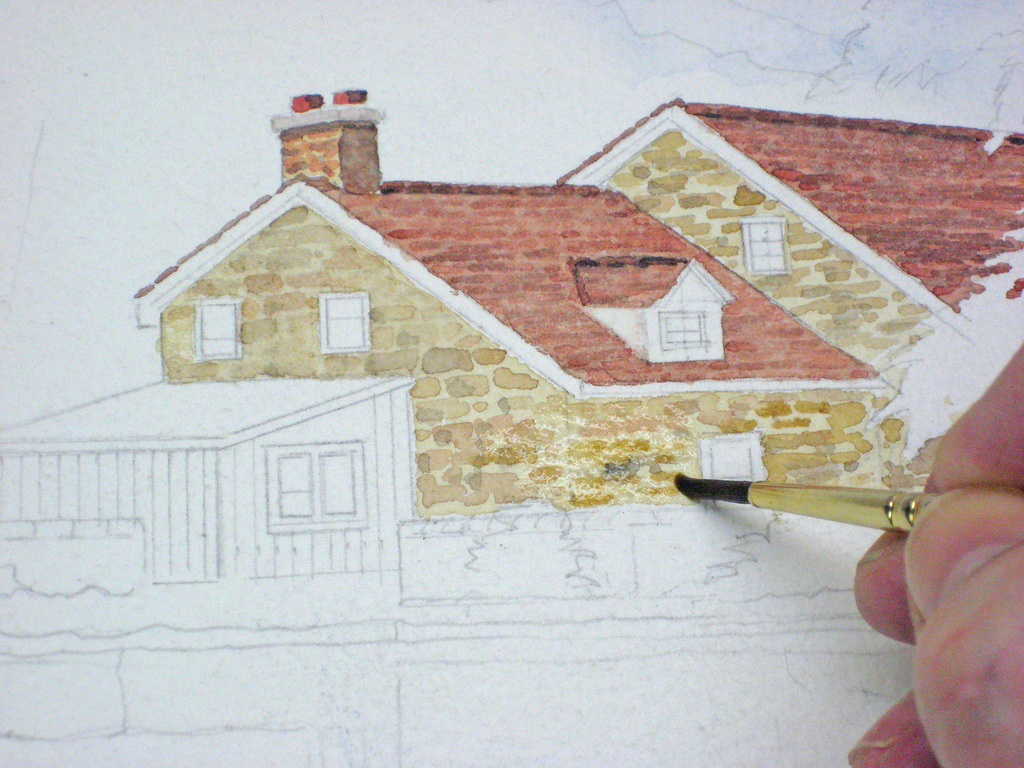
Mix up several stone colours from your existing palette in separate wells and try them out on scrap paper. Using a #4 round brush, paint in a series of rough stone courses, remembering to brake the courses as we did in our brick demo. No need to paint in every stone – just a suggestion. We’ll be blending all this in with water at a later stage. Mix and match colours to get that old, weathered look.
Step 9
Here is what we’re aiming for, but you can have fun with this by introducing your own style. Vary the shapes and colour, but remember this is actually a very small area of our painting whereas this photograph is a close-up in bright sunshine. Experiment on a piece of scrap paper first.
Step 10
Next blend in the results with a #4 round brush and clean water. Depending on how much colour you’ve used, you may have to work in the colour quite heavily. but try not to paint over the clean white edges of the windows and other wood trim. Stand back and look at the the results from a normal viewing distance: about six to eight feet away. You add more colour and texture to suit.
Step 11
Work this well into the paper and use lots of water.
Step 12
This will do for now, and we can come back later to modify this if needed. We’re trying to give the impression of a stone wall.
Step 13
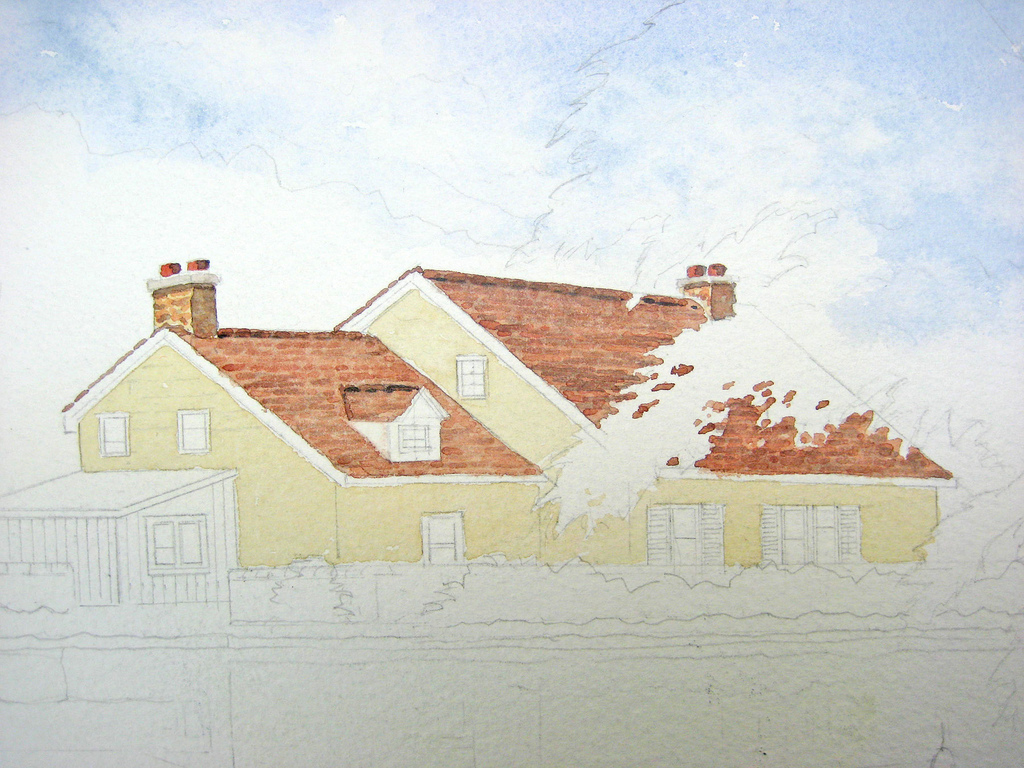
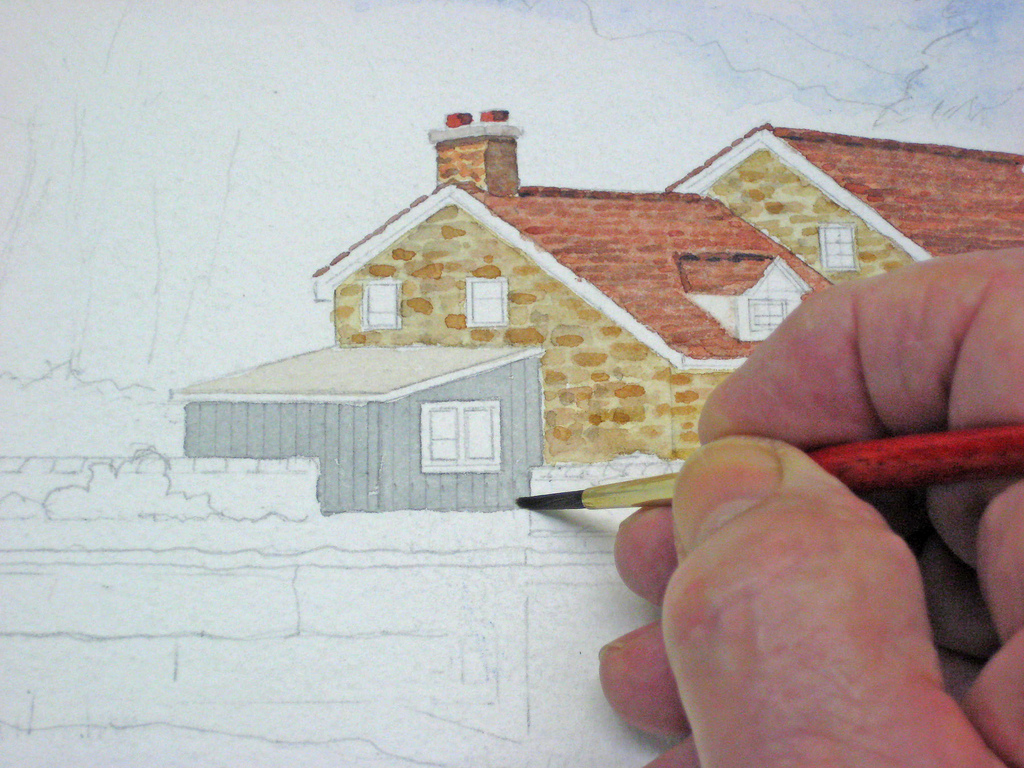
The little lean-to shed was blocked in with a light gray made from our standard shadow colour. Carefully paint around the woodwork trim to leave white paper. The shed roof was a light wash of Burnt Sienna, my favourite rust colour.
Step 14
Put in the shadow areas and leave the whites for the tree on the RH side of the painting. You may want to go back in those shadow ares and re-indicate some of the stones to make them stand out. Our cottage is completed for now, but we may modify this at a later stage.
Step 15
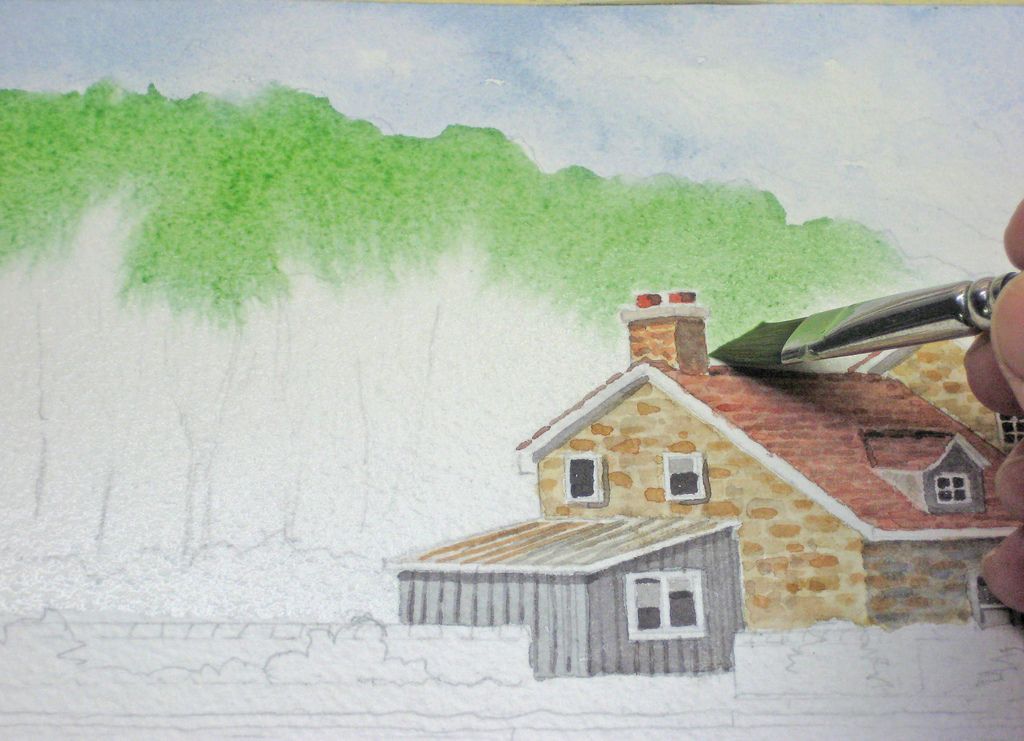
The background trees are blocked in with a wash of plain water using a 45 degree flat 1/2″ brush. This enables us to allow us to let the eventual colour flow up to the edges of the cottage smoothly and gives us time to soften the top edges. The colour is gradually diluted as the background trees disappear behind the cottage.
Step 16
I decided to recommend protecting the edge of the cottage and lower wall with liquid masking to make it easier to paint the background trees. If we were painting this outdoors we would be using a looser style, but in a studio painting from a photograph more discipline is required. Here I’m using the end of a brush to push the masking around to save damaging a brush. For finework using liquid masking I have a series of relatively disposable brushes I wash out with detergent. Some colour may be lost as we eventually removed this, but the amount will not affect this subject.
please please give me easy ,simple landscape painting made from water colour
Paula Carreirosays
Thanks for this website. Your work is amazing!
wendy Wingatesays
Do you have a book explaining what you show on screen. I love reading your instructions on screen but would love a book if you have one. I’ve been looking at the video How to paint a Landscape


please please give me easy ,simple landscape painting made from water colour
Thanks for this website. Your work is amazing!
Do you have a book explaining what you show on screen. I love reading your instructions on screen but would love a book if you have one. I’ve been looking at the video How to paint a Landscape