About Rebecca Sinz
I’m a self-taught artist from Michigan. I paint mostly fantasy related work, and my art has a tendency to lean toward dark, gothic themes. I work mainly with watercolor, watercolor pencils, ink and acrylic. Anything and everything inspires me, books, movies, music, my own random ideas that come out of nowhere. I have loved to create for as long as I remember. I chose fantasy art because there is such an unlimited amount of possibilities. I can make anything that I imagine take form. And once I tried watercolors, I was addicted.
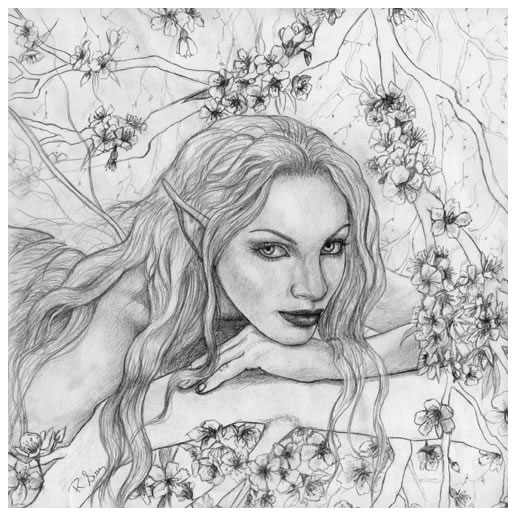
“Fairy of the Spring Bloom” Walkthrough
Watercolor/Mixed Media
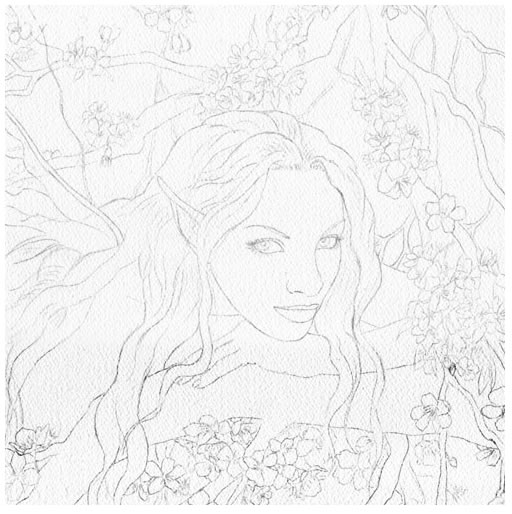
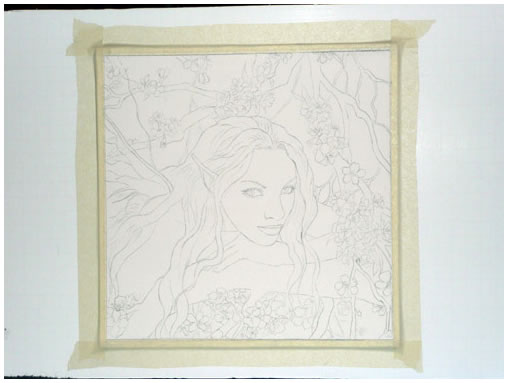
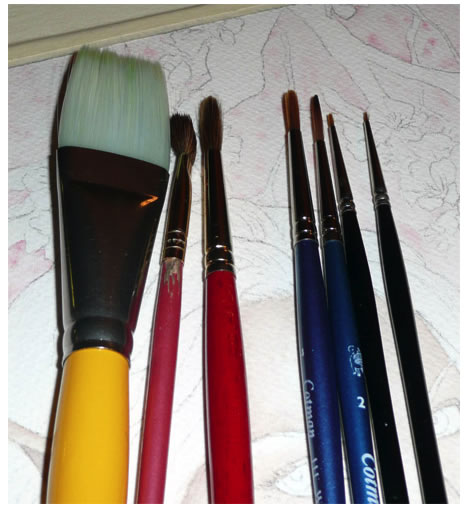
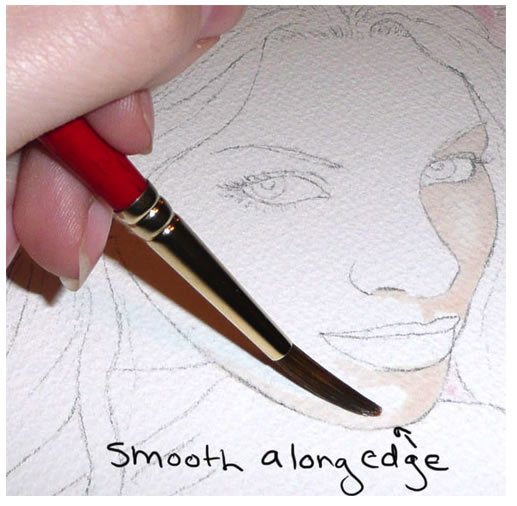
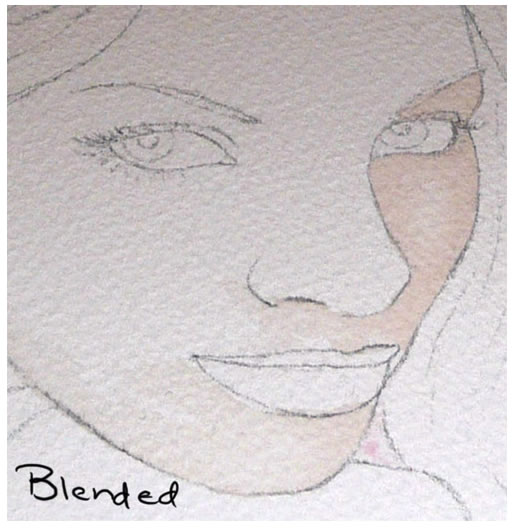
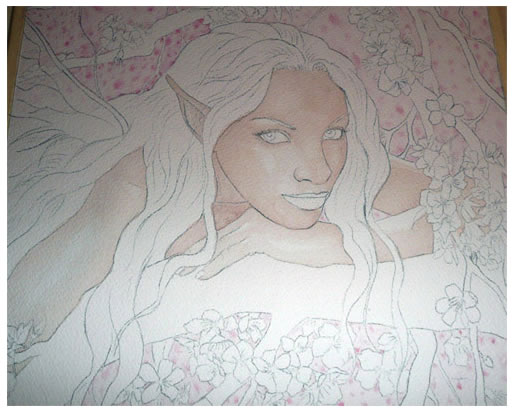
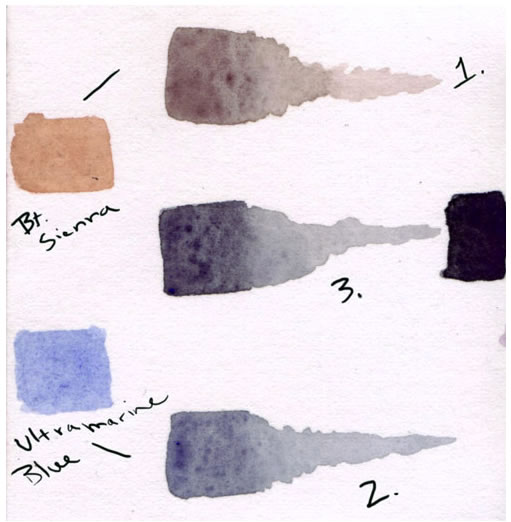
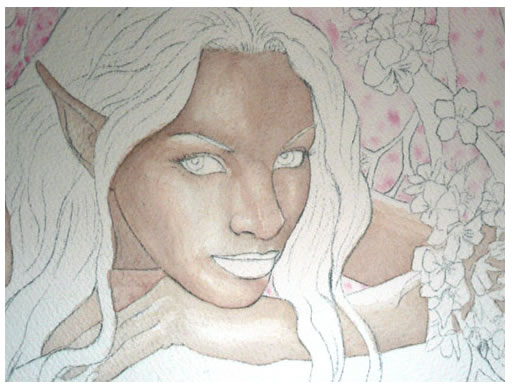
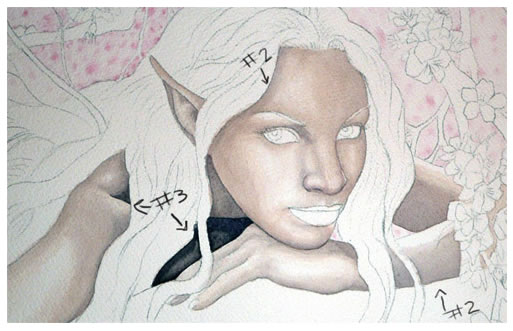
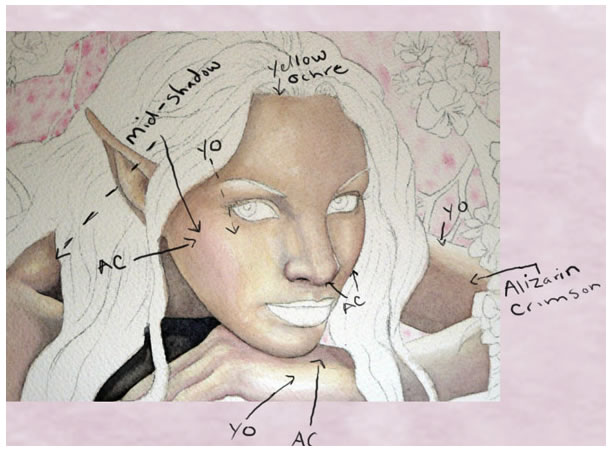
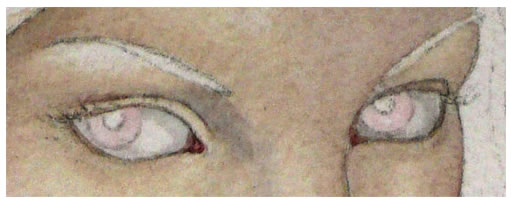
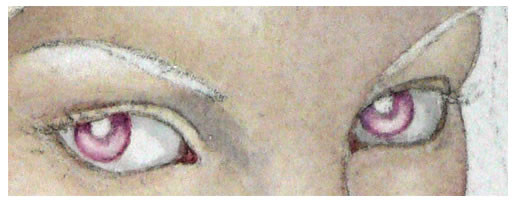
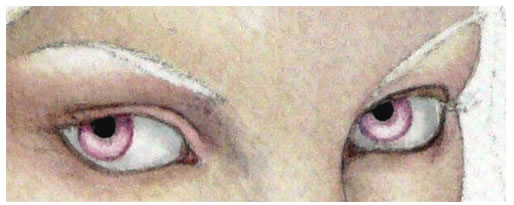
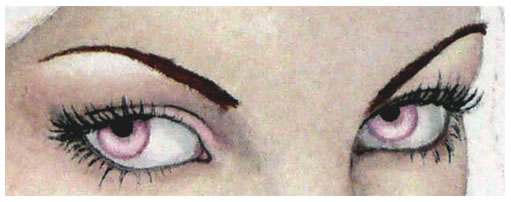
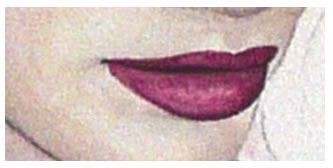
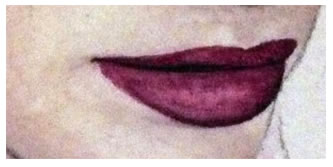
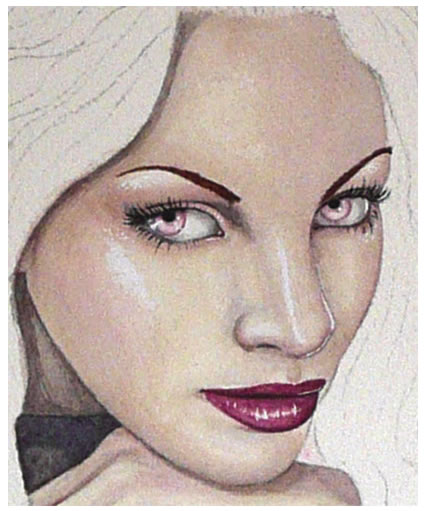
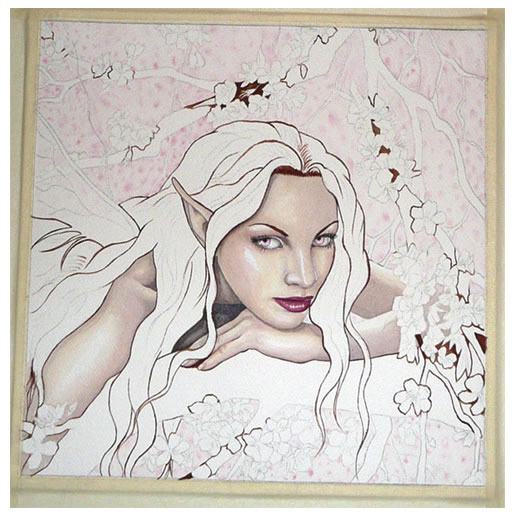
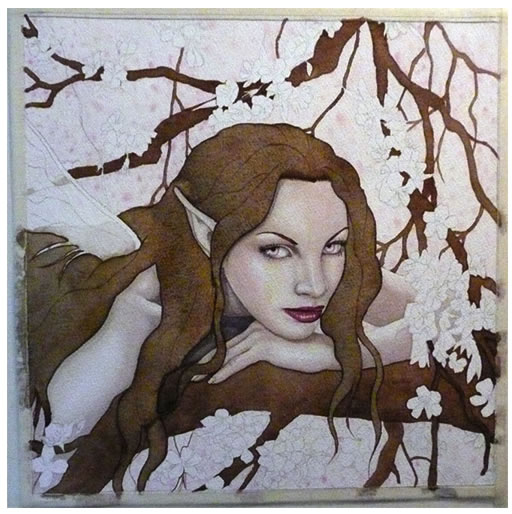
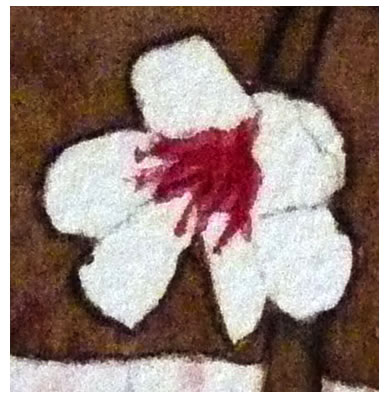
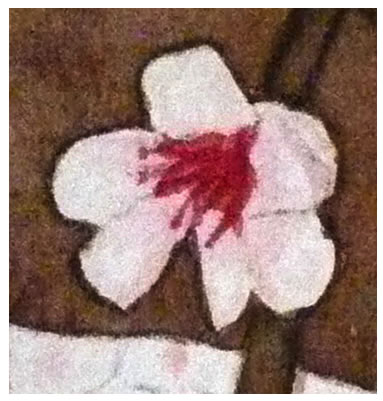
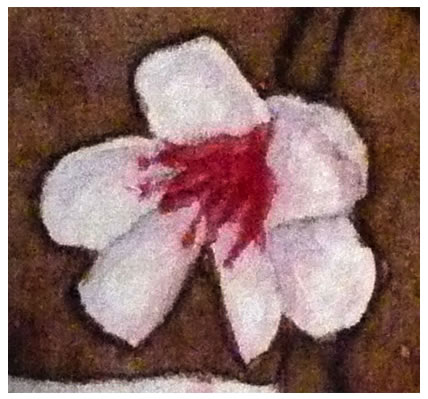
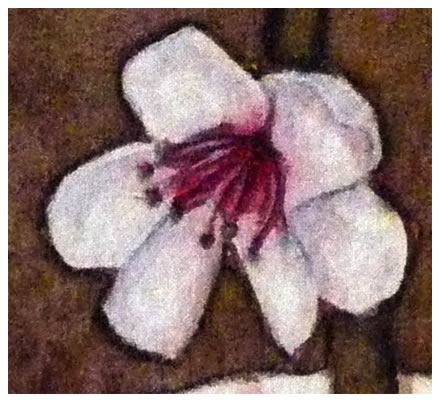
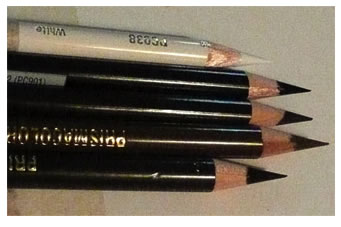
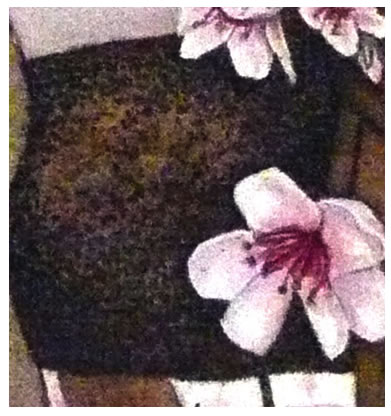
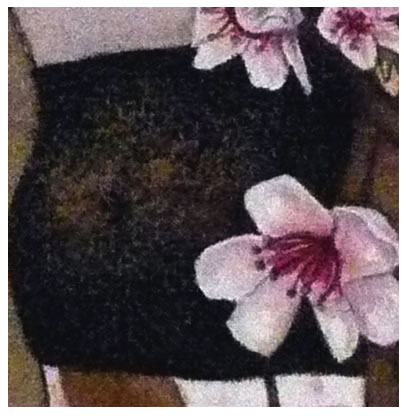
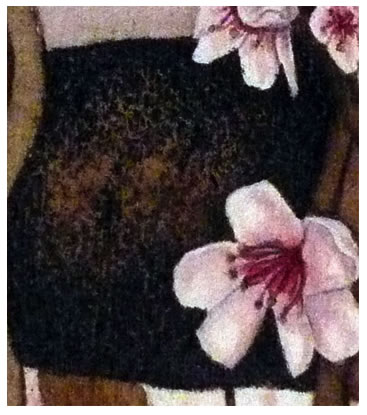
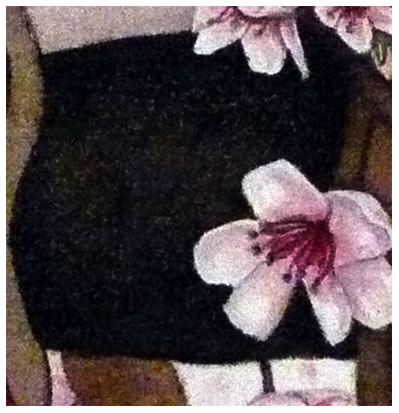
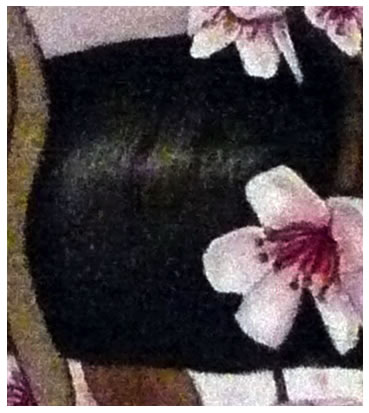
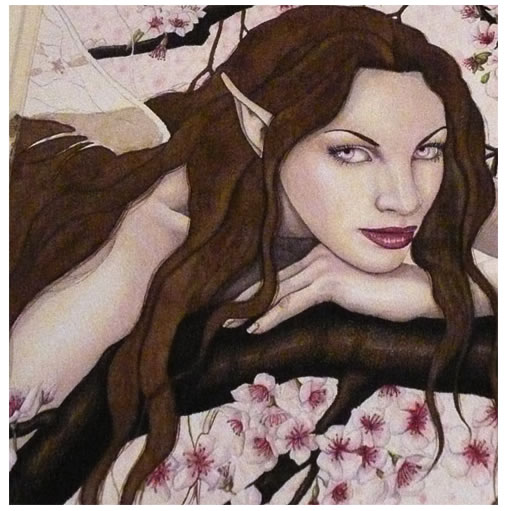
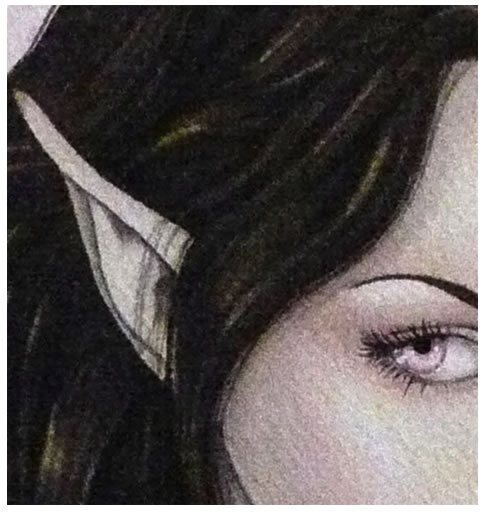
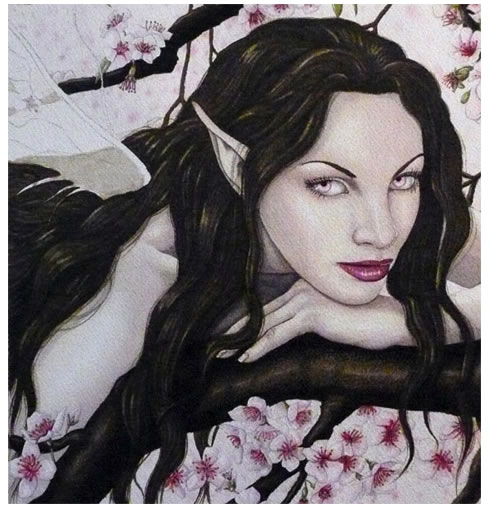
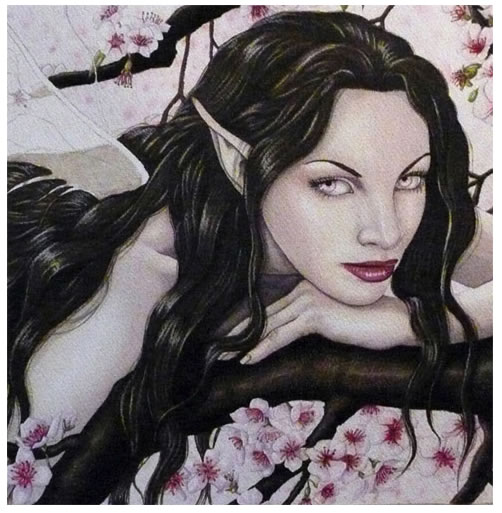
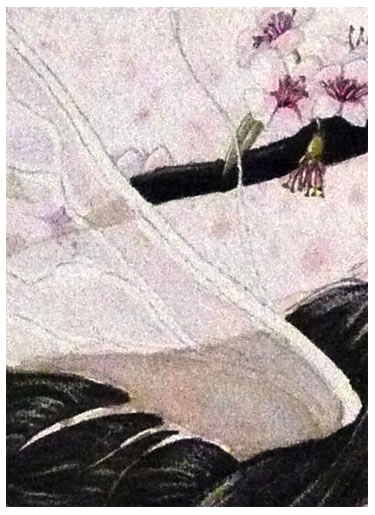
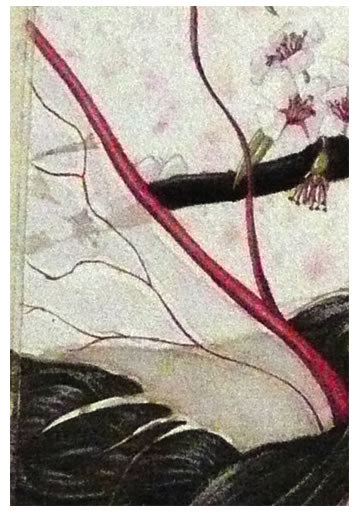
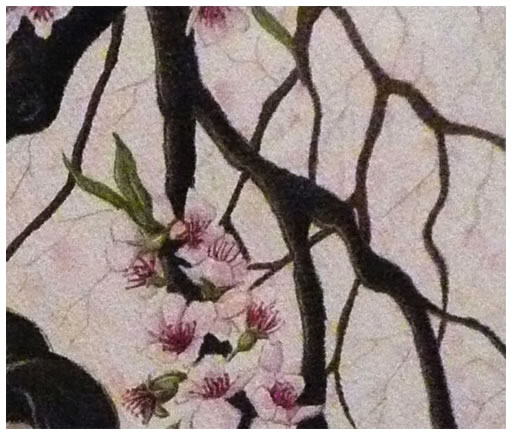
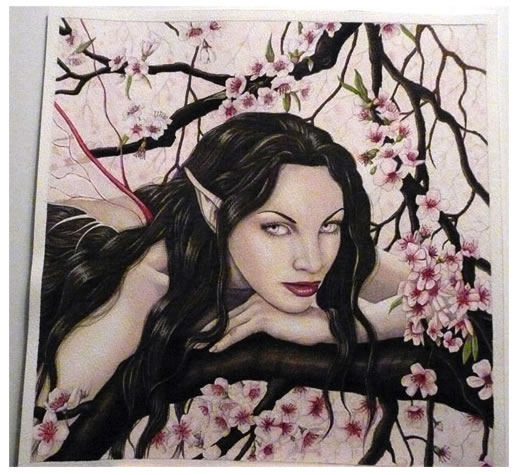
These 2 steps don’t require too much explanation. I have sketched out my Spring fairy on a piece of sketch paper. My sketches are fairly detailed so that I can get a better idea of how the final painting will look. I then cut my cold press watercolor to 10.5 x 10.5” This allows for a 1/4” white border on each side to tape it down. So the actual size for the painted area is 10 x 10” I actually use hot press watercolor paper more often lately, but since the first in this series of seasons was done on cold press, I wanted this one to be too. Though I do like the texture that cold press paper has for portraits. More detailed work tends to be easier on the completely smooth surface of hot pressed paper. Next, I transferred the sketch onto the watercolor paper using graphite paper. You tape the graphite paper between the sketch and the watercolor paper and trace over the main outlines of the sketch. This is my preferred method of transferring my sketches, but you can use whatever method you like. You can even sketch right on the paper. I just like to keep my sketching for separate paper because I erase and shade a lot when I sketch. Now I use masking tape to tape around all 4 sides and then tape it down to a piece of foamboard. This will help keep the paper flat while painting. These are the main brushes that I use. Though the biggest one on the left isn’t needed for this painting. I start by filling in the background spaces behind the fairy and between the tree branches with a light wash of alizarin crimson. Since the next step requires that the paint still be wet I really had to work on each little space one or two at a time. Next, while the wash is still wet, I dropped dots of less diluted alizarin crimson in the wash. This is creating a background of distant, blurred cherry blossoms. Below is after the section is complete. I continue this until I have the entire background filled in. Next, I jump to painting the skin since it is one of the lighter areas of the painting. I start out with a very basic peachy flesh color created by mixing Burnt Sienna and Burnt Umber (see left). First, determine the direction of the light source and where it will most directly hit the skin. These areas are where you will leave the white of the paper showing through. Apply the bt. sienna/bt. umber mixture lightly all over, blending around the white areas. Blending: The trick to smooth blending with watercolors is that you have to work fairly fast. Lay down a layer of paint, quickly clean your brush off, or even keep a separate brush for blending, and blot it on a paper towel so that it is just damp. Then drag the brush over the hard edge of the paint to sort of erase or soften the edge. Too much water on the brush will cause flooding and will bleeding into and ruin your wash. Always use a damp brush for smooth blending. Continue this for all the skin. It may be necessary to do more than one layer, depending on how dark you want the skin. Let each layer dry before applying the next. Next, I use a mixture of burnt sienna and ultramarine blue. This can be mixed in any number of different ratios to create different colors. The first one I use is about 75% burnt sienna and 25% ultramarine blue (see #1 below). I use this as a mid-tone to build up the structure of and curves of the skin, such as the shape of the forehead, cheekbones,nose, etc… The second mixture is 75% ultramarine blue and 25% burnt sienna (mixture #2 above ). This is used for shading and shadowing. The third mixture is a 50/50 mix of the 2 colors(see #3 above). This gives you a really deep, almost black color to be used for deep shadows like inside nostrils, ears, under the chin, etc… These next 2 steps really bring the skin tone some life. I add some yellow ochre to the skin in the highlighted areas, still trying to leave the most directly lit areas white. Then I add some reddish tints to her skin in her cheeks and in some of the mid-shadowed areas using alizarin crimson. By mid-shadow, I mean where the area changes from light to shadow, right in between (see below). That’s probably not what its really called, but that what I call it. 😉 The addition of these two colors really add a lot of life to her skin tone. I begin by defining the eyes, once again using my mixture of burnt sienna/ultramarine blue, using greater amounts of blue for the darker areas. I use that same mixture with a little alizarin crimson for the inner corners of the eyes. For the whites of the eyes, I use a very diluted 50/50 mix of burnt sienna and ultramarine blue and that gives you a soft gray. Next, I add a light wash of alizarin crimson for a soft pink. Then I use alizarin crimson mixed with a little ultramarine blue to deepen and define the irises some more. I then added a light wash of alizarin crimson around the eyes to give a light pink eye shadow. And filled in the pupils with black. I mixed my own black using Indigo, yellow ochre and Perylene Maroon. Next, I use a tiny liner brush (10/0) to paint in the eyelashes in black. And I use burnt umber to fill in the eyebrows. First, I fill in the lips with alizarin crimson. Then I mix in some ultramarine blue with alizarin crimson for shading and the seam of the lips. Then I use white goauche to highlight everything on the face. I like the shiny effect this gives. I begin by outlining all the areas that are going to be filled in with brown. This is mainly so that I don’t have to be quite so careful when painting near the skin and blossoms. Next, I fill in the hair and branches with burnt umber. I begin by filling in the center of the blossom with alizarin crimson. Next, I lightly shade some of the petals with alizarin crimson. Then I use ultramarine blue to add some light shadowing. Here, I have used more blue to define the individual petals and the center of the blossom. I also added a touch of sap green to the center and then some highlights with white gouache. *Please Note that the pictures below are a lot darker than the painting really is. See the finished painting for true values. First, I use a dark brown Prismacolor pencil and fill in the branch. I keep the pencil very sharp so that I can better color around the blossoms and get down into the grain of the paper. I shade so that the darker areas are at the top and bottom. Then I use indigo to darken the branch further on the top and bottom edges. I color over this with dark umber. Mixing indigo and brown makes a very dark, almost black color. This picture is really dark, but the next step was to color the center with light umber. Finally, I use a white colored pencil to make the center lighter, and also used indigo once again along the shadowed areas. I used colored pencils for the branches because I wanted to make it match the winter painting that I did in 2005. With cold press watercolor paper you can get a texture for the wood with out even really trying. I decided to darken her hair up some more, so I went over it again with burnt umber. I used a small liner brush to paint in some stray strands of hair around the face and edges of the hair. This makes it look more real. I had a picture of the step between the last one and this one, but it was too dark to even bother showing. I mixed burnt umber and ultramarine blue together, giving me a very dark brown (just like I did with the indigo and dark umber colored pencils on the branches), and I painted in the separate strands of her hair. I started out using a #2 size round brush with a pointed tip and then used a smaller liner brush for even smaller detail. After detailing all the the hair, I used a small brush to lift some of the color away, for highlights. You can see this in the 2nd picture. Then, I used a white colored pencil you draw in some even brighter highlights. I begin by applying a light wash of alizarin crimson in between the veins of the wing. Everything that is visible through the wing was painted in light washes earlier. I use a more concentrated alizarin crimson to paint along the top of the wings and the veins. I shade this areas with ultramarine blue for depth. Finally, I used white gouache to redefine the bottom edge of the wing and to add highlights to the top. Last of all, I use a fine brush to paint in light, distant branches with burnt umber. Then I remove all the tape and I’m done!!Click the pictures for a larger view.
Media Used:
Step 1 – The Sketch and Transfer
Step 2
Step 3 – Beginning to Paint the Background
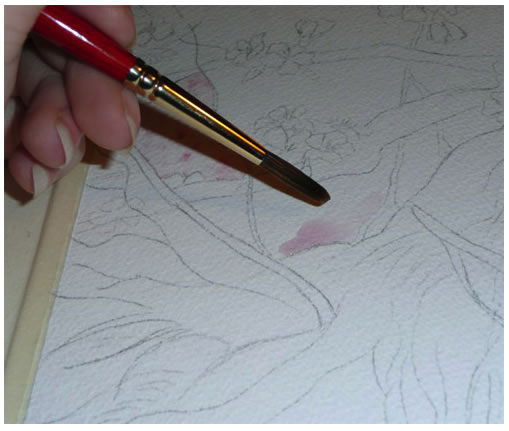
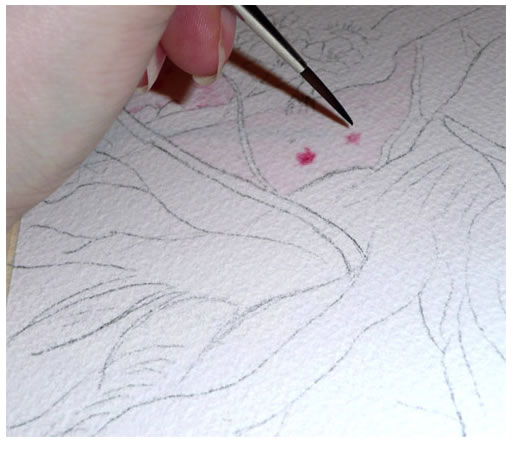
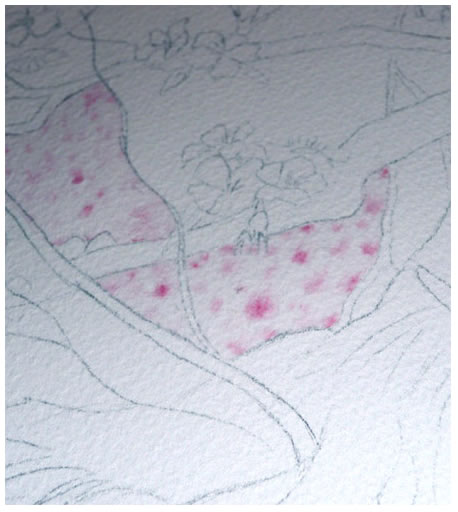

Step 4 – The Skin

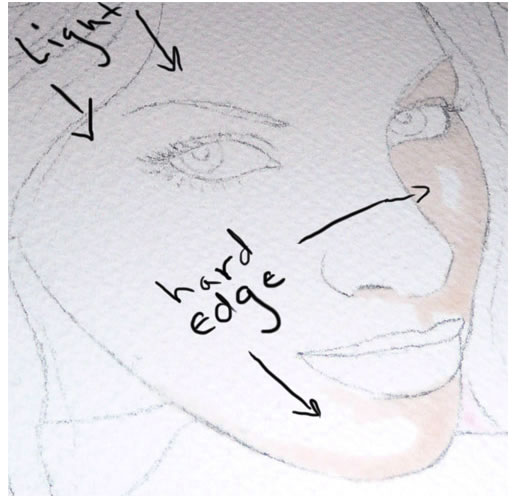
Step 5 – The Eyes

Step 6 – The Lips
Step 7 – Filling in The hair and branches
Step 8 – Painting the Cherry Blossoms
Step 9 – Shading the Branches
Step 10 – The Hair
Step 11 – The Wings

Thank you for showing this. It is a beautiful picture, you have really inspired me to carry on trying. Your page is so helpful and detailed.
Beautiful work, Rebecca! Thank you for this awesome tutorial! You got a new fan! 🙂
Amazing work. Thanks for explaining each step so nicely. It is very helpful for the beginners.
This tutorial is very detailed and thorough. The time and energy that you spent creating it deserves a nod 🙂 thank you
I loved this,very nice
Really Beautiful, thanks for taking the time to make this available. It is very helpful and inspiring.