Part 2 – Charcoal Drawing Demonstration
In Charcoal Drawing Part 1 you will find what are quality materials you need to get the best results.
With this tutorial I will take you through the drawing stages.
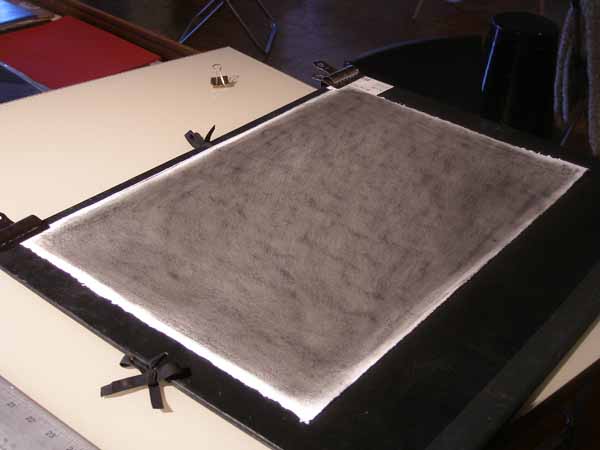
The preparation takes about 10 to 15 minutes. Now that you have prepared the paper your ready to roll.
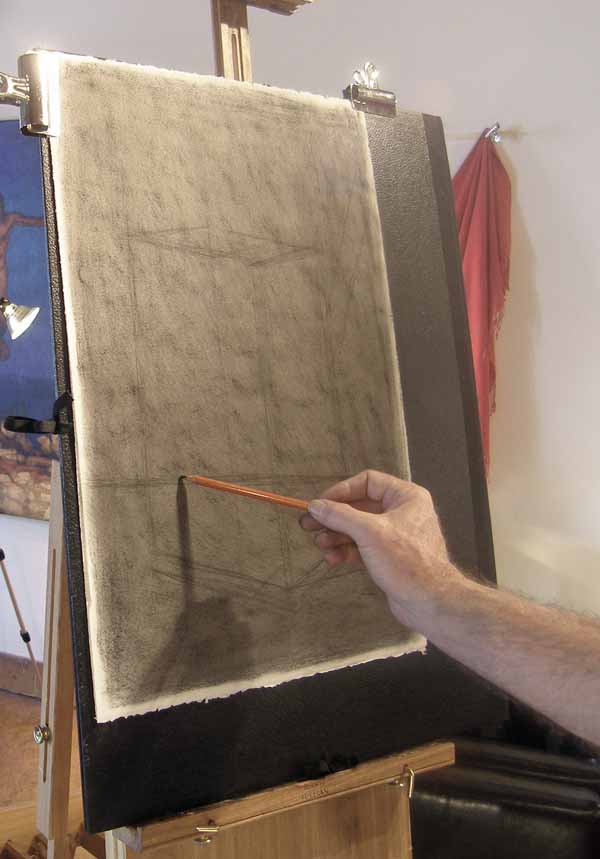
The charcoal rub on the paper is neither black nor light, but solidly in the middle of the tonal range. Here I am drawing with General’s charcoal pencil 6b. You will notice that I hold the pencil at the back end. It may not seem important but you might be amazed at how the mark making becomes more fluid.
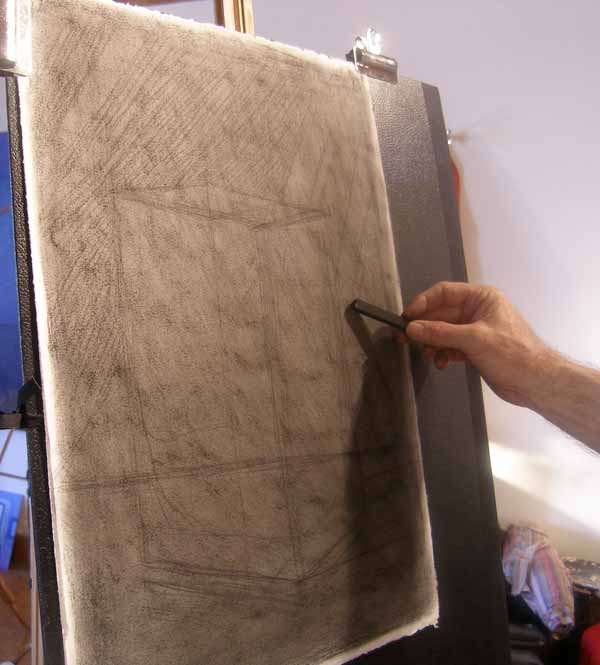
After the drawing the composition, I begin to “block” out the darker areas using soft compressed charcoal stick. Notice that with this too I hold it lightly at the back end. My preference is to drag the charcoal barely touching down on the paper.
Shadows are s difficult business, it is crucial that they feel mysterious and transparent. If you are too firm they will “sit” on the surface, destroying the spatial depth, and any hope of the drawing creating a feeling of light.
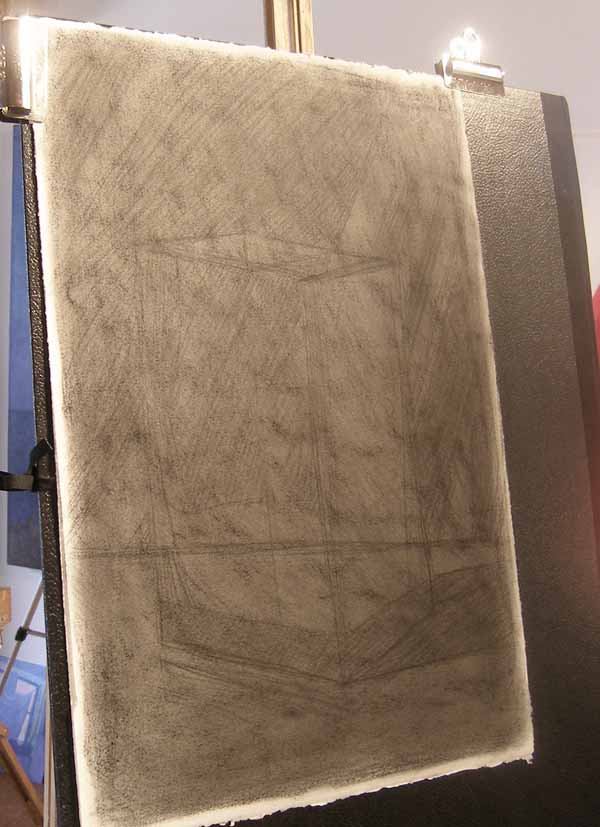
Here I have blocked out the major areas of dark.
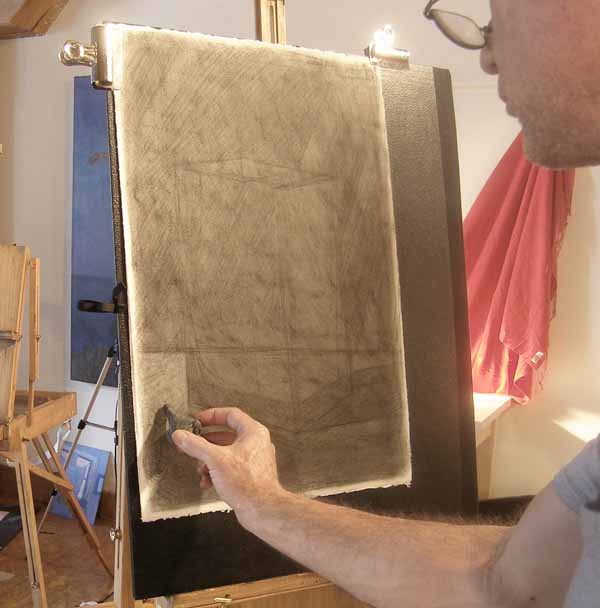
Using a kneaded eraser I block out the lighter areas, but only a small degree. As with the charcoal I lightly drag the kneaded eraser over the paper. I tend at this stage to draw and erase with uniform rows of lines, ala da Vinci. This keeps the whole image calm, and uniform.
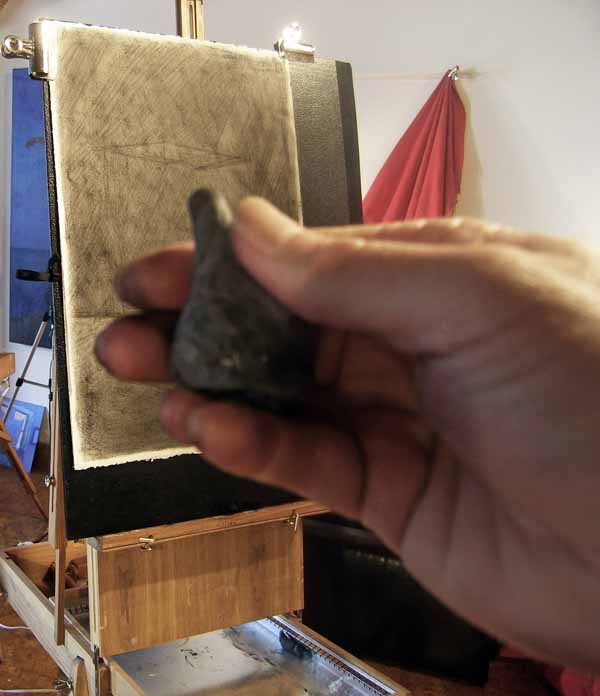
Below, I roll the kneaded eraser into a nub, which I use to erase the charcoal. These erasers need to be kneaded. If not, the charcoal cakes it. Think of a dishwasher sponge covered in bacon fat. That analogy is a little extreme, but just keep kneading the eraser, and it will stay fresh and clean for a long time.
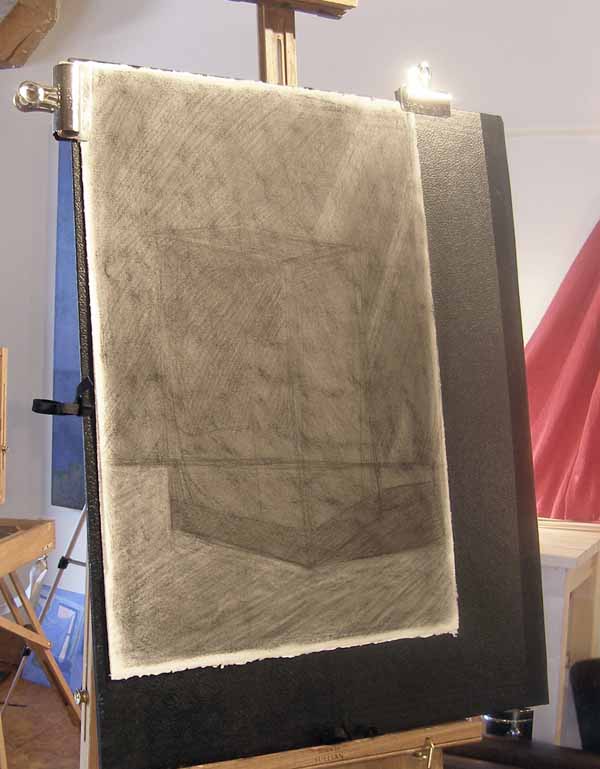
Here are the results of blocking out both the lights and darks.
Below, I start refining the details I see, both erasing and drawing.
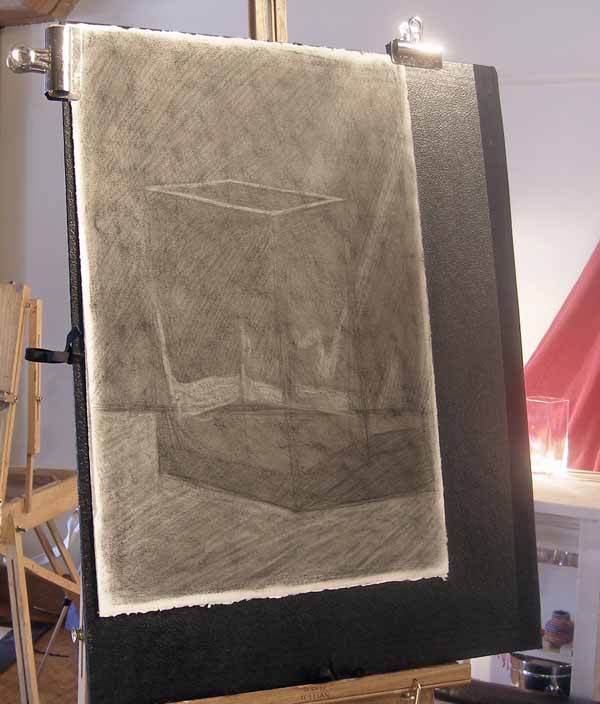
Now I am at a difficult stage. The drawing is set up well, but I have to drive it home. Most important now is to clearly visualize the where the objects are in space. I compare the front corner of the glass vase, with other corners, and with the back and front of the table. Below you can see I am accenting the front corner with darker marks, which helps the corner pop forward.
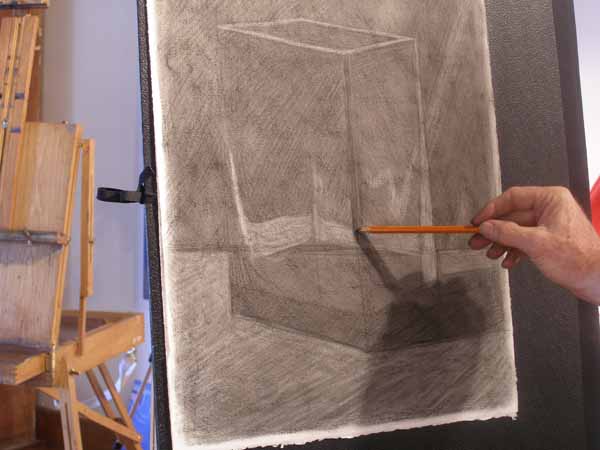
While I am drawing and looking at details, I am squinting most of the time. Squinting enables us to see the nuance of tones, and the essential details of light and shadow.
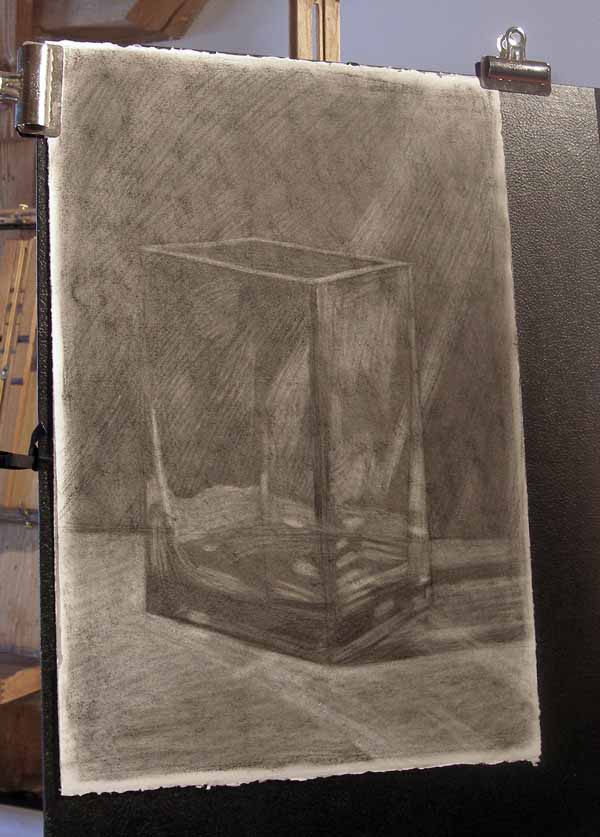
The kneading eraser will only wipe out so much of the charcoal. To make the brightest lights, the Pink Pearl eraser does an outstanding job. It is too powerful for the subtle earlier stages but perfect for slashing the shimmering brights.
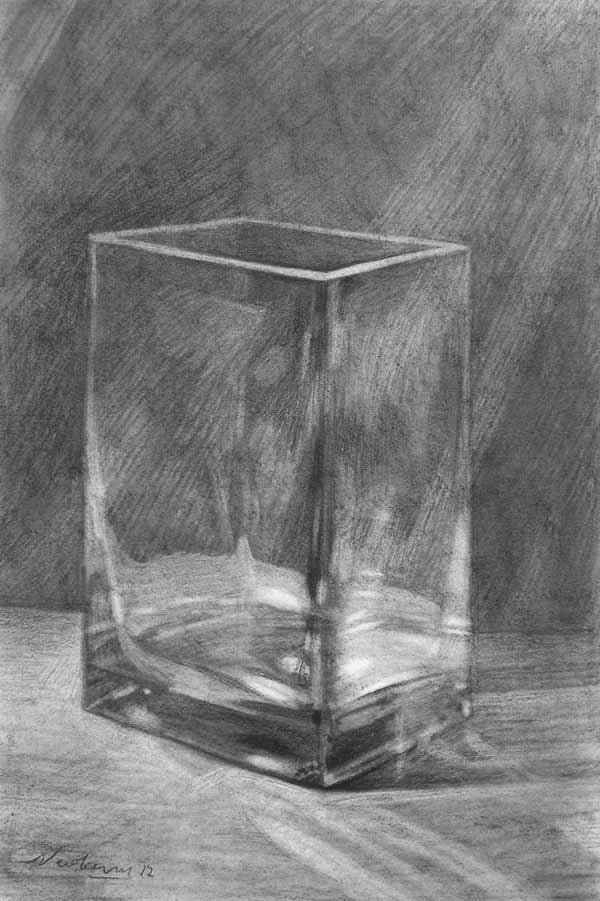
Newberry, Glass Vase, 2012, charcoal on Rives BFK, 22 x 14 inches. Check it out along with some of my other charcoals and still lifes here: http://michaelnewberry.com/art/stil/vase.htm
I hope you enjoyed seeing erasers in a fresh way.
Michael Newberry
Los Angeles, May 2012
<< Back to Part 1
About Michael Newberry
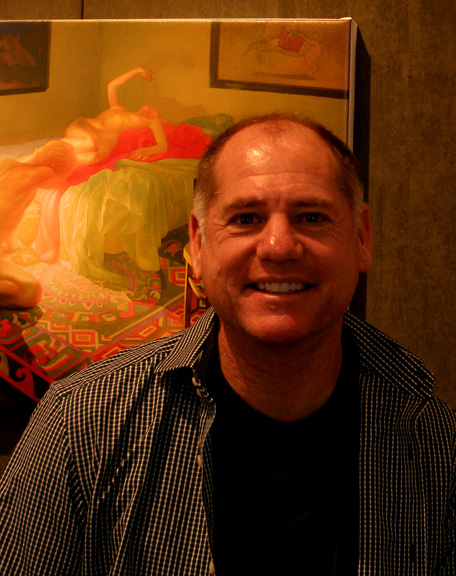
Michael Newberry is nearing his fourth decade as a full time artist, and he lives primarily from art sales to private collectors. Most recently (March 2012) his monumental work, Lovers Jumping, became part of Chan Luu’s art collection. Michael has primarily shown with institutions and through his studio – by-passing commercial galleries.
Michael specializes in innovative major figurative works; powerfully unique pastel drawings; and luminescent charcoal drawings. He shares his knowledge through mentoring, regularly giving classes, and through his online art tutorials. In the 90’s he taught Foundation life drawing, still life, and painting at Otis College of Art and Design in Los Angeles.
He is a pioneer in integrating figurative art fundamentals with new insights into composition, subject matter, color theory, and spatial depth. He has a thorough understanding of great masters such as da Vinci, Michelangelo, Rembrandt, Vermeer, and Monet. And he draws inspiration from travels, international food, good friends, and the creative life.
Ockham’s Razor is publishing an art book of art of his tutorials in 2013.
This is everything an instructional post should be, and the end result is, it’s an inspiration to go out and do it! Thank you Michael. ~ Phil B.