About Terry
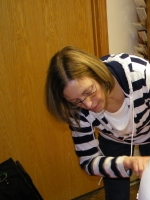 My art is about life. It expresses what I feel about people, places, and experiences around me. In order to create a painting, I need to feel a connection with a subject and see what that subject means to me. I need to see and feel every detail of it.
When I immerse myself in something that I want to paint, the idea for the painting becomes clear to me. Because I start painting without knowing exactly how it will turn out, as I put those first colors on the support, I am always nervous about what I am doing, because I do not know where I am going with it.
But as I continue, one technique or color leads to another, and I just know how to move on. If it feels right, I can continue. If not, I have to set it aside until I am inspired to go on…
You can learn more about her and view more of her work by visiting the Websites below:
https://terryhonstead.wordpress.com/
https://terry-honstead.artistwebsites.com/
“Butterfly Kiss” – Acrylic Portrait Painting Tutorial
(Please click images for larger views)
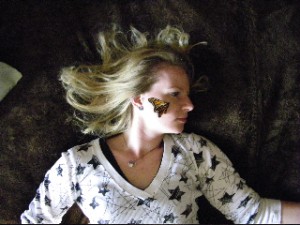
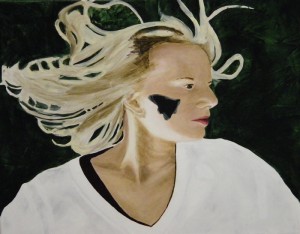
The first thing I did with this painting is to take a lot of pictures of my daughter with the butterfly and decide which one I wanted to use.
I picked this one because she looked as if she had the wind in her hair and the butterfly seemed to fit best on her cheek.
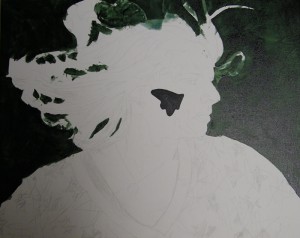
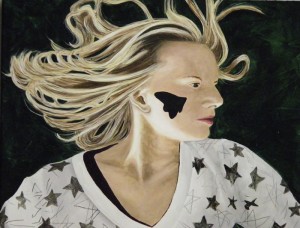
I drew out the basic layout and started blocking in colors.
I used green for the background. I did it in two layers. The first was a lighter covering and the second a thinner, darker glaze of the same color which I layered plastic wrap on to give it some texture. I then blacked out the butterfly and started on the skin tones.
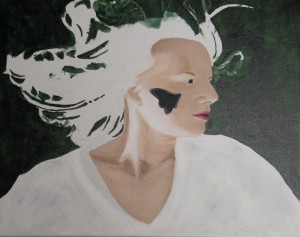
When I do various skin tones, I use a combination of red and yellow along with white to get the color that I want. Then I use glazes to get the exact skin tone. I also started on the undershirt which I did in a dark red and green mixture.
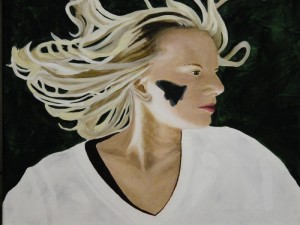
Next I started blocking in the hair. I used one of my favorite colors which is called Quinacridone Nickel Azo Gold. It can be a very transparent yellow color when applied lightly in a glaze, or a much darker orange color if used full strength. I also used brown and raw umber for shading and to get the overall color I wanted.
I continued on the hair by adding shading and strands to make her hair look like it was flowing.
As I went, I used raw umber to shade and white to highlight and the gold to add yellow tones to both the face and hair. About this time I also started shading in the folds of her shirt. I used different shades of gray for this
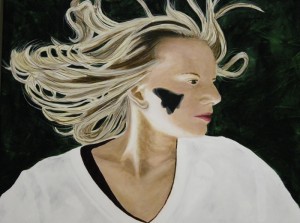
I added the the black stars and lines on the shirt. I wanted them to look very flat and almost drawn on because that is the quality that the shirt had.
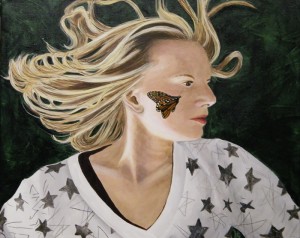
Next it was time for the butterfly. I left the black background on it because the the butterfly looks orange on a black background. It was easier to do the whole thing black first and then add the oranges and whites into it.
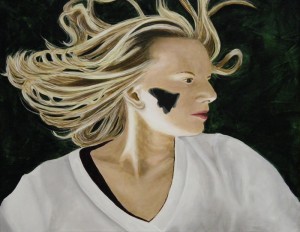
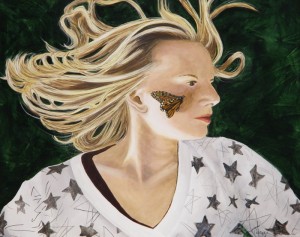
Once the butterfly was done I added the shadow on the cheek and then softened the back wing with a glaze to make it seem to be further back than the front wing.
The last thing I did was to darken some of the shadows on her face to give it a more 3D look and to shade the shirt under the chin.
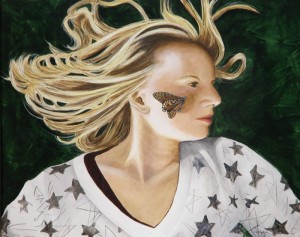
Looks fantastic! That butterfly certainly has that 3D effect…
I love this demo and wants to creat some good paintings. thanks rkb.