About Brian Simons
Being a self-taught artist, I have derived much of my inspiration from the “Group of Seven”, the French Impressionists and the Writings of Baha’u’lla’h (Bahá’í Faith). My family and I moved to Vancouver Island from Alberta, where I first began to paint approx. 25 years ago. Prior to that time, I focused mostly on drawing and sketching. I began showing my work in 1988 and have been represented by numerous galleries on the Island. From 2006 to the present, I paint on a full-time basis and have had many successes and confirmations in that period, including numerous commissions for a television production company, architects several corporate and private collectors both in Canada and the United States. I also conduct acrylic painting workshops British Columbia, Alberta and the United States….
Follow this link to visit Brian’s Website
The Progress of an Acrylic Painting – Demonstration by Brian Simmons
[adinserter block=”12″]
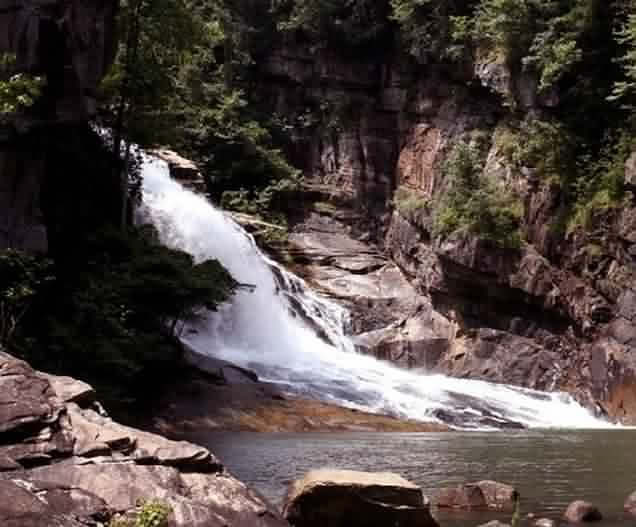
This is the original photograph I used from www.morguefile.com. Thankyou to the contributor! At this step it is very important to study the image and identify shapes, colour etc.
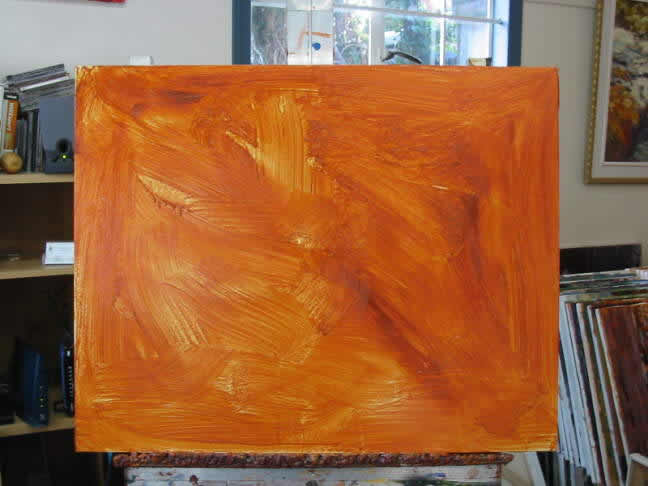
The second step is to underpaint the canvas. Here I used “burnt sienna and a large house brush. The idea is to simply cover the canvas in a “painterly” manner without any regard for the subject!
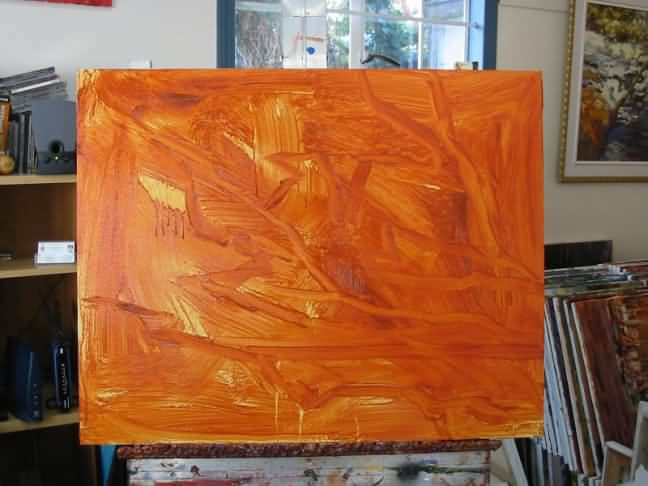
At this point, using burnt sienna and a large artist brush we simply “map out” and identify the big shapes we see in the image. Squinting is required to see the big shapes. No real drawing, just mapping in a few shapes and breaking up the format of the canvas into pieces of a big puzzle.
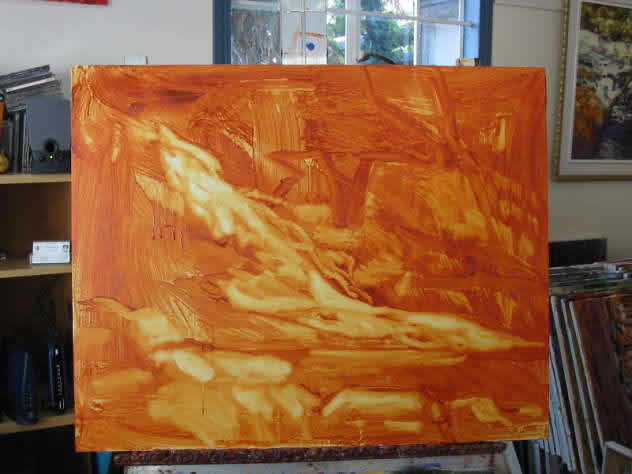
Then, before everything dries, we pull paint away from the lightest areas only. If the underpainting has started to dry, we wet the rag. Interesting how the painting is already coming to life!
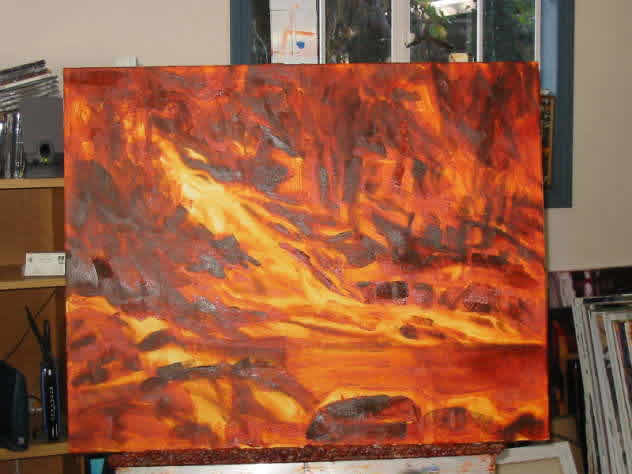
Once were happy with the “big shapes” and have pulled paint away from the lightest areas, we then start our “value study”, a study in lights and darks only. We do this by starting with the darks and use a bit of dark purple to darken the burnt sienna for the darkest darks. Then with we establish the other values , paying special attention to the value differences. We are looking for 4 or 5 different values.

Once the “value study” is complete, we then start blocking in the colors starting with the darks and working towards the lights. Keep the paint thin, this is only an estimate. Let lots of the burnt sienna show through.

Here the “block in” is nearing completion. We cannot assess any colours until we get them all “roughed in” and see them in relation to all the other colours.
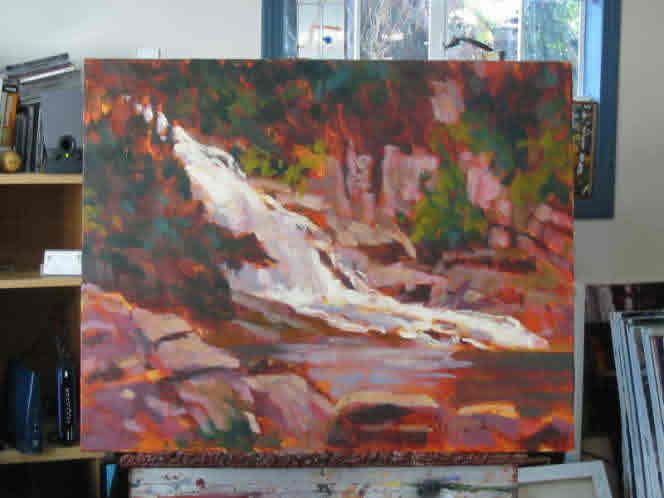
Now, we go back and strengthen any darks we may have lost during the color block-in and begin keying up those lights. We should use thicker paint for the lighter tones and refine things a bit more include a small amount of detail.
[adinserter block=”12″]
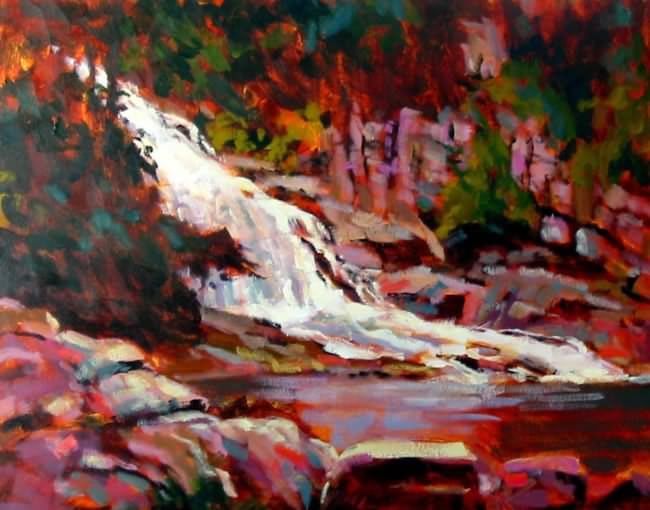
Here is the finished painting with all the colours established, keyed up. Notice how you can still see some burnt sienna showing through! I then sign and varnish the painting.
For a more indepth look at this painting process, with much for information, pictures, tips and instruction, consider purchasing:
“7-STEPS TO A SUCCESSFUL PAINTING”,a complete course in acrylic painting. The book is available in three different formats on this site! You might also consider a workshop!
I am by no means an art painter but I really like the results!