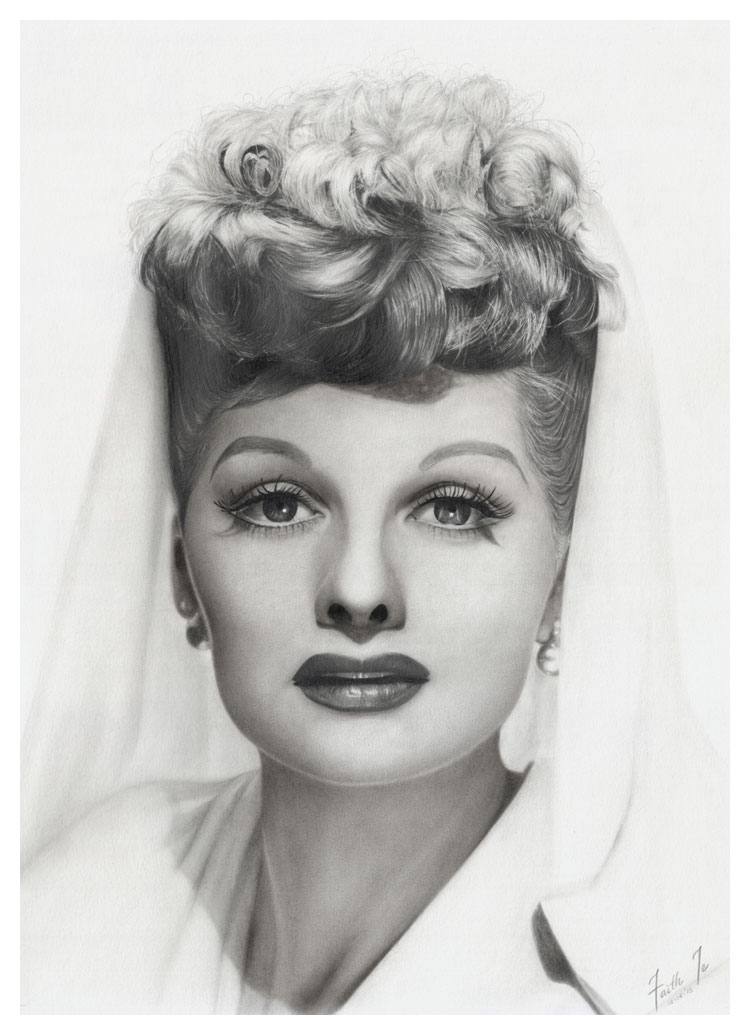
About Faith

Graphite Pencil, Charcoal Pencil and Pastels Artist
Hello! My name is Faith Te. When I was 16, a great desire to capture nature and the people around me started my passion for drawing. I began to look at drawing not just as a hobby but something which I wanted to do all my life.
I practiced every day and for many hours since. I taught myself to draw by experimenting with different techniques and materials and through helpful tips and advice from other artists.
Initially, charcoal and graphite pencils were the only mediums I used. When I began working in color, I used pastels, and more recently, oils. My main subjects are portraits but I also enjoy doing many other subjects including still life, landscapes and flowers, especially orchids.
I devote many hours and lots of attention to detail into each and every one of my drawings or paintings. My ultimate goal is not only to achieve detail and realism but also to capture the life and character of my subjects.
Thank you for your interest in my artwork. I sincerely hope you enjoy your stay here on our web site. Please visit again soon!
Please take a moment to visit Faith’s Website and Blog to learn more about her and her products and services.
Her Website: http://www.artisticrealism.com/
Her Blog: http://www.artisticrealism.com/artstudio/
Stage 1
The outline on Canson Grain Paper.
I try to make the outline as accurately and detailed as I can at this early stage so that I can concentrate more on tones, shadows, and highlights later on instead of the placement of features.
I am using the smoother side of Canson paper.

Stage 2
I make my own charcoal powder when I sharpen charcoal pencils and then I use brushes to apply the powder to my drawings.
Here, I’ve used a small, firm painting brush to apply charcoal powder to the skin. With this brush, I was able to achieve a slightly textured effect for the skin.
Graphite pencils were used for the eyes and the eyebrows.

Stage 3
Here, I worked on the lips.
I used a 0.5 mm 2B mechanical pencil to cover the lips with graphite. Then, with the same painting brush used earlier, I blended the graphite.
After which, I added some highlights using a kneaded eraser. Then I blended once again with the brush to produce gradual transitions of tone. This process is repeated a few times to achieve a realistic effect with random lights and darks.

Stage 4
Charcoal powder is applied to her neck and ear using the brush I used before and a soft tortillon for the dark areas.
A tortillon is a drawing tool used for blending and it is made simply by rolling up a piece of paper. It is somewhat more loosely rolled than a blending stump.
Using another brush, I applied light layers of graphite powder to the (viewer’s) left part of her veil.

Stage 5
Some of the shadows were darkened.
Also, I drew her teeth using the mechanical pencil and blended it with the paint brush.
I started to work on the left part of her clothes using the same method I used on her veil.

Stage 6
Worked on her left ear and earring using charcoal powder, the paint brush and the tortillon.
The major locks of her hair have been more clearly defined using the mechanical pencil.
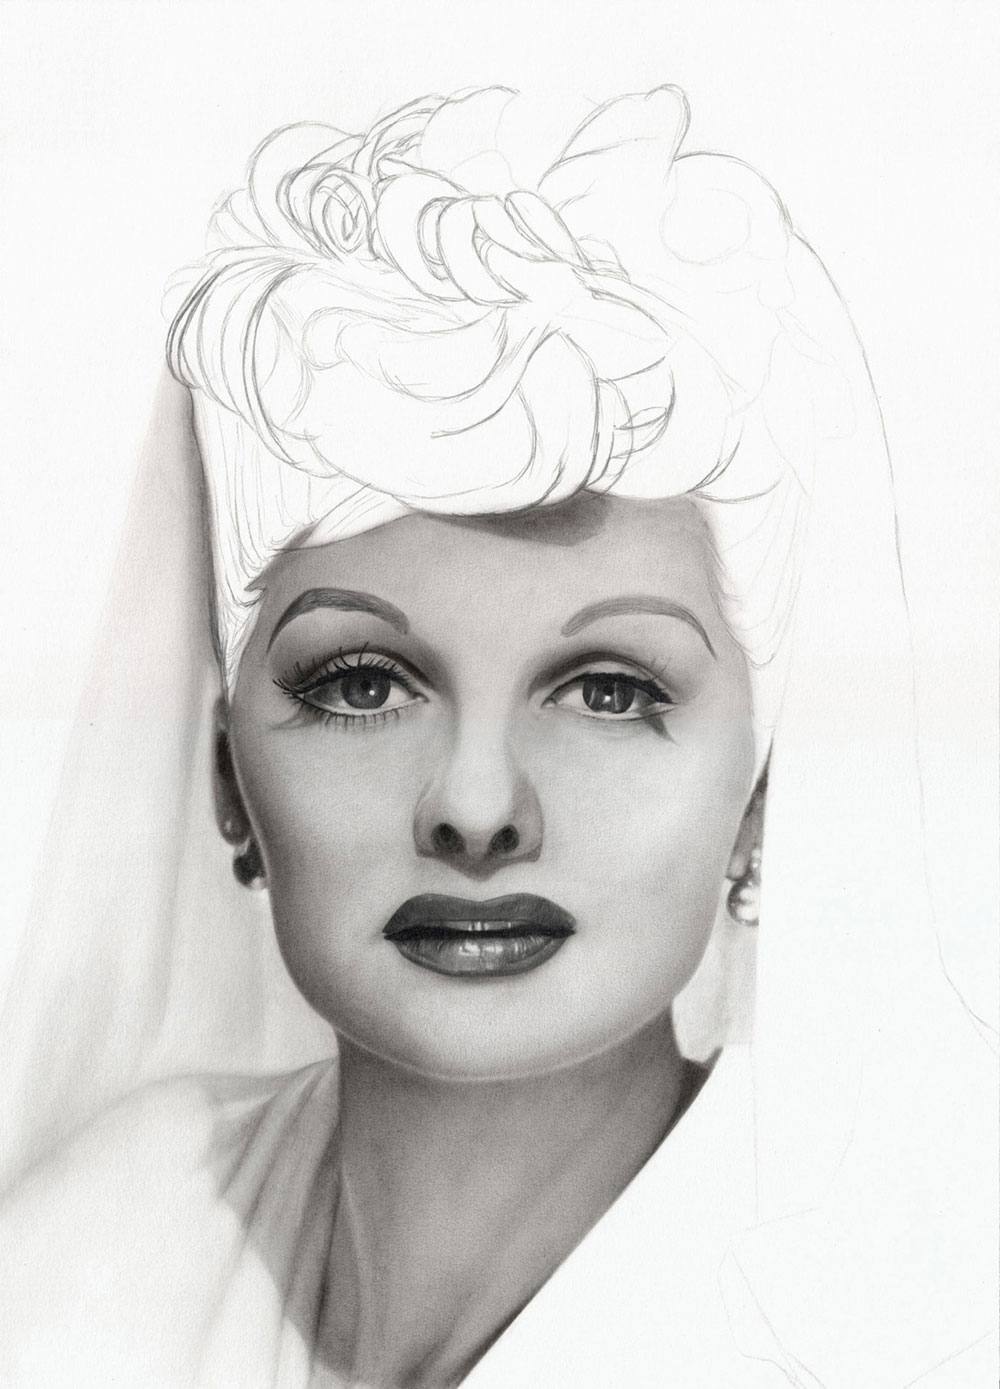
Stage 7
Concentrating on her hair in this stage, an 8B wooden pencil and the 2B mechanical pencil were used to draw the darker parts, following the direction of her hair in the reference photograph.
Graphite pencils in the H grades were used to draw some of the lighter locks of hair.

Stage 8
More work on the hair. The shadows were further darkened and more of the middle tones were added.
I have also finished drawing the rest of the clothes and veil.
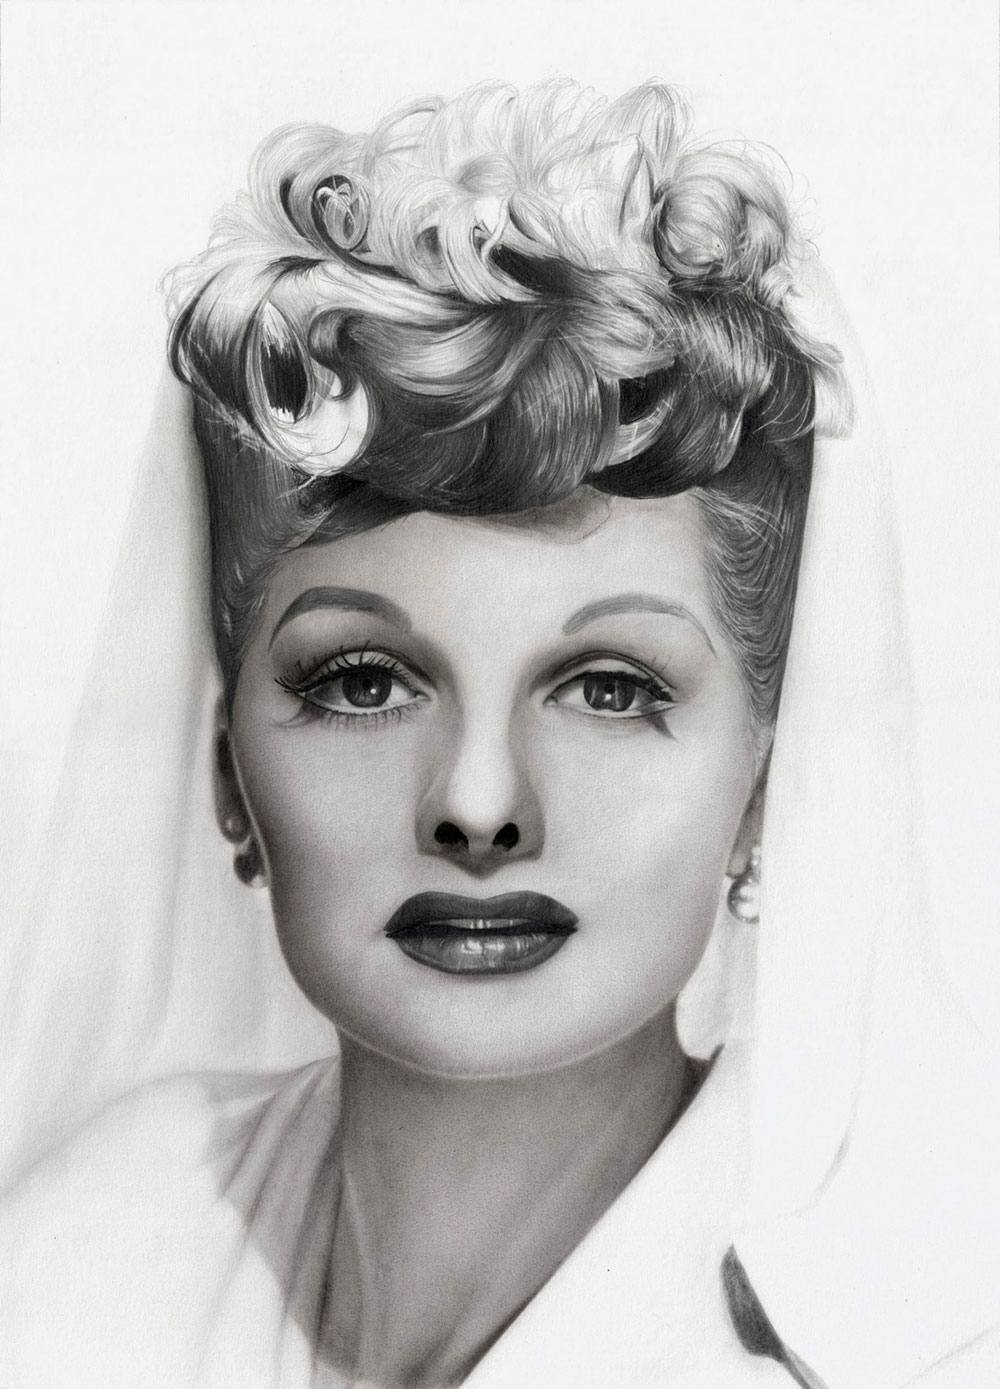
Stage 9: Finished
After completing her hair, smoothening some of the skin tones and a few corrections, the portrait is finished.
I hope you have enjoyed the step-by-step demonstration of this portrait. Thank you for reading.